A broil element that won’t glow orange is bad more often than not — and this LG Oven broil element Replacement is a 20-30 minute job with a nut driver and a new element running $38-52. Look for a visible break, blister, or bulge in the coil before you order anything. If the bake element still heats fine and only the broiler’s dead, you’re almost certainly looking at the element itself, not the control board.
- A visible break or blister in the coil is the tell — no continuity test needed if you can see it
- Wiring terminal damage is the second most common cause, and it’s often mistaken for a bad element
- ProBake convection and double-oven LG models hide the real broil source behind a rear panel — don’t assume the visible element is the only one
- Pull power at the breaker, not just the oven’s off button, before you touch anything
The Broil Element Itself Fails Most Often
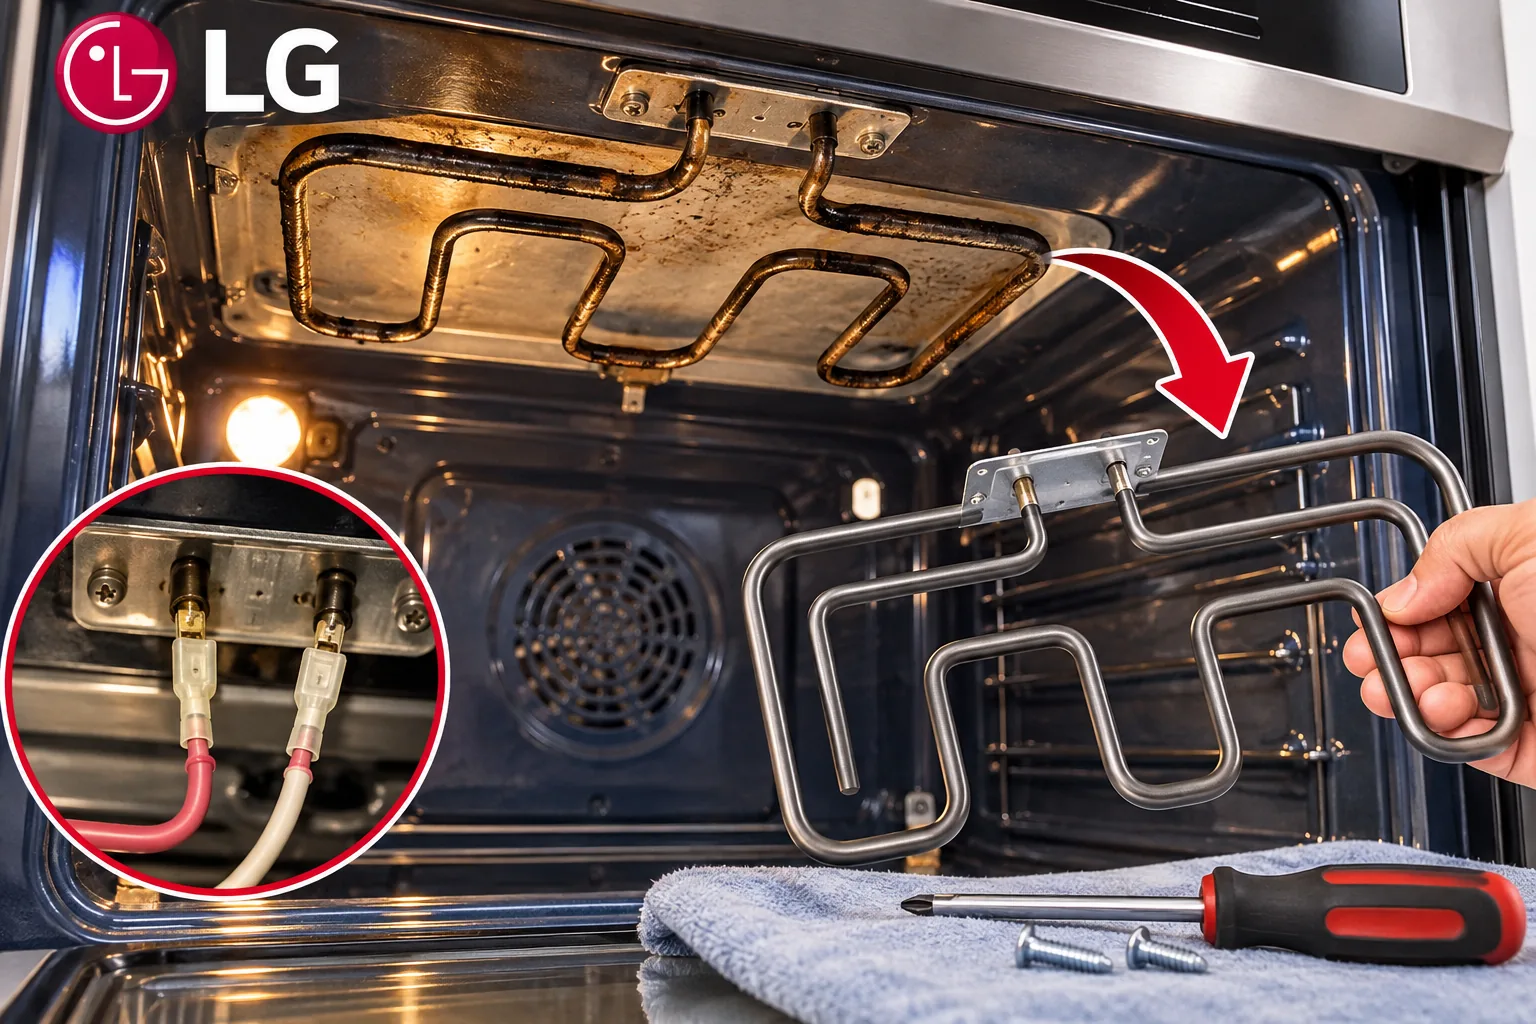
A resistive heating element either shows you it’s dead or it doesn’t, and most of the time it shows you. On an LG oven, the broil element sits exposed at the top of the cavity. When it fails, you’ll usually see a clean break in the coil, a blistered or bulged section, or a spot where the metal’s gone gray and flaky instead of smooth. Flip the broiler on for 30 seconds — if one section glows orange and another stays dark, or nothing glows while the bake element downstairs still works, that’s your answer. A broken or blistered element is still the most common reason an LG Oven broil element Replacement gets ordered in the first place, something that’s held true across the ranges I’ve worked on in eleven years of commercial food service repair. It’s a wear part, not a defect — the wire heats and cools hundreds of times until it fatigues and snaps.
One thing almost nobody mentions: a partial glow doesn’t mean the element’s fine. My first instinct used to be that dim, uneven glow meant “weak but working” — I learned that’s backwards. It means one segment of the coil still has continuity and the rest doesn’t, and that segment is carrying more current than it’s built for. Left alone, it usually takes out the whole element within a few more cycles, and it sometimes trips the breaker on the way. If you see uneven glow, replace it now instead of waiting for it to fail completely. If you’re also dealing with an oven that won’t heat at all rather than just the broiler, this guide on ovens that won’t heat walks through the bake-side causes, which follow a similar pattern but point at a different part.
Watch This Before You Order the Part
This video walks through pulling the old element, disconnecting the leads, and seating the replacement — it’s the same basic sequence on most LG single-oven ranges, and it’ll save you some guessing on how the bracket screws come out.
Don’t Yank the Wire Leads With Pliers
This is where most people mess up the job. The instinct is to grab the connectors with needle-nose pliers and pull straight back. That’s how you snap the terminal or bend the receptacle, and then the new element won’t seat properly. Instead, work through it in order:
- Locate the two spade-style push connectors feeding the element at the back of the cavity.
- Grip the connector housing itself, not the wire, with your fingers or flat pliers.
- Work the connector side to side while pulling gently — it should slide off with moderate resistance, not a fight.
- Inspect the exposed terminal for corrosion or blue-black discoloration before you set the old element aside.
If a terminal’s already corroded or discolored, that’s your wiring problem showing up before you even get the new element installed (more on that below).
Wiring and Terminal Damage — The Second Most Common Cause
The second most common cause isn’t the element at all. It’s the connection feeding it. Loose or corroded spade terminals create resistance at the connection point, and that generates heat right at the plug instead of in the coil where it belongs. You’ll smell it before you see it: a faint burnt-plastic or scorched-metal smell near the back of the cavity, sometimes with a small dark scorch mark on the terminal block itself. Everybody assumes a dead broiler means a dead element, but if you pull the old one and it looks completely fine, no breaks, no blistering, check the terminals before you buy a part you don’t need. A loose connection sometimes just needs the spade connector crimped tighter or replaced outright, and that’s a $5 fix instead of $40.
| Cause | Likelihood | Fix Cost | DIY Time |
|---|---|---|---|
| Broken/blistered element | Most common | $38-52 | 20-30 min |
| Corroded wire terminal | Occasional | $5-15 | 15 min |
| Control board/relay | Least common | $80-200 | Pro visit |
Why Your ProBake Convection or Double-Oven LG Might Be Different
This is the piece that trips up a lot of people on newer models. If you’ve got an LG ProBake convection range, the visible top element you can see when you open the door isn’t necessarily doing the broiling. Some ProBake configurations run the real broil source off a hidden rear element mounted behind the back panel of the cavity, tied into the convection fan assembly. If your visible element looks perfect but the broiler still won’t heat, don’t assume you’re stuck. It usually just means you’re chasing the wrong part. On double-oven LG ranges, the upper cavity is smaller and the broil element sits close enough to the top that you often can’t get a full shelf pull like you can on a single-oven unit. You’re more likely pulling the cooktop or the rear top access screws to get clearance. My first move used to be reaching for that same shelf-pull approach on a double oven before actually checking how tight the upper cavity really is.
LG Oven Broil Element Replacement — Step by Step
- Kill power at the breaker. Not just the oven’s power button — the display staying lit doesn’t mean the heating circuit is dead.
- Open the oven door and locate the mounting screws. Most LG single-oven ranges hold the element with two screws at the back wall of the cavity.
- Remove the screws and pull the element forward slightly — just enough to access the wire leads without disconnecting anything yet.
- Disconnect the spade connectors by gripping the connector housing and working it loose side to side, not straight back.
- Remove the old element completely and set it next to the new one to confirm the terminal style and bracket spacing match.
- Connect the new leads — push each spade connector on firmly until you feel it seat.
- Reinstall the mounting screws and restore power at the breaker.
- Test the broiler for 30-60 seconds and confirm even, full-length glow across the coil.
Budget 45 minutes your first time through this — mostly because you’ll be double-checking which screw goes where. Once you’ve done it, it’s a 15-20 minute job.
Parts You’ll Need
The exact part depends on your model, but any LG Oven broil element Replacement starts with matching the model number correctly. LG runs several numbering families for broil elements (MEE62306504 and MEE62385001-003 are two common ones), and the wattage and bracket spacing aren’t interchangeable across them. Cross-reference your model number rather than the old part’s label if it’s burnt or unreadable. You can check the exact fit and current pricing for the MEE62306504 broil element on RepairClinic, browse the full LG range heating element listings on RepairClinic, or check LG’s full elements and burners lineup on PartSelect if your model uses a different part number. A 1/4-inch nut driver is the only tool most of these jobs need.
Unplug the range or shut it off at the breaker — don’t rely on the control panel being dark. The broil element circuit can carry line voltage even when the display shows the oven off. If your range is gas with an electric broil element, the same rule applies to the element circuit specifically.
The element itself runs $38-52 depending on which part number your model needs. A service call for this exact repair typically runs $150-220. If you’re comfortable with a nut driver and a 20-minute job, you’re saving well over $100. Call a pro instead if: the wiring itself (not just the terminal) shows melted insulation, you’re not confident locating the breaker for the oven circuit, or you’ve got a double-oven ProBake model and pulling the cooktop for access isn’t something you want to take on.

How to Keep This From Happening Again
There’s not a lot of preventive maintenance for a resistive heating element. It wears out on its own schedule. What actually extends its life is avoiding self-clean cycles more than a couple times a year, since that mode runs the broil element at its highest sustained temperature and speeds up the exact fatigue that eventually cracks the coil. Wipe down grease buildup on the element after broiling rather than letting the self-clean cycle burn it off.
Is It Ever the Control Board Instead of the Element?
Occasionally, yes, though it’s the least common of the three causes. If you’ve replaced the element, confirmed the wiring’s clean, and the broiler still won’t fire, the relay on the control board that switches power to the broil circuit can fail. That’s an $80-200 part and, honestly, not a repair I’d recommend as a first DIY board swap if you haven’t worked with control boards before. Misdiagnosing a board issue as an element issue twice in a row gets expensive fast. Control board glitches show up on other LG appliances too; the LG microwave F3 error code guide covers a similar control-board failure pattern on the microwave side, and the broader microwave error code roundup is worth a look if you’re chasing electrical gremlins across more than one appliance in the kitchen.
FAQ
How do I know if it’s the broil element or the bake element?
If the bottom of the oven still heats fine for baking but the top coil won’t glow when you switch to broil, it’s the broil element specifically. I always check this first before pulling anything apart.
Can I test the element with a multimeter instead of just looking at it?
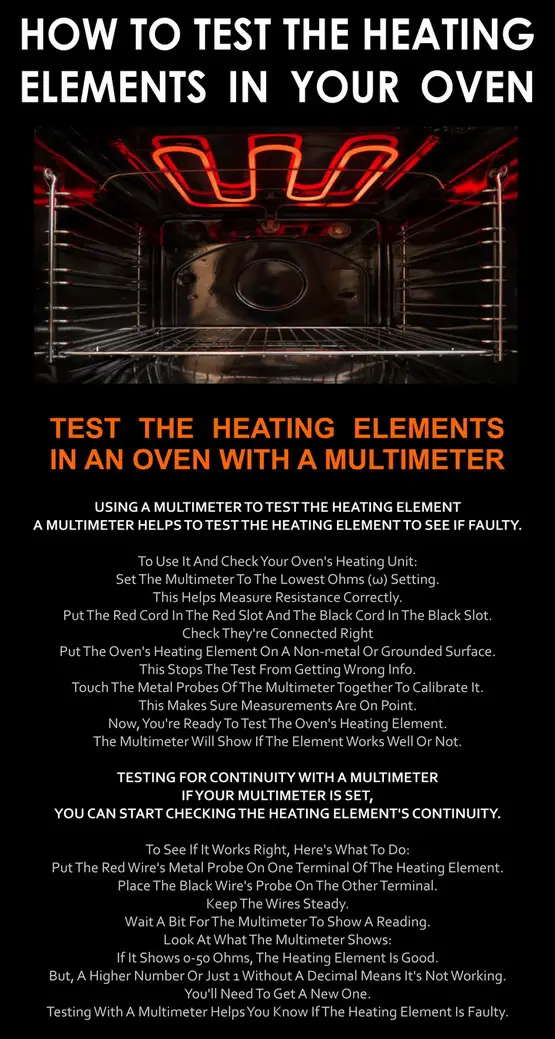
You can, and it’s more reliable if the break isn’t visible — set it to continuity/ohms with the element disconnected and check across both terminals. No reading means it’s dead even if it looks fine.
Do I need to replace the whole element or just a section?
The whole element. It’s one continuous coil — there’s no repairing a section of it.
Is this the same part across all LG oven models?
No, and this trips people up constantly. LG runs multiple part-number families with different wattages and bracket spacing, so match your model number, not just the physical shape of the old part.
My oven still won’t heat after I replaced the element — now what?
Check the wire terminals first, then suspect the control board relay. I’ve seen a fresh element get blamed for what was actually a corroded connector the whole time. And if it turns out the real problem is a different appliance entirely, this guide to microwaves that won’t turn on covers the basic electrical checks that carry over.
For more on oven troubleshooting resources, LG’s parts and service documentation is a decent starting point, and this oven service repair manuals roundup covers a wider range of oven issues if the broiler turns out not to be your only problem.
This LG Oven broil element Replacement isn’t a hard repair, and I’d put it near the bottom of the list of things worth paying a service call for. Get the right part number, keep your fingers off the leads themselves, and you’ll have it done before the takeout order shows up.

Written by Keith Schneerer
Certified Appliance Tech · Founder, RemoveAndReplace.com
Keith has spent 30+ years repairing machines, starting as a military mechanic and later maintaining food processing equipment before moving into appliance repair. He founded RemoveAndReplace.com to share field-tested repair advice.
More about Keith →