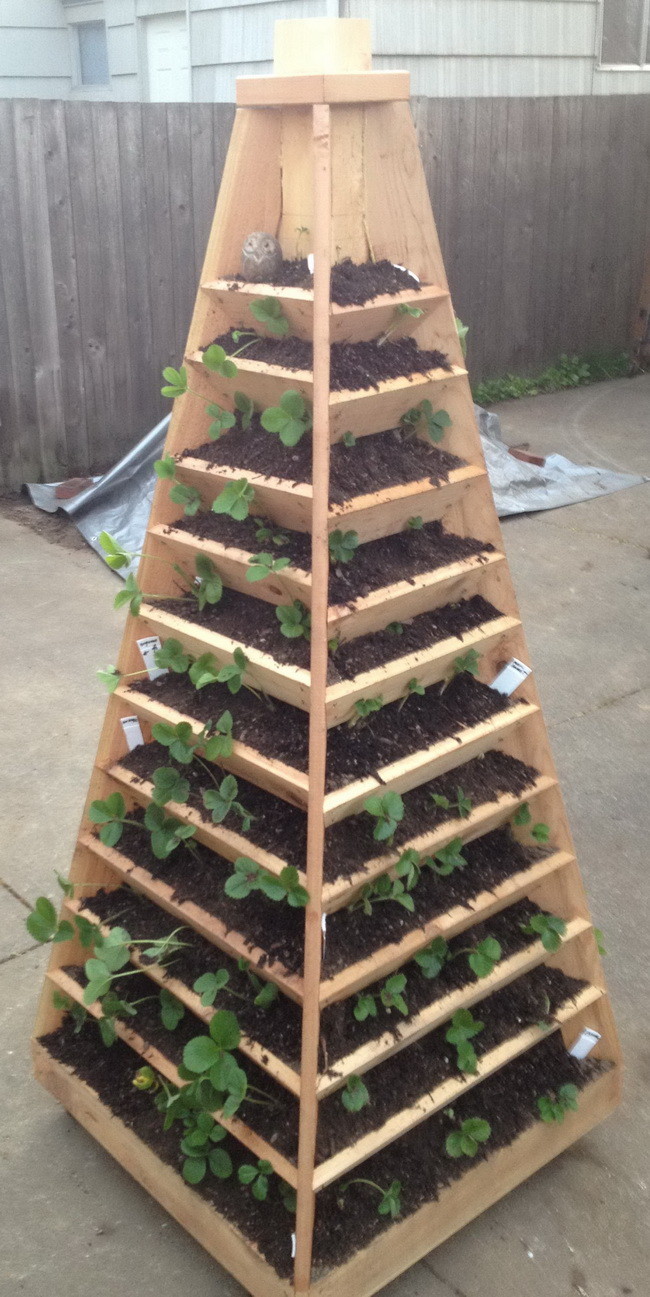
Maximize your garden space with a vertical tower planter. Struggling with limited gardening space for your new garden layout? Consider going vertical. The DIY Garden Tower Planter, ideal for strawberries and other plants, offers a smart way to expand your planting area. This cool project not only enhances your garden’s capacity but also serves as an engaging garden project.
How To Make Garden Planter
Creating this garden tower requires precision, especially due to the compound angles involved. It necessitates the use of a compound miter saw, demanding a certain level of skill for accurate cuts.
Building the tower cost us approximately $200, with all materials conveniently sourced from our local home improvement store, ensuring a hassle free shopping experience. While this DIY endeavor is rewarding, it’s time intensive, expect to dedicate around 16 hours over a few days, making it a perfect project for a long weekend.
To get a head start on your planting, consider employing a Hydrofarm germination station. This tool can significantly accelerate your seed starting process, setting the foundation for a thriving garden in your newly constructed vertical tower planter.
Materials and Costs for Building a Garden Tower
Discover the necessary materials for constructing your own garden tower, complete with detailed pricing:
- Central Post: 4″ x 4″ x 6′ Cedar Wood, essential for stability, priced at $20.00.
- Structural Wood: 11 pieces of 1″ x 4″ x 8′ Cedar Wood, forming the tower’s framework, available for $100.00.
- Base Support: A sturdy 3′ x 3′ piece of Plywood for the base, costing $15.00.
- Top Section: 2″ x 2″ x 8′ Cedar Wood to cap off the tower, with a price tag of $20.00.
- Mobility Casters: Set of 4 swivel caster wheels for easy movement, priced at $35.00. Find them here.
- Assembly Essentials: 75 deck screws (1 1/2″) for secure construction, costing $10.00, alongside a container of Wood Glue for durable joins, available for $7.00.
- Foundation Materials: Gravel for improved drainage at $5.00, and Quality Dirt to support your plants, priced at $7.00.
Total Investment: $219.00 for a fully equipped garden tower.
Pro Tips for Longevity and Efficiency
- Protect the plywood base with varnish to extend its life beyond 2-3 seasons.
- Place a layer of rocks and gravel under the soil to facilitate water drainage.
- Consider setting up a time-controlled spray irrigation line atop the garden tower to ensure even watering and prevent the upper layers from drying out.
- A PVC pipe with dripping holes could be an ideal solution for watering plants like strawberries efficiently.
Here is how we built this garden tower vertical. Stay tuned for updates on our design adjustments and innovative irrigation techniques, demonstrating automated plant watering methods.
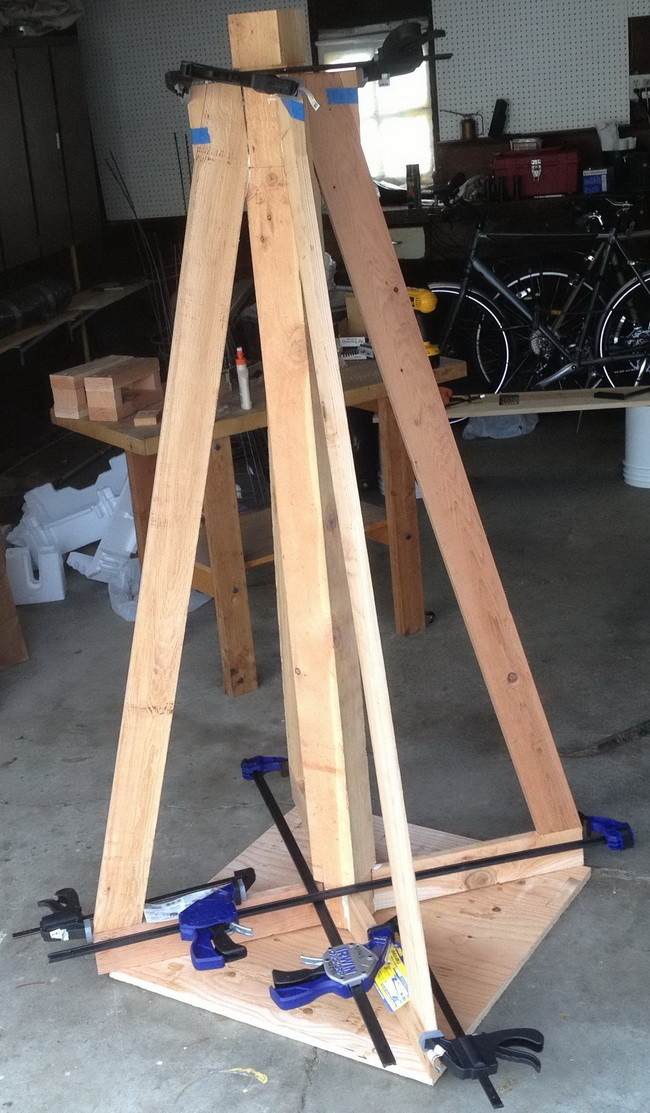 Our wood has been cut and we have secured our main
base structure together with screws and wood glue.
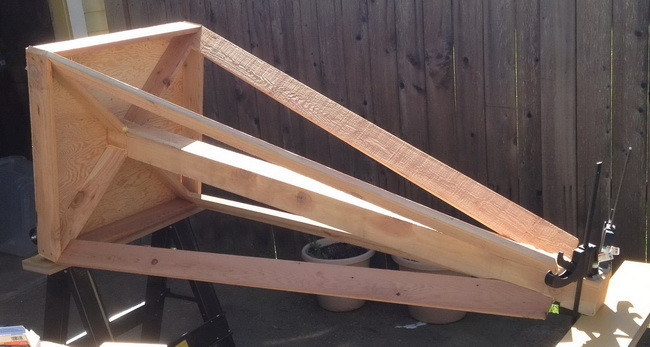
After the glue was dry we mounted the structure to the base with our wheels.
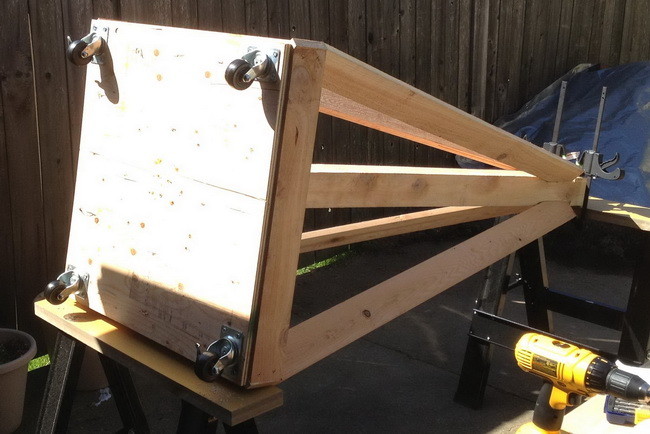
Once the main structure was attached we put the wheels on the base.
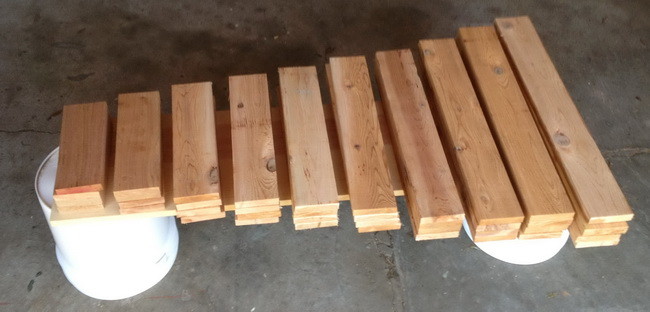
Here are our soil holding boards cut to size.
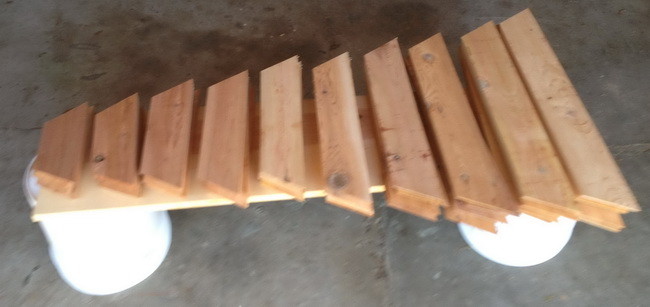
Once cut to size we cut the angles required and mitered the boards.
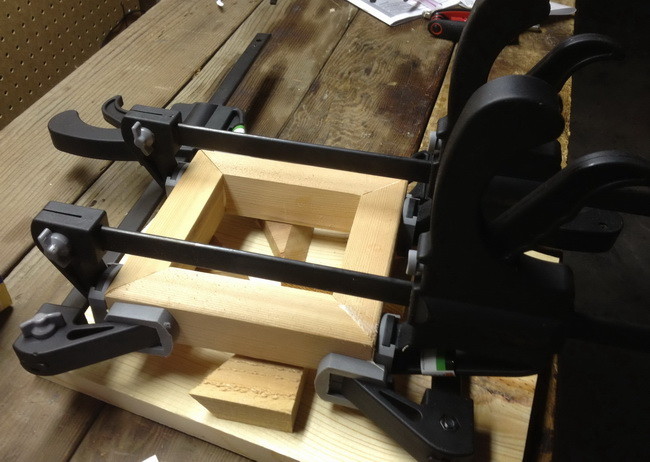
Our 2X2 cedar pieces for the top of our garden planter after we glued them.
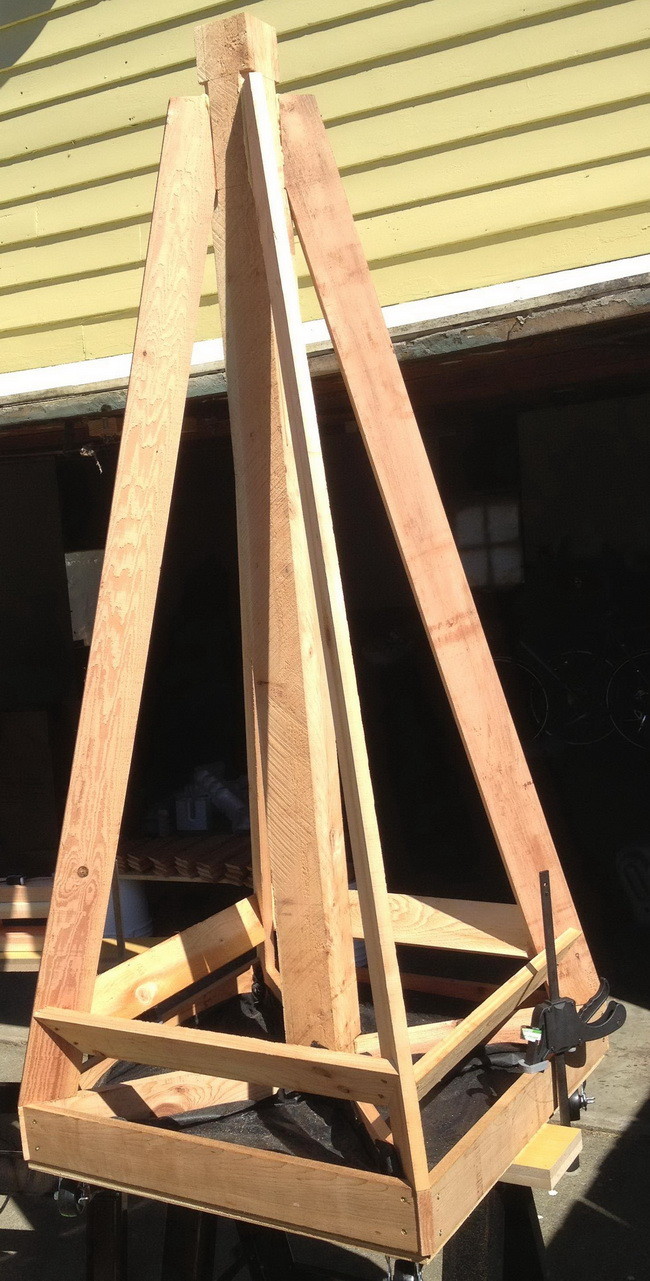
The first board to hold our garden soil in place is attached.
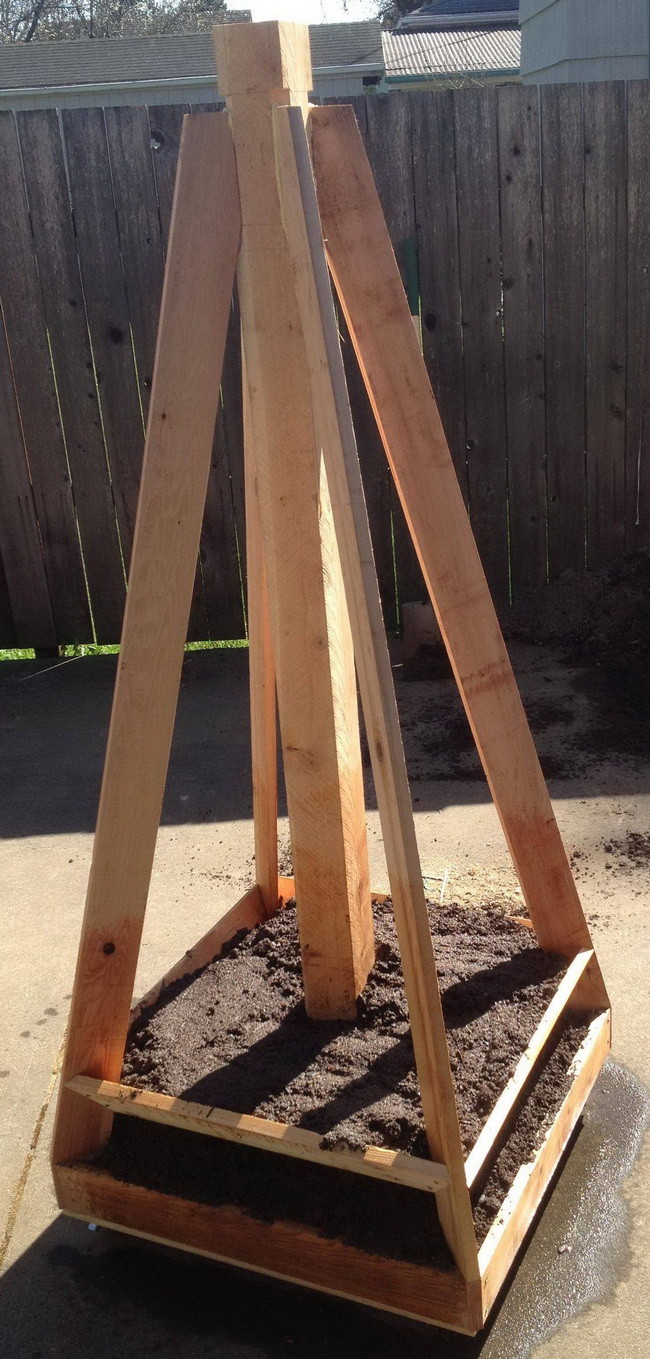
Our first load of dirt is in place in our bottom garden tier.
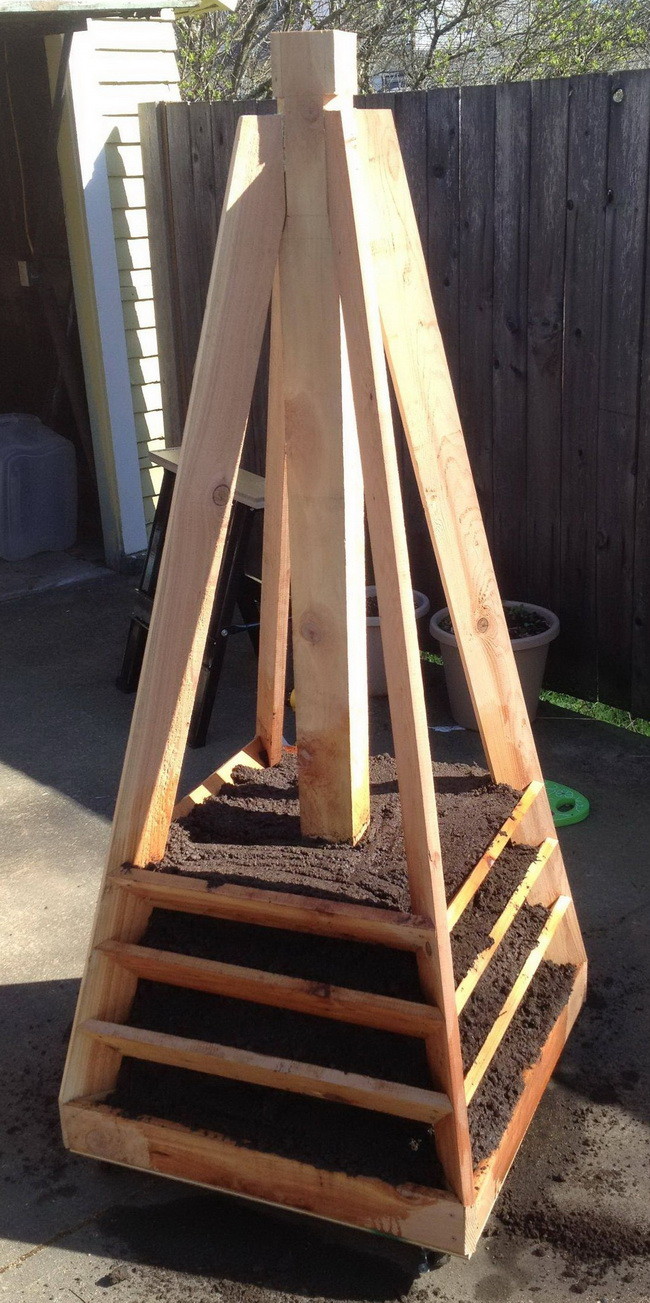
We slowly added the cedar boards from the bottom up and filled with dirt.
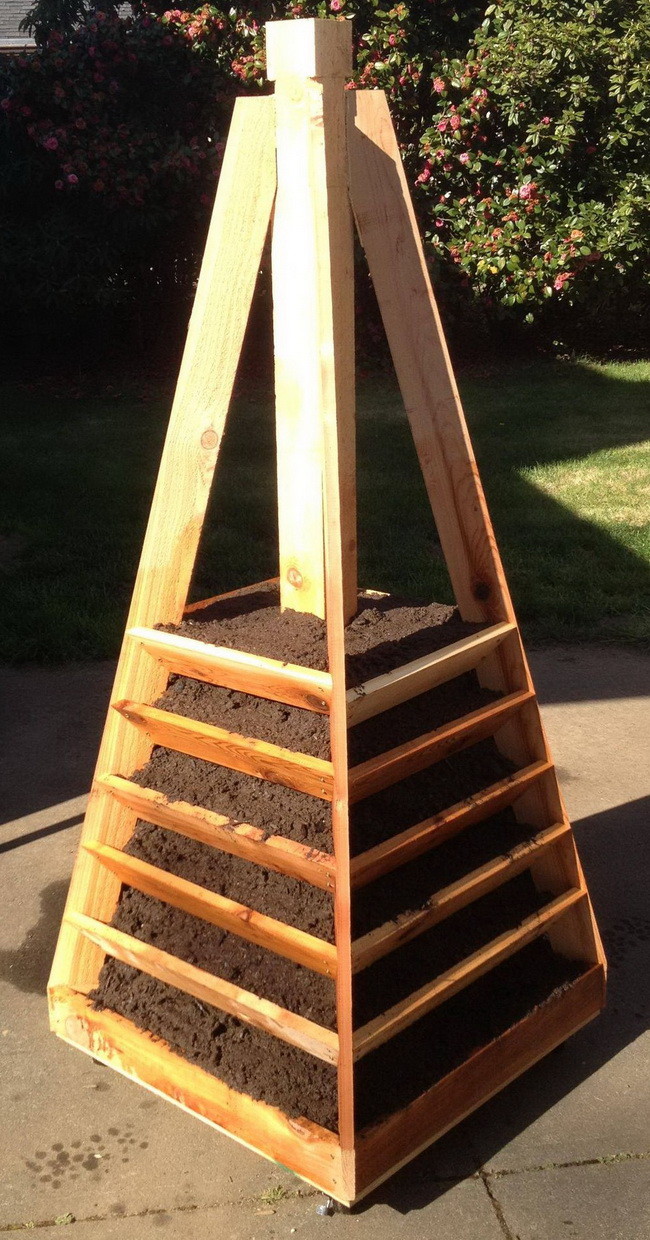
Took a long time but we were progressing upward with our soil tiers.
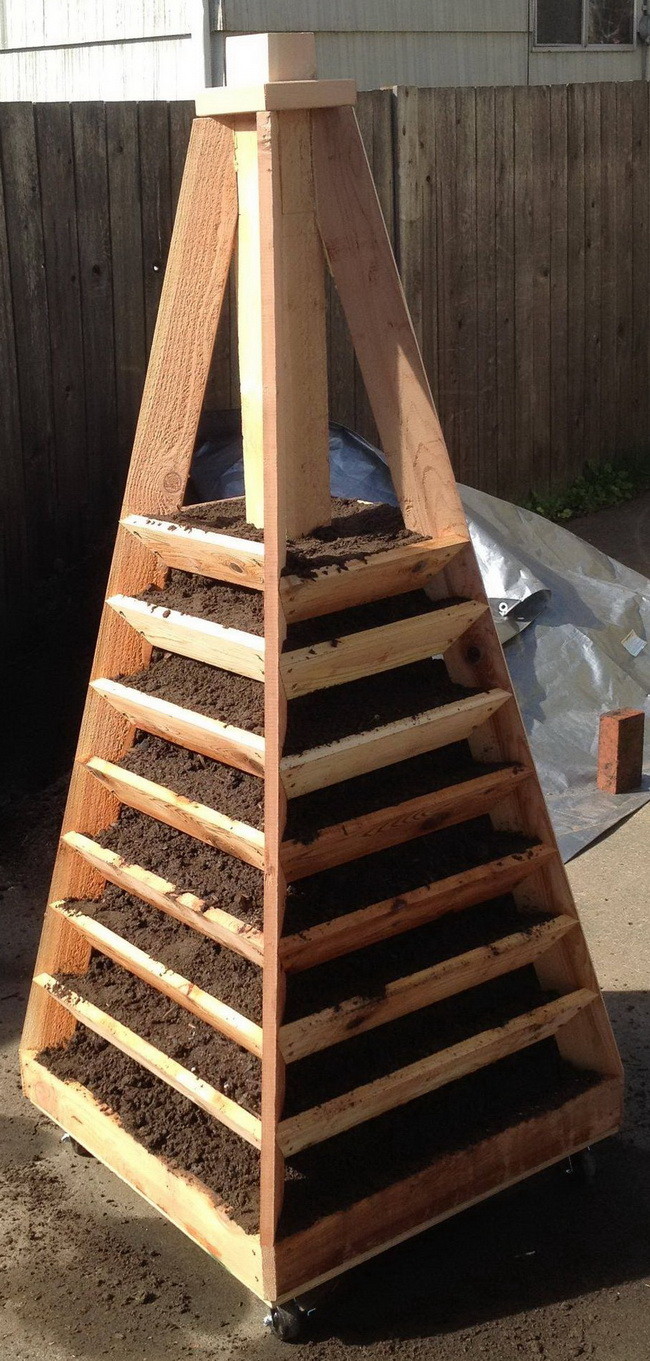
Starting to look good as we add more of our soil retaining tiers to our vertical planter.
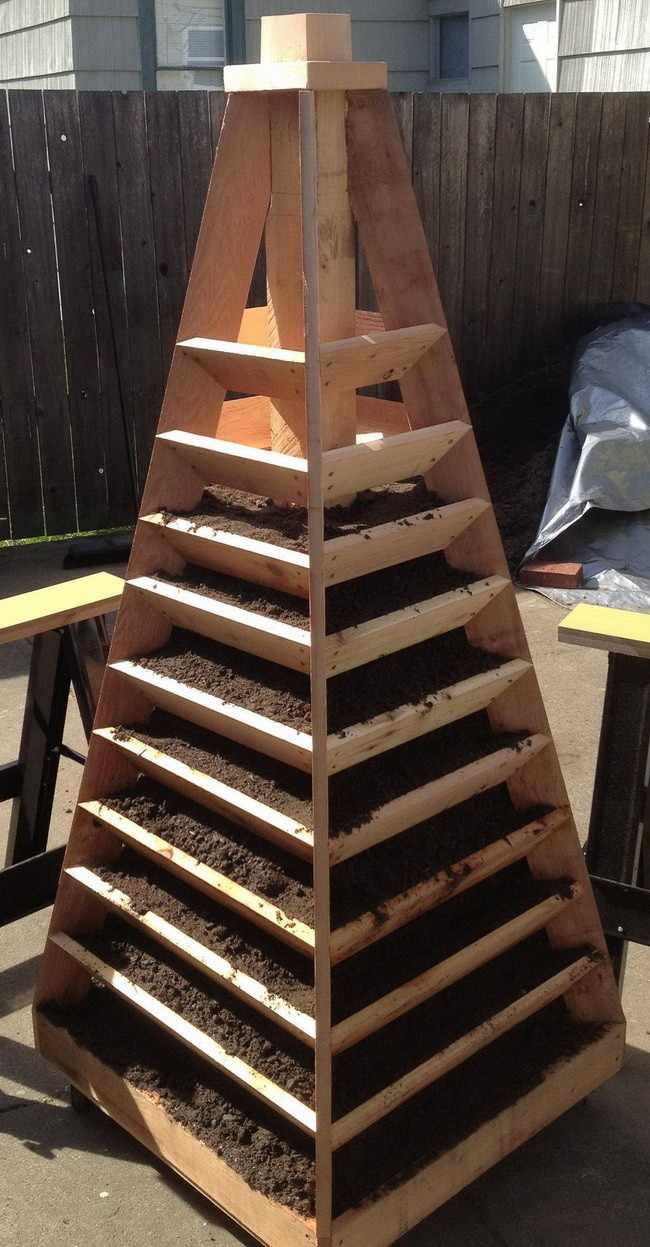
HINT: We added the dirt as we progressed upward as it was easier than doing it afterwards.
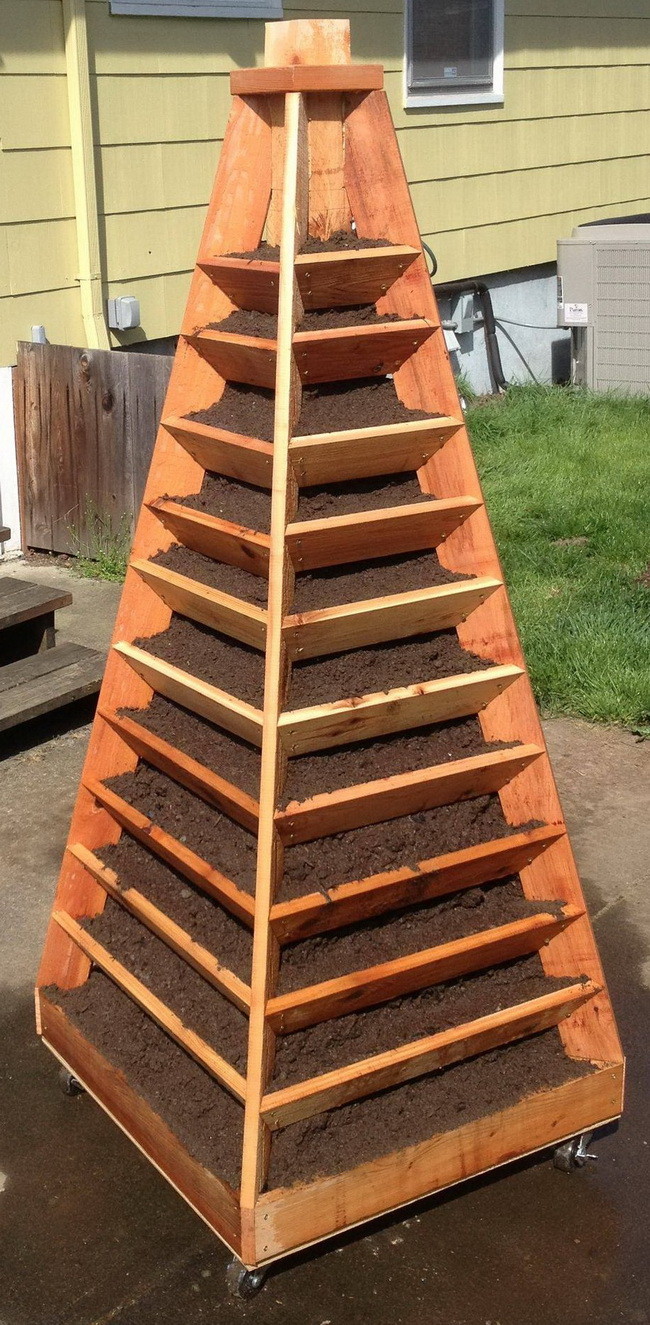
The very top of our garden planter is where we will be adding an automatic irrigation system.
Our DIY Vertical Garden Pyramid Tower completed with Strawberries and Lettuce.
Constructing a DIY Garden Tower Planter resolves the issue of limited gardening space and introduces an element of vertical elegance to your garden layout. With an investment of around $200 and some dedicated time, you can create a functional and pleasing vertical garden space. This project shows the joy of gardening and makes the most of the space you have in your garden.
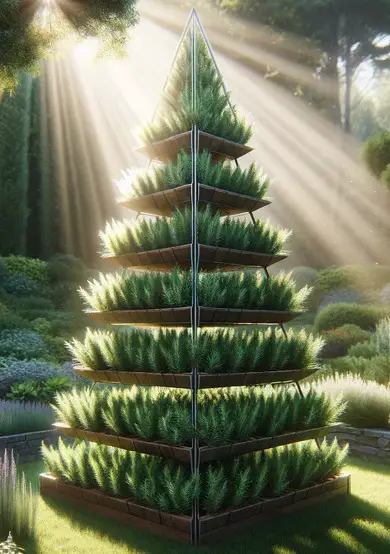
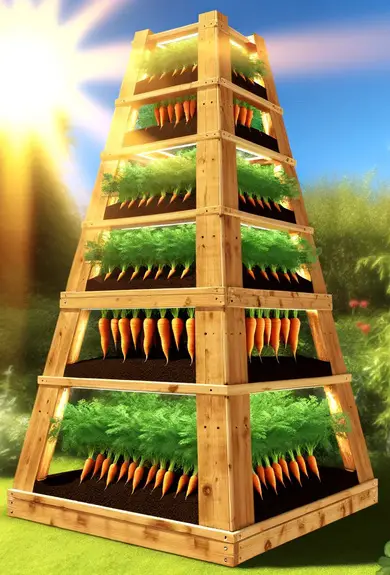
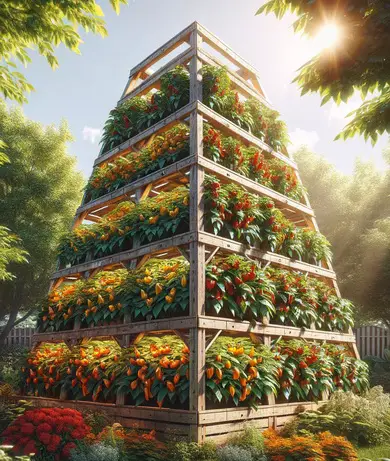
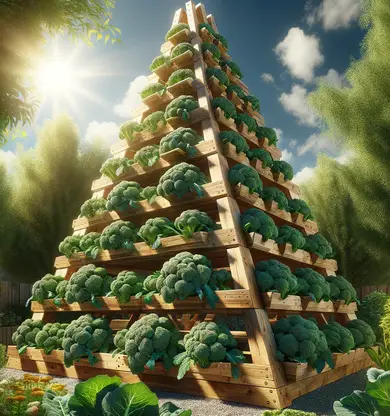
Here are some images sent to us by our readers and some that are an artistic rendition:
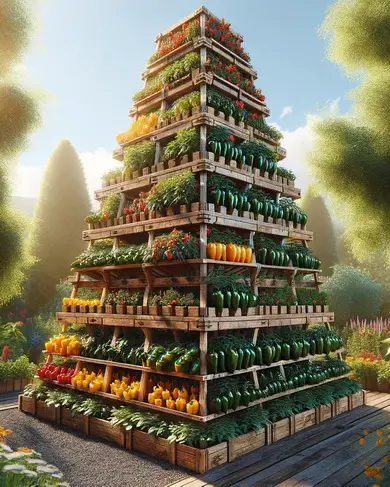
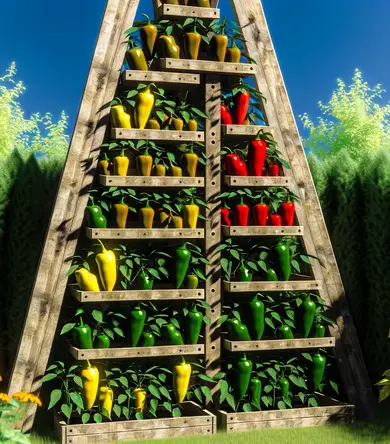
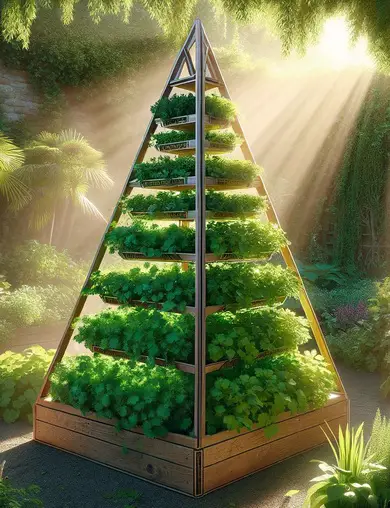




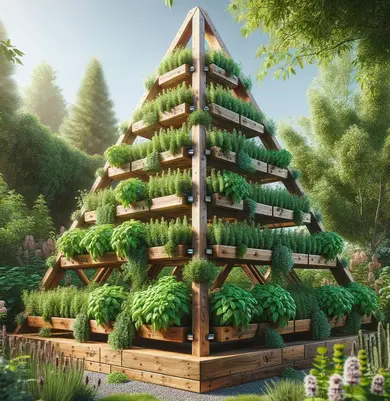
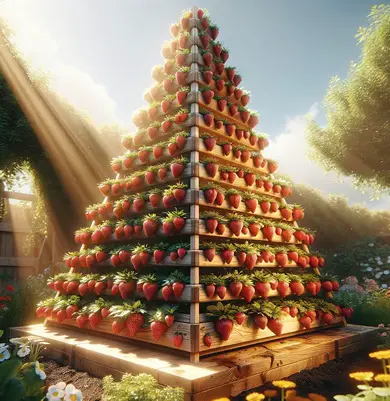
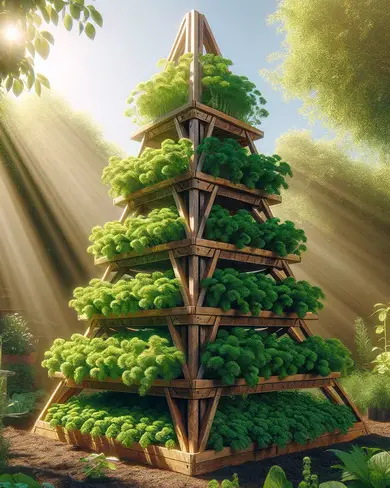
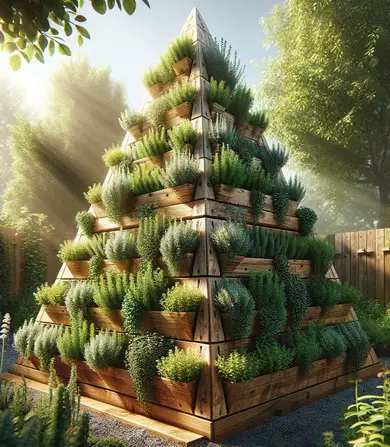
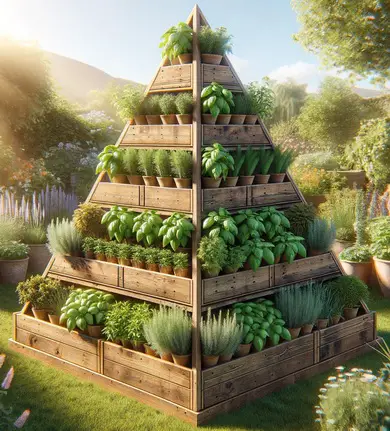
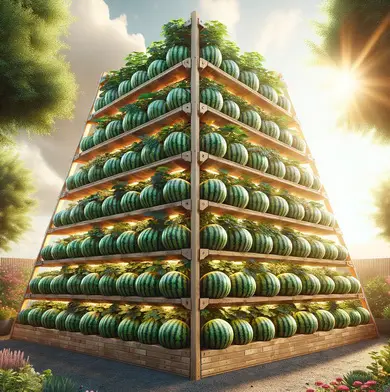
Do you have any garden images that are truly unique and functional at the same time? Let us know about them by leaving a comment in the box below!