A projector screen for your home entertainment setup can cost a large amount of money. You can build one yourself for around $80 to $120 dollars depending on size needed. Making a projector screen is not difficult. It involves just basic materials that you can find locally. The most expensive part of this project is the black out screen material. We will show you in a brief step-by-step tutorial how to make a sturdy and long lasting projector screen yourself.
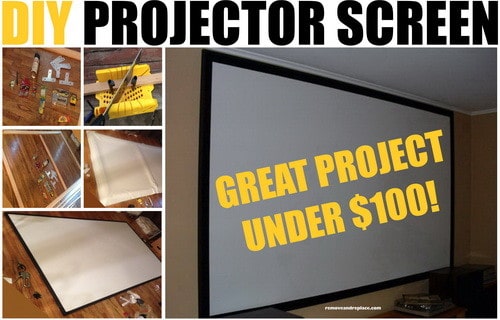 DIY PROJECTOR SCREEN – UNDER $100 DOLLARS!
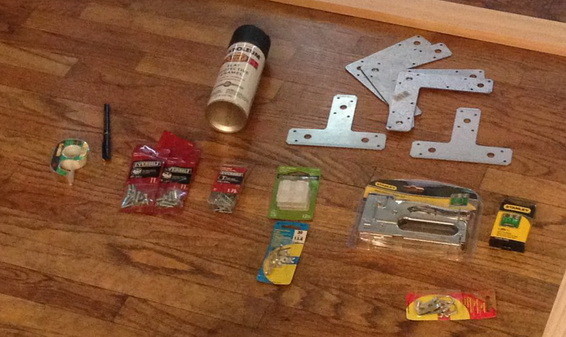 Supplies needed to build an awesome DIY projector screen…
Wood screws, Sheet Metal Screws, Staple Gun, Staples, L Brackets, T Brackets, Black Photo Tape,
Picture Hangars, Rubber Bumpers, 1 x 3 Pine Wood, and Rubberized Black Out Cloth.
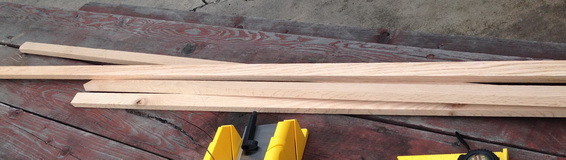 Once you decide on the size of your projector screen, purchase the correct amount of wood.
1 x 3 Pine wood works the best and is durable. Be sure to buy very straight pieces of wood!
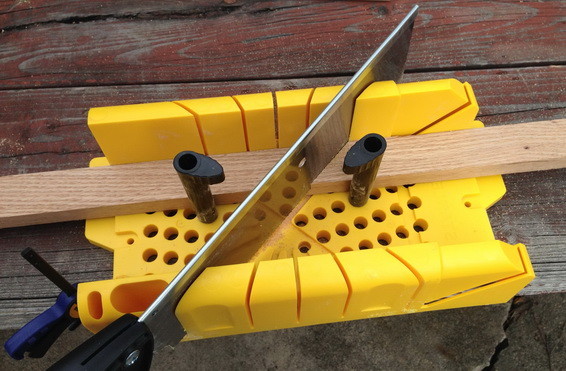 Once you have your supply of wood, cut to size according to your custom specifications.
Make your screen as big as you possibly can depending on the size of the wall where it will be mounted.
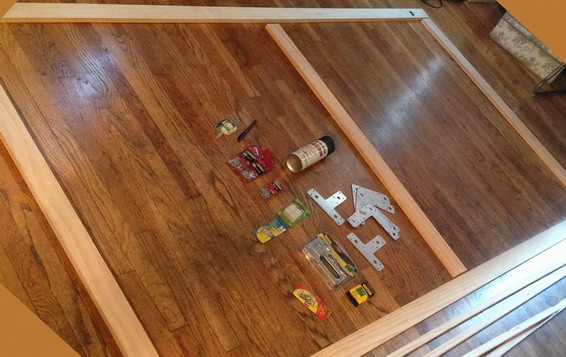 Once the wood is cut to size, lay the wood out in the
shape of the screen to be sure it is nice and square.
Wherever you lay it out is going to be the workspace so be sure the area is clear of foot traffic.
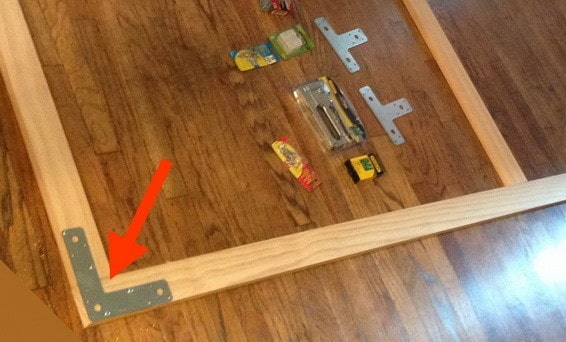 Start assembling the screen frame by attaching
the T and L brackets to the corners and inner edges.
Use the proper length wood or sheet metal screws so they do not protrude out of the back of the wood.
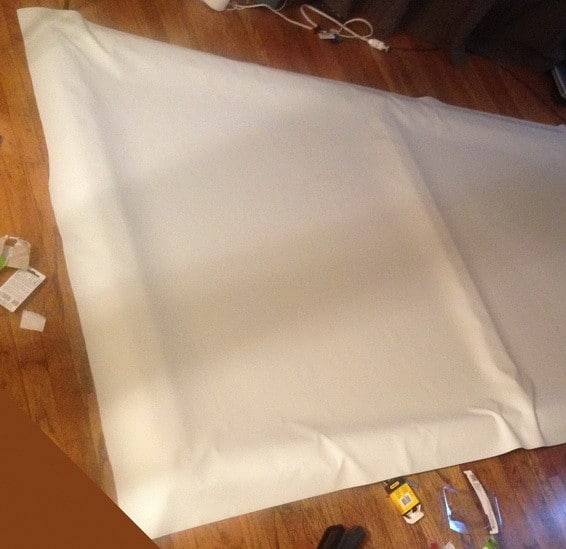 When the wooden frame is secured together and square, cut a
sheet of the black out cloth to hang 3-4 inches over the frame.
The material needs to hang over the wood so you are able to pull tight and secure it to wood.
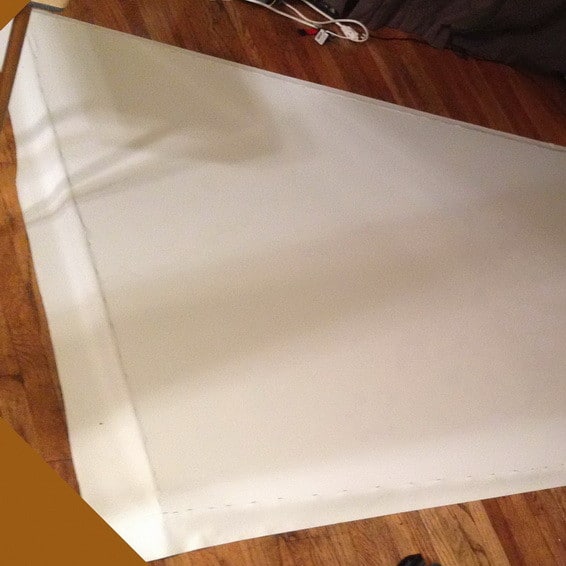 Begin stapling the cloth to the wood by going from top, to left,
to right, to bottom, to keep the screen material tight and square.
Staple in a straight line and apply many staples to hold secure not
worrying about appearance as the staples will be covered.
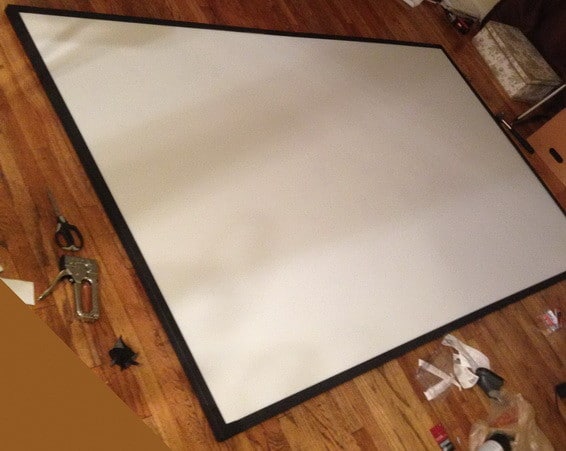 Once the screen cloth is attached, begin covering the edges
with the black photo tape to create an even border.
When applying the black tape it is critical to keep the edges straight and even for a better appearance.
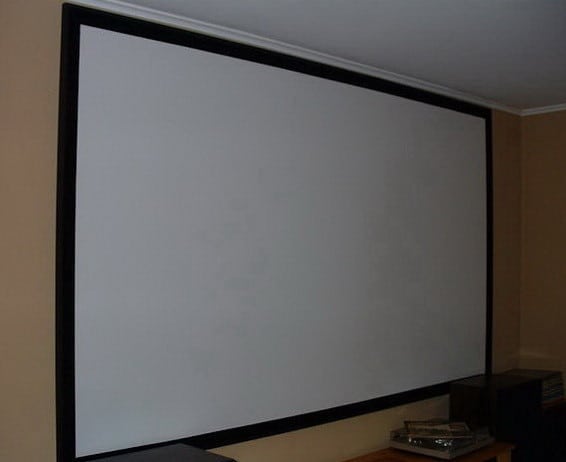 Once the screen is finished, hang or attach to the wall by using the picture hangars and screws.
You are finally finished and ready to enjoy your awesome DIY movie projector screen!

Written by Keith Schneerer
Certified Appliance Tech · Founder, RemoveAndReplace.com
Keith has spent 30+ years repairing machines, starting as a military mechanic and later maintaining food processing equipment before moving into appliance repair. He founded RemoveAndReplace.com to share field-tested repair advice.
More about Keith →