I’ve spent a lot of time around compound angles and precision cuts over the years — 19 years working aircraft maintenance in the Air Force will do that to you — and this build is one of those projects where rushing the miter cuts is exactly how you end up with gaps between tiers. I always tell people to take your time on the angles, because the rest of the build goes smoothly once those cuts are right.
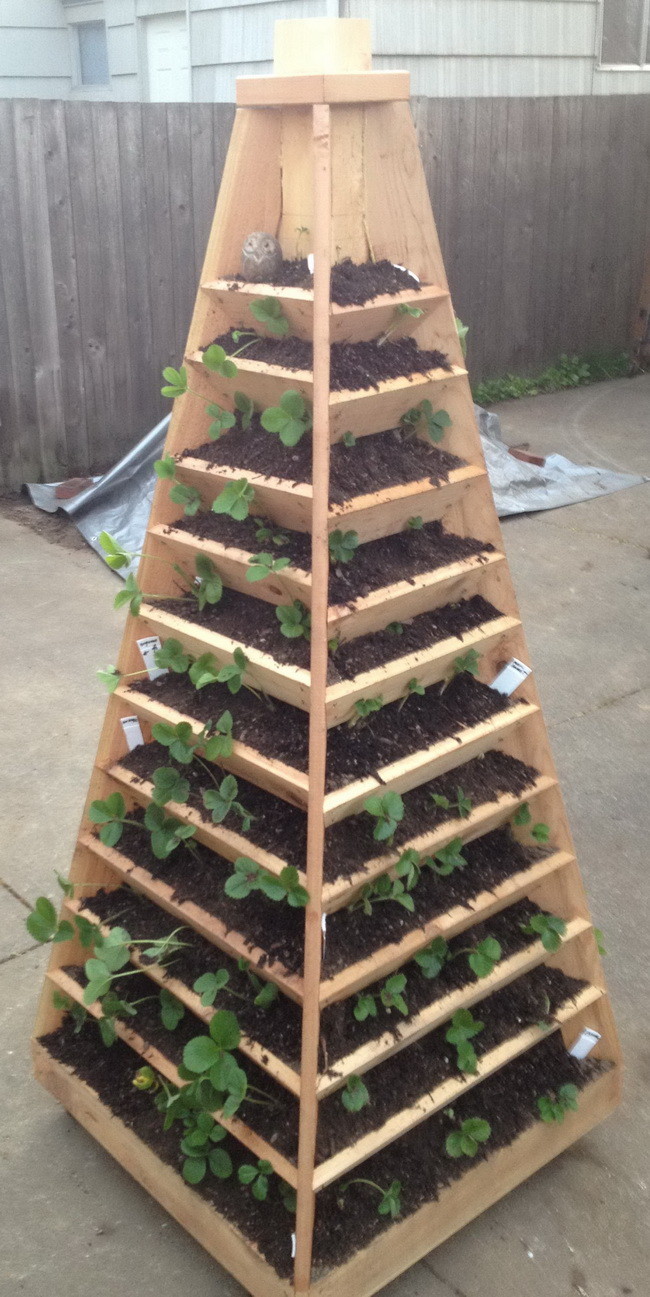
- Total cost for this build runs around $219 in materials, all sourced from a standard home improvement store.
- Plan on roughly 16 hours of build time spread over a few days — I’d treat it as a good long-weekend project.
- You’ll need a compound miter saw to cut the angled tier boards accurately; this isn’t a project you can fake with a hand saw.
- The tower sits on swivel caster wheels, so you can roll it to chase sunlight or move it out of the way when needed.
- Add gravel under the soil and a simple drip or spray irrigation line at the top for the best long-term results.
What You’ll Need to Build a Garden Pyramid Tower
Before you start cutting anything, get all your materials together. I always gather everything first — working from a home improvement store means you can usually knock this list out in a single trip.
Materials and Costs
- Central Post: one 4″ x 4″ x 6′ cedar post, the backbone the whole tower is built around — about $20.00.
- Structural Wood: 11 pieces of 1″ x 4″ x 8′ cedar, which form the tiered framework — about $100.00.
- Base Support: one 3′ x 3′ piece of plywood for the base — about $15.00.
- Top Section: one 2″ x 2″ x 8′ cedar piece to cap the tower — about $20.00.
- Mobility Casters: a set of 4 swivel caster wheels for the base — about $35.00.
- Assembly Essentials: 75 deck screws (1 1/2″) plus a container of wood glue for the joints — about $10.00 and $7.00.
- Foundation Materials: gravel for drainage and quality garden soil to fill the tiers — about $5.00 and $7.00.
That puts the total investment at roughly $219.00 for a fully built garden tower — cheaper than most premade vertical planters you’ll find online, and you get cedar instead of thin plastic. I’d rather spend a little more on cedar than deal with a planter that won’t hold up.
Tools You’ll Need
- Compound miter saw (non-negotiable for the angled tier cuts)
- Cordless drill/driver with a screwdriver bit
- Tape measure and a carpenter’s square
- Clamps to hold pieces steady while the glue sets
- Safety glasses and hearing protection
That compound miter saw is where most of the accuracy in this build lives. In my experience, a few degrees off on each angled cut compounds tier after tier, so I always double-check my angle settings before I commit to a cut, especially on the more expensive structural boards.
If you want to get a head start, I’d start your strawberry and lettuce seeds in a basic seed germination station before the tower is even finished, so they’re ready to transplant the moment your soil tiers are filled.
How Do You Build a Vertical Garden Pyramid Tower Step by Step?
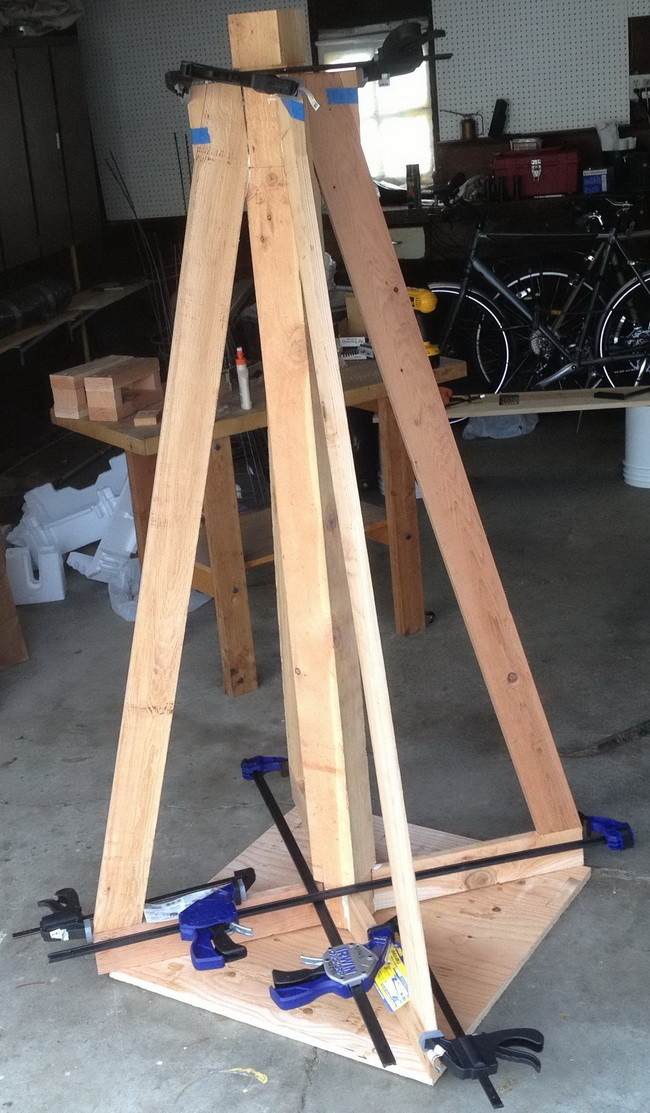
Step 1: Build the base and secure the frame. I like to get the central 4×4 post square to the 3’x3′ plywood base before anything else, then start building out the main frame with your 1×4 cedar boards, deck screws, and wood glue.
Step 2: Attach the casters. I always wait until the glue has fully cured, then flip the base over and mount all four swivel casters so the finished tower can be rolled around the yard or patio.
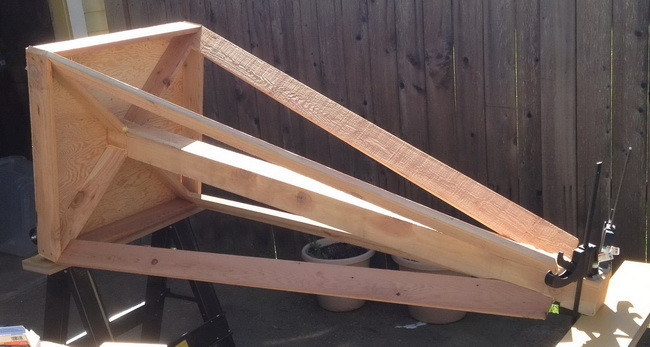
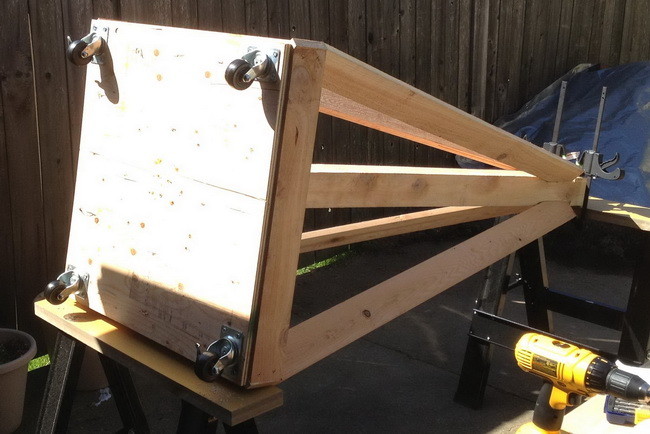
Step 3: Cut and miter the tier boards. This is the step where the compound miter saw earns its keep. I’d cut your soil-holding boards to size first, then dial in the compound angle and miter each board so the tiers stack cleanly around the central post.
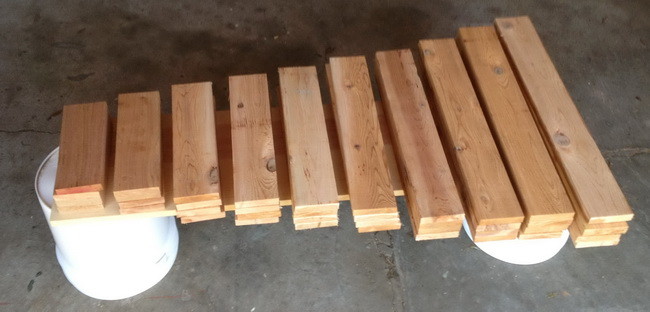
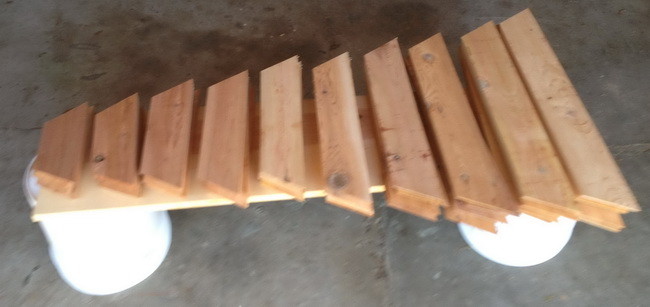
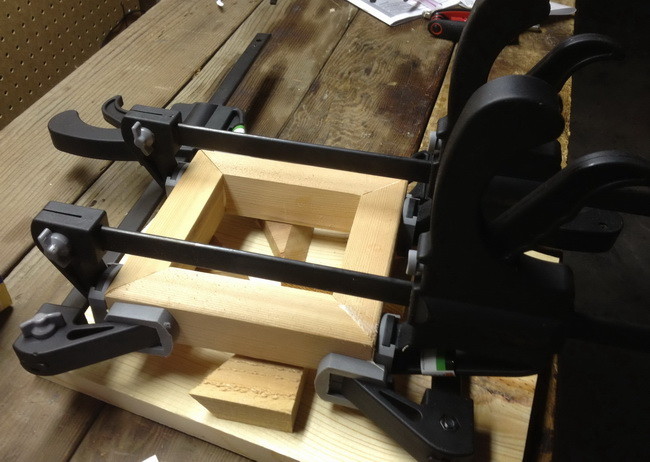
Step 4: Build the top cap. Glue up your 2×2 cedar pieces to form the cap that finishes off the top of the tower and gives you a place to eventually mount an irrigation line.
Step 5: Start stacking tiers and adding soil as you go. Attach your first soil-holding board near the base, then start filling with soil right away rather than waiting until the whole tower is assembled. I always fill each tier as I go — it’s a lot easier to pack dirt into a low, open tier than to reach down into a tall, mostly-closed one later.
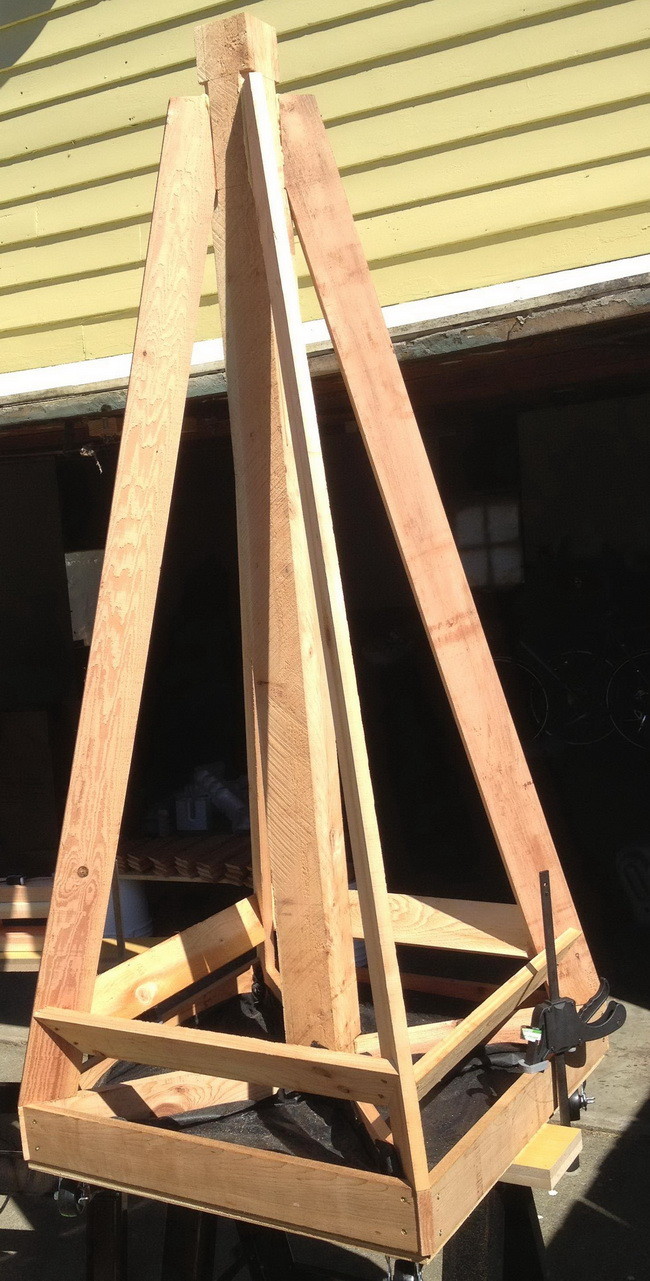
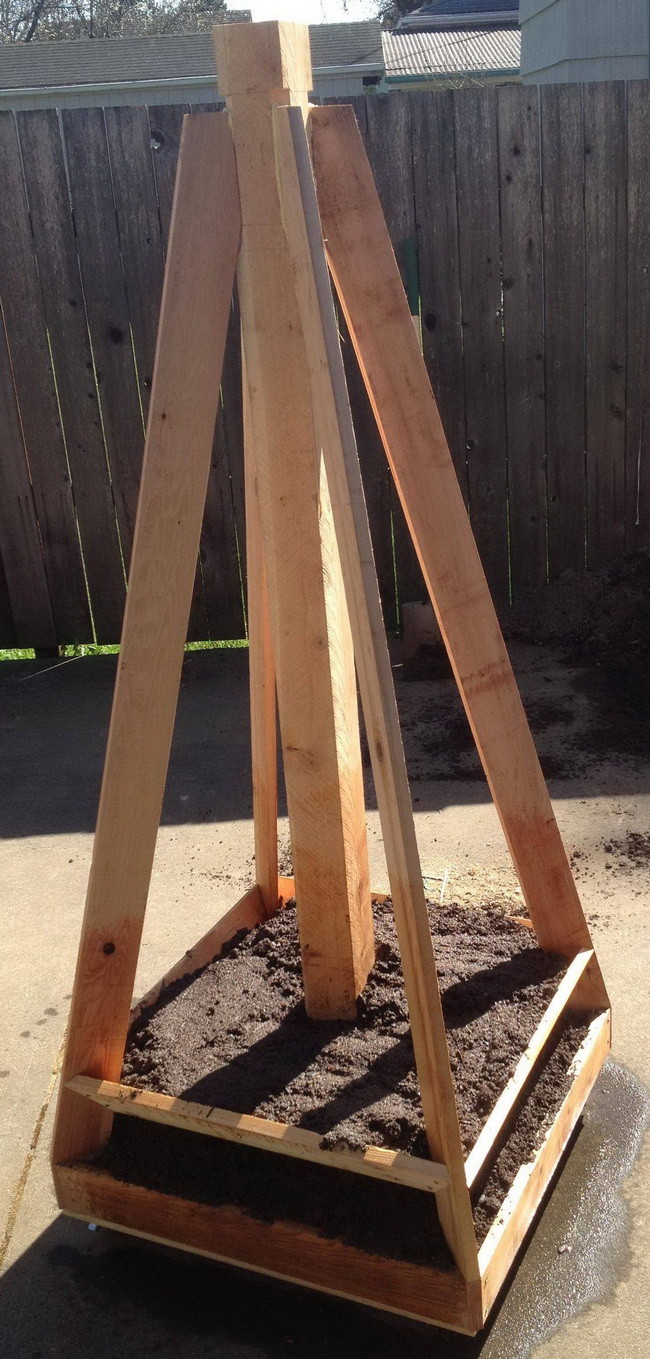
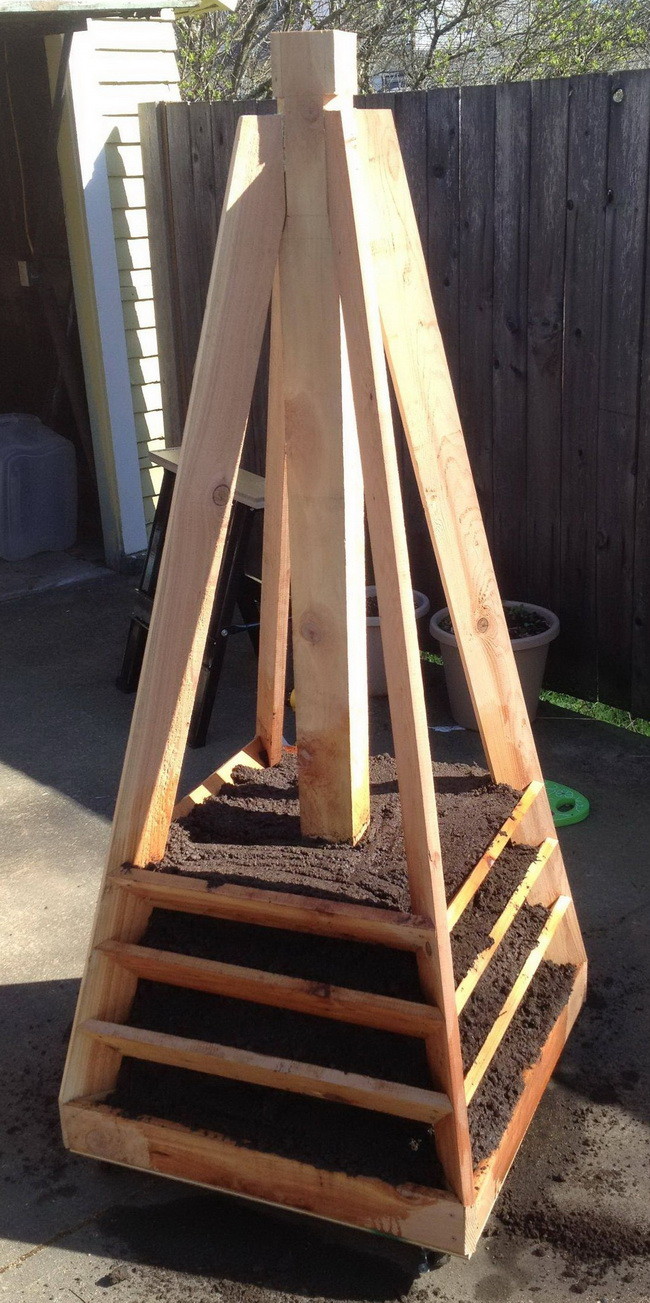
Step 6: Keep building upward, tier by tier. I keep repeating this pattern — attach a mitered board, fill it with soil, then move up to the next tier — working my way up the central post one tier at a time.
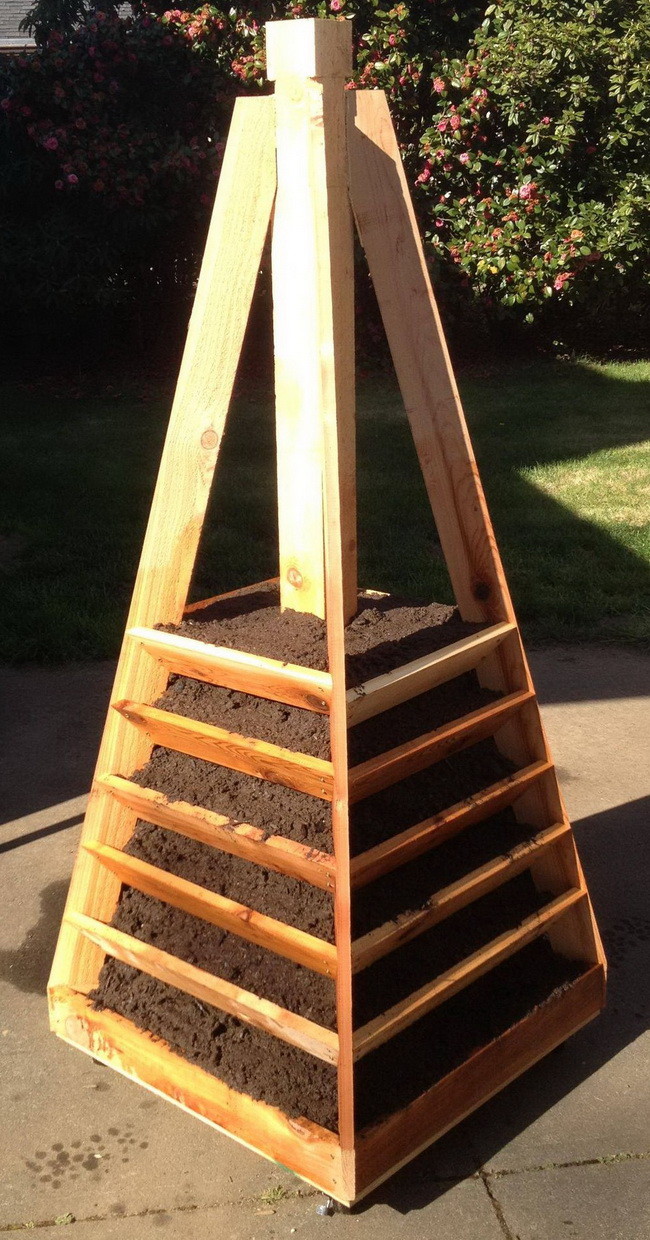
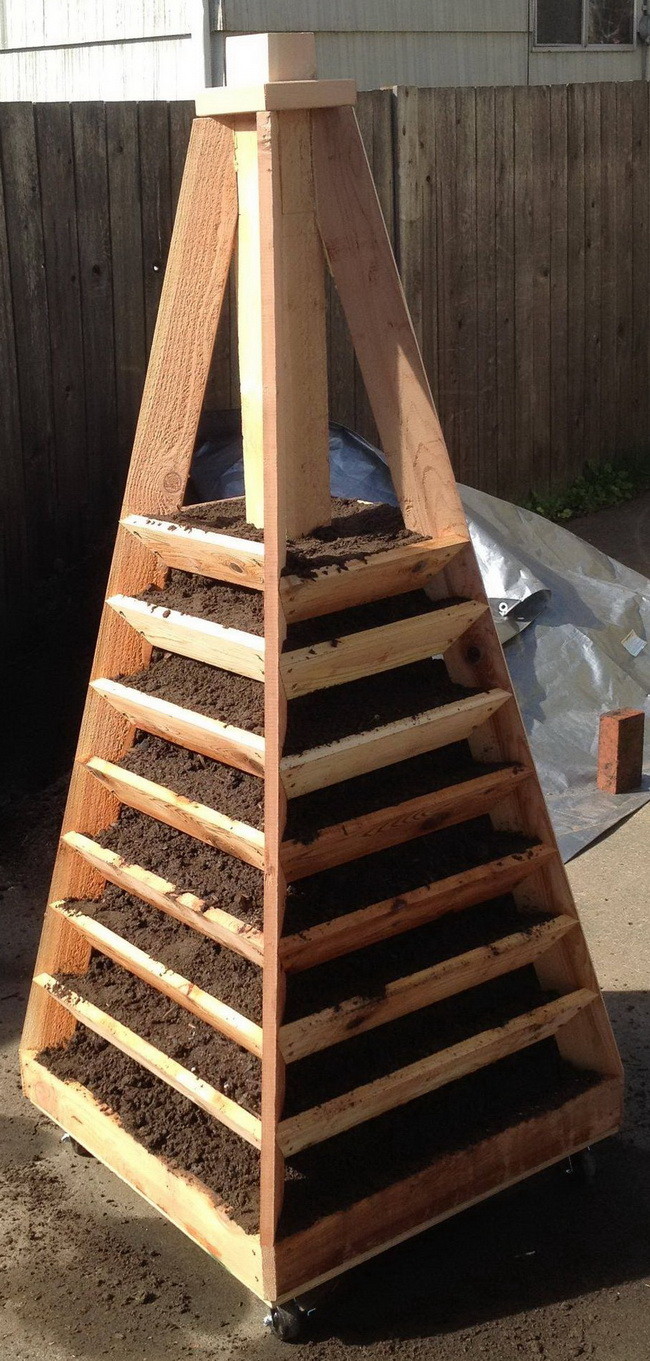
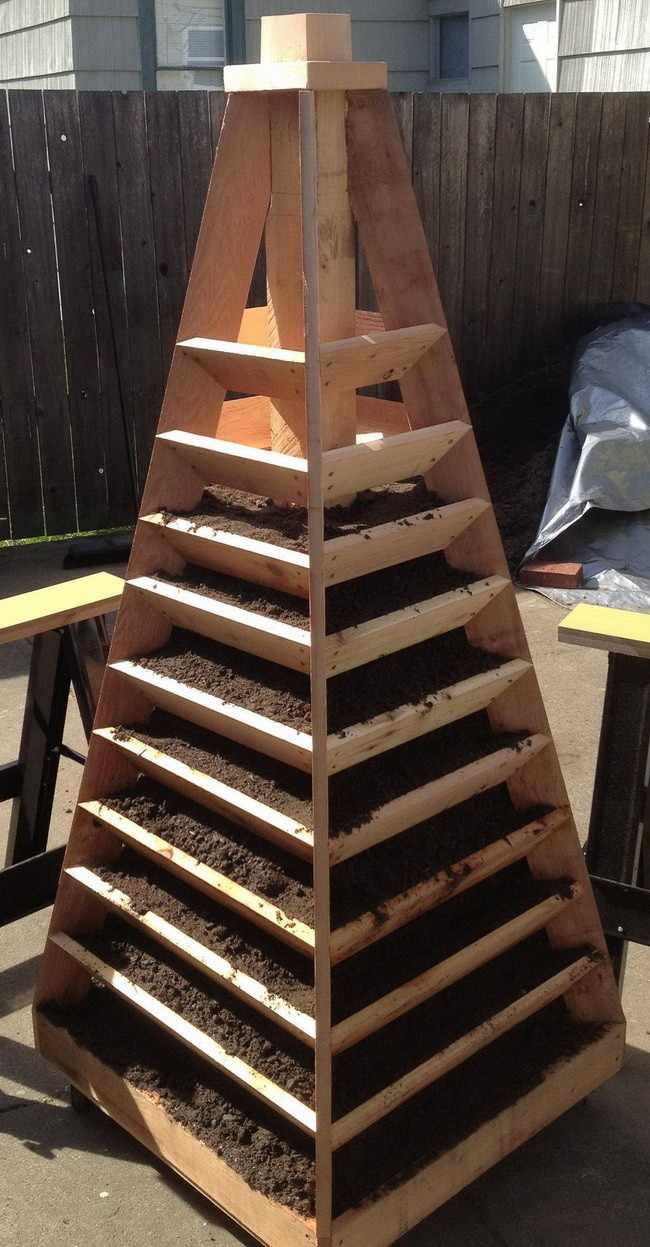
Step 7: Finish the top. Once you reach the top cap, I’d add a simple irrigation setup here — water poured or dripped at the top will work its way down through every tier below it.
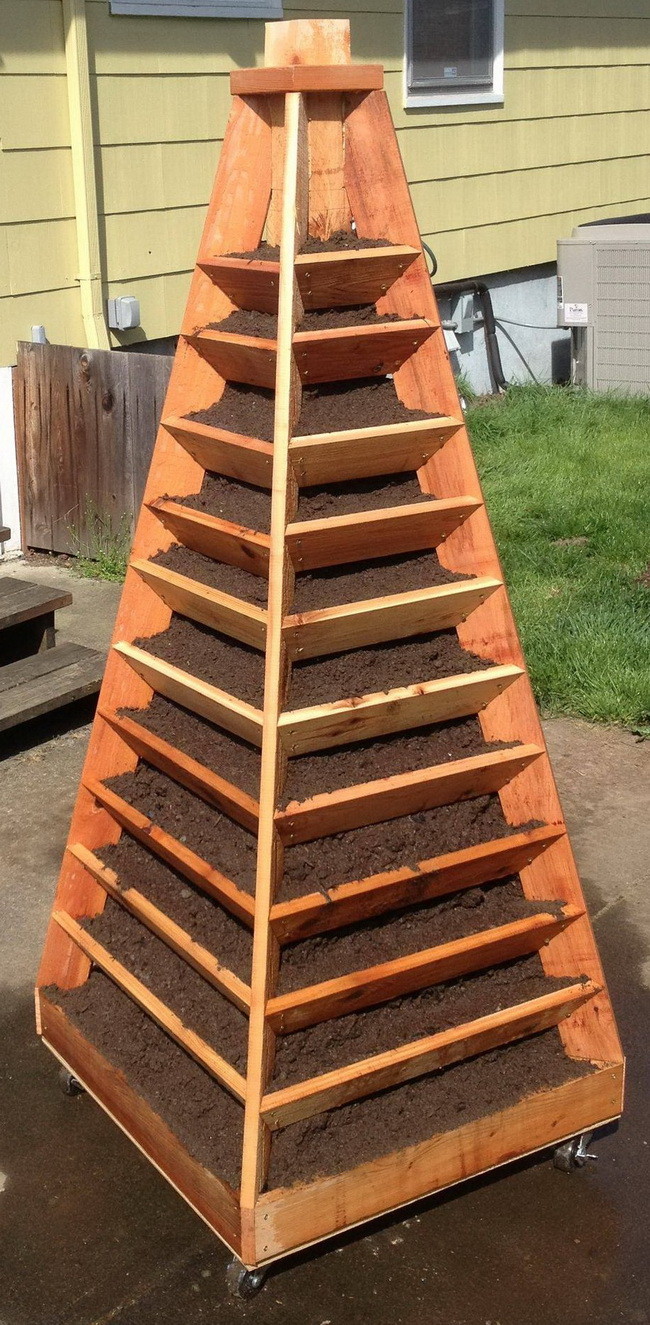
Step 8: Plant it and enjoy the results. With every tier filled, go ahead and plant your strawberries, lettuce, herbs, or whatever else you’ve been wanting to grow but never had room for.
For a look at how another builder approaches a similar stacked planting structure using PVC and irrigation lines, this walkthrough is worth watching before you finalize your own design:
Pro Tips for Longevity and Efficiency
A few small extras will make a noticeable difference in how long this tower lasts and how well it performs:
- Coat the plywood base with varnish before you assemble anything — untreated plywood sitting on wet soil breaks down fast, so I always seal mine before assembly rather than skip that step.
- Layer rocks and gravel underneath the soil in each tier to help with drainage and keep roots from sitting in standing water.
- I always run a time-controlled spray or drip irrigation line to the top of the tower so water reaches every tier evenly, since the upper levels tend to dry out fastest.
- In my experience, a length of PVC pipe with small drip holes drilled along it works well as a simple, low-cost irrigation method for strawberries and similar shallow-rooted plants.
If you like the idea of building smart, space-saving structures like this one, the same vertical-thinking approach shows up indoors too — the DIY Murphy bed with hardware kit is another project built around getting more use out of a small footprint.
For more background on how vertical growing systems work and why they’re effective for small spaces, Oklahoma State University Extension has a solid overview of building a vertical hydroponic tower. And if you want to see other takes on strawberry-specific tower designs before committing to this one, both the FanningSparks strawberry tower tutorial and the MyOutdoorPlans strawberry tower plans are worth a look for comparison.
Garden Pyramid Tower Ideas From Readers
Once you’ve got the basic structure down, this design works for a lot more than strawberries. I’ve seen readers send in photos over the years showing what else fits well in a tiered tower like this one.
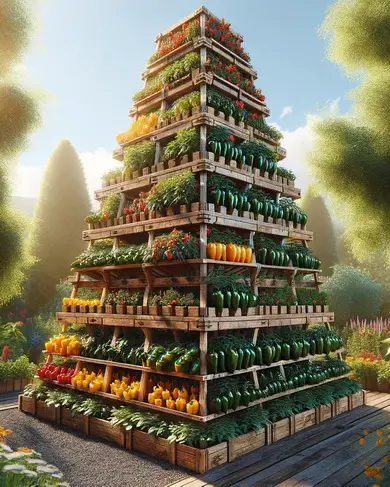
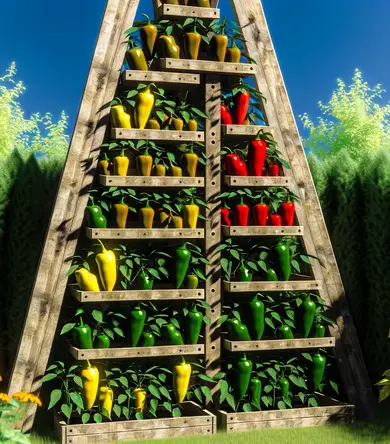
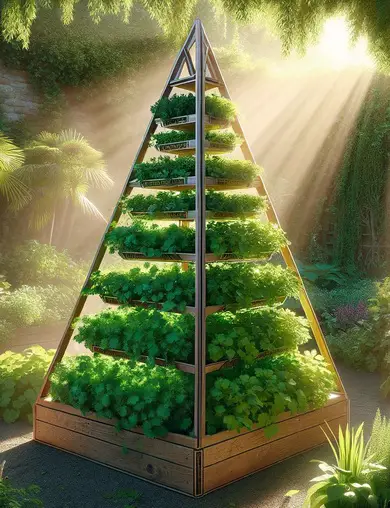




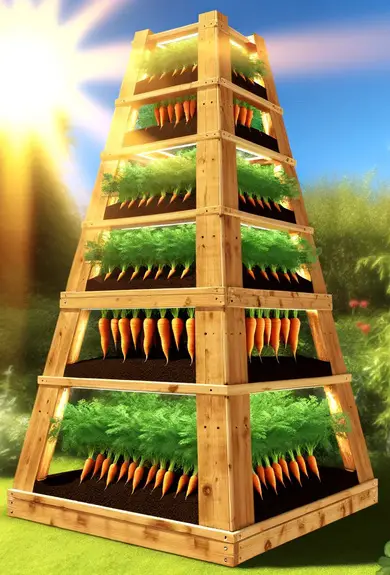
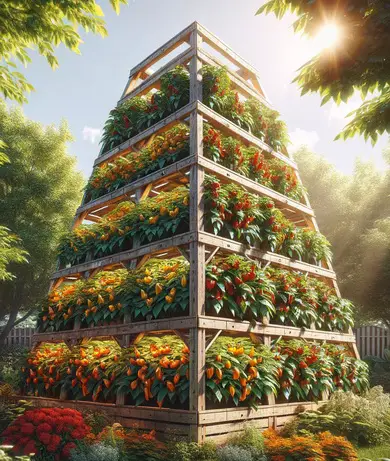
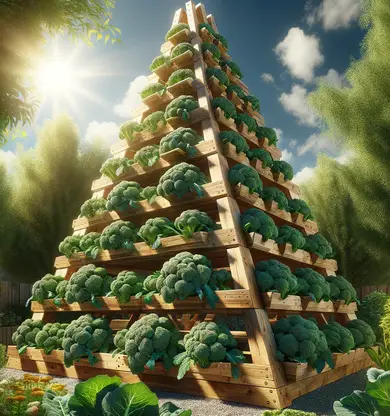

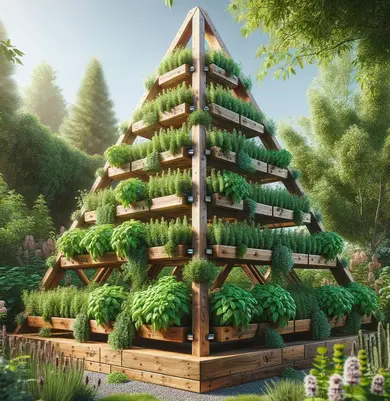


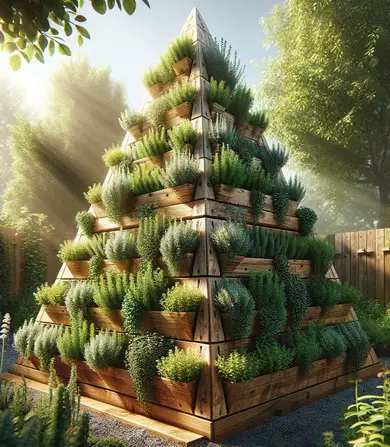
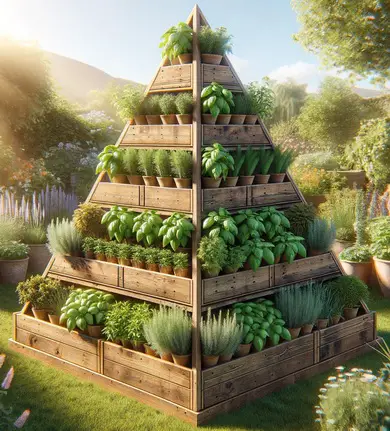
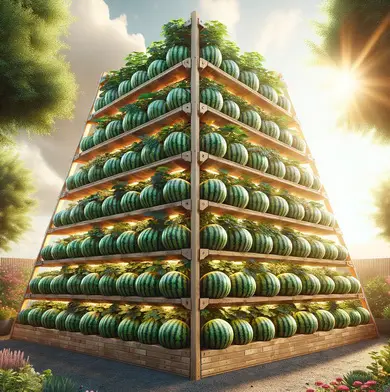
I think building a vertical garden pyramid tower solves the limited-space problem and gives your yard or patio a genuine focal point at the same time. For about $219 in materials and roughly 16 hours of build time, I’d say you end up with a mobile, cedar planter that can hold strawberries, herbs, peppers, or a mix of all three, tier after tier.
Do you have a garden tower photo of your own that’s a little different from the ones above? I’d love to see it — let us know in the comments below.

Written by Keith Schneerer
Certified Appliance Tech · Founder, RemoveAndReplace.com
Keith has spent 30+ years repairing machines, starting as a military mechanic and later maintaining food processing equipment before moving into appliance repair. He founded RemoveAndReplace.com to share field-tested repair advice.
More about Keith →
chase….I would think on the lower tiers especially that larger veggie plant roots would take up that space. If you lose the space it will likely stunt the plant growth and production. The boxes are shallow enough that you’re going to need that extra space.
Christian….cedar lasts a very long time.
LaVon….I think it is all in their book.
Martha…
My garden is completely in containers since we have very limited outdoor space. We made a drip system from plastic tubing for drip systems, soaker tubing, and a timer. We attached the timer to our water pipe, cut lengths of tubing and put a section of soaker hose in each container. All of the end are plugged off with caps so water doesn’t gush out. I set up the timer to early mornings for about an hour a day. This of course depends on where you live and how hot it gets. You can make the system as short or long as you want. I generally have 12-15 containers. Oh…and we put a double split on the water pipe so we could use the other one too.
It worked so well that we went off for a week’s vacation and had to pick, pick…veggies when we returned as they flourished so well.
Great looking vertical garden. And looks to be a simple build.
My only change at this point addresses the amount of what I see as wasted soil, which increases the lower you go on the tower.
Window Boxing each level where needed or building a secondary internal pyramid to form a back wall would eliminate the unneeded dirt.
The very top of course and maybe a couple levels down wouldn’t need this boxing or back wall.
It would also lighten the entire assembly to ease moving it around.
And, by doing so, you might save enough soil to possibly use in a second one…After all, as nice as they are, you gotta build more than one.:-)
This is a very neat idea, I like the change to a 4″ PVC Pipe for watering, as for the longevity of this project, could you use these new style of decking boards that are a plastic material, you would actually have something that would not go bad at all.
Would be a great sell.
Can i use these structure for growning chili pepper? Thanks!