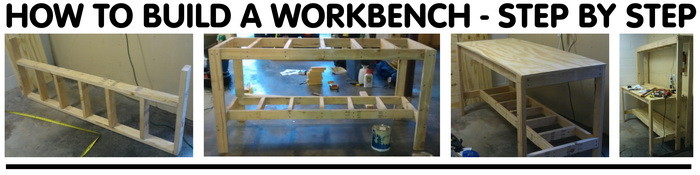
There are many different ways to get your garage organized but one of the easiest is to build a DIY Workbench. This handy organizer will cost you from $50 to $200 dollars (depending on your local prices) and you can build this Garage Workbench in as little as 4 hours. The bench will include a place to hang your tools, a nice bright overhead light, a place to construct and build other projects, and help you contain the mess in your garage once and for all.
Tools Required For The DIY Workbench Project:
1 – Straightedge
1 – Pair Safety glasses
1 – Miter saw
1 – Cordless drill
1 – Tape measure
1 – Circular saw
Materials Needed For The DIY Workbench Project:
15 Pieces – 2 x 4 wood ($38.00)
1 Sheet – 4 x 8 x 1/2 inch plywood ($27.00)
1 Sheet – Pegboard ($21.00)
1 – Hanging light fixture ($14.00)
1 Box of – Pegboard hangers ($8.00)
1 Box of – 3 inch drywall screws ($7.00)
1 Box of – 1 5/8 inch drywall screws ($7.50)
Approximately $122.50 dollars total plus tax for all supplies needed – (Priced in the USA).
Wood Cutting Measurements List:
Quantity of 9 – 71 7/8″ (backer boards, upper shelf legs and rims)
Quantity of 4 – 68 7/8″ (work surface and lower shelf rim)
Quantity of 4 – 35 1/2″ (legs)
Quantity of 4 – 27″ (end rims)
Quantity of 5 – 24″ (work surface joists)
Quantity of 5 – 15″ (lower shelf joists)
Quantity of 7 – 9″ (upper shelf joists)
This 30 inch deep x 6 feet long workbench is the ultimate in garage organization. It is constructed from fifteen pieces of 8 foot long 2 x 4’s and one 1/2 inch thick sheet of plywood. Screw the wood framing together with the 3 inch screws. Then screw the plywood onto the frame with the 1 5/8 inch screws.
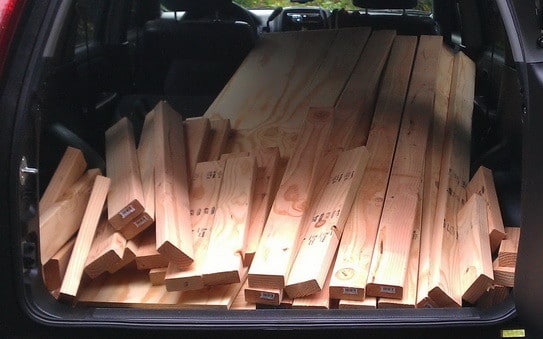
We went to our local Home Depot and had them cut all of the wood for us to make our life easier.
The wood cost was right around $80 bucks and they cut the wood for us for free.
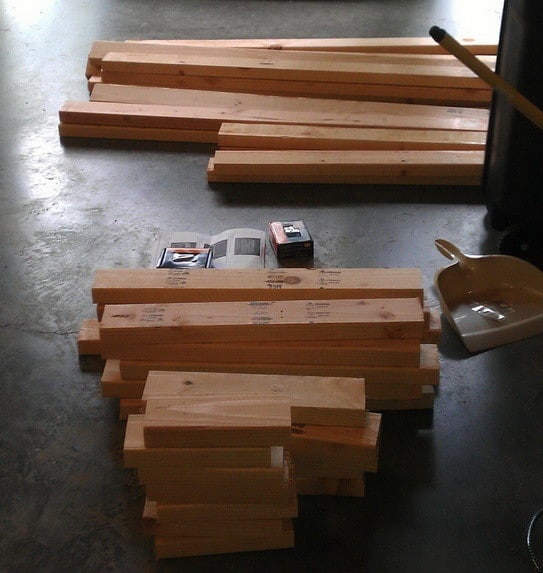
Here is our wood for our bench neatly organized and labeled to make assembly easy.
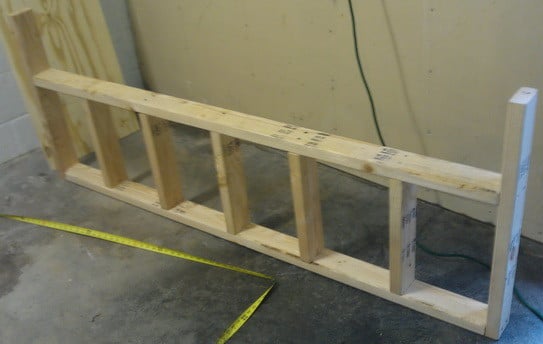
We started out putting the bottom shelf of our workbench together first.
We used the 3″ drywall screws to start to put the framing of the bench together.
It is recommended to drill a few pilot holes in the wood with a small drill bit before screwing in the screws.
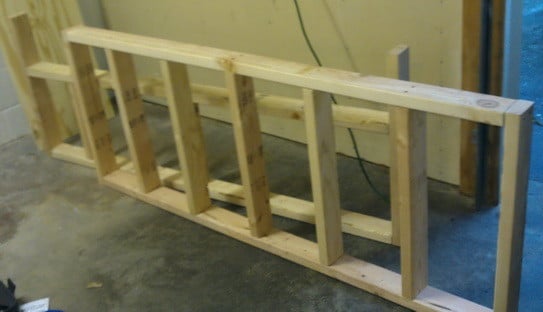
We then assembled the top of the workbench in the same manner as the bottom using the 3″ wood screws.
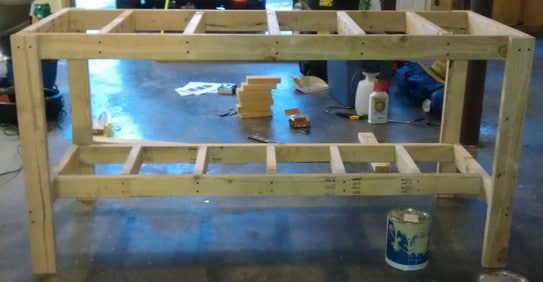
Once the top and bottom shelf were assembled we screwed the legs to the bench using more 3″ wood screws.
NOTE: Always put two 3″ wood screws evenly spaced and into the attach areas as shown in the photo above.
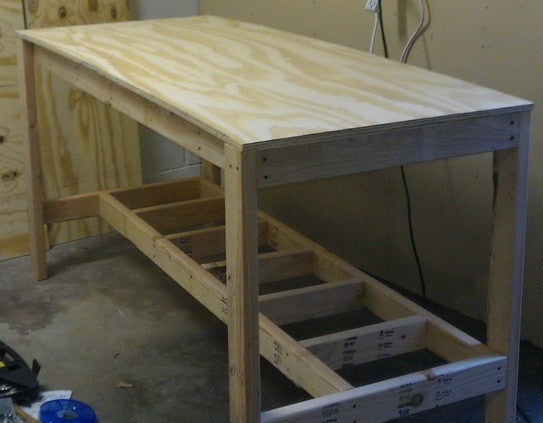
We then attached the 6 foot by 30″ deep top plywood board using the 1 5/8 wood screws.
This will be the area that we do our future projects on that will keep our garage organized.
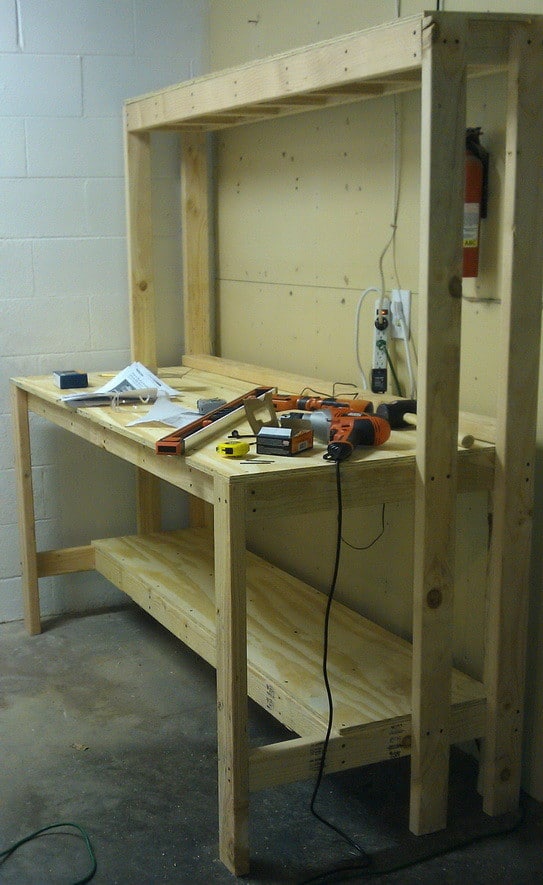
We are progressing along as the top pegboard structure and the bottom shelf top has been assembled.
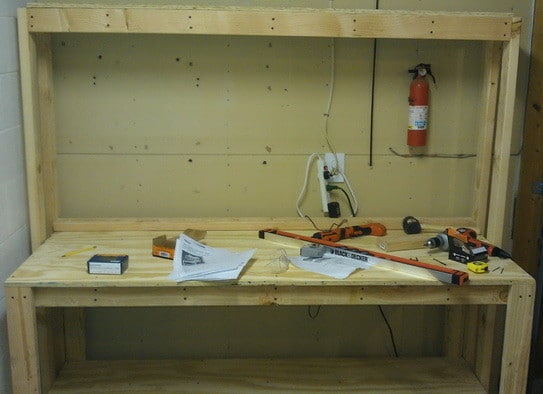
Here is another view straight on of our workbench.
All we need now is the pegboard and light fixture and it is completed.
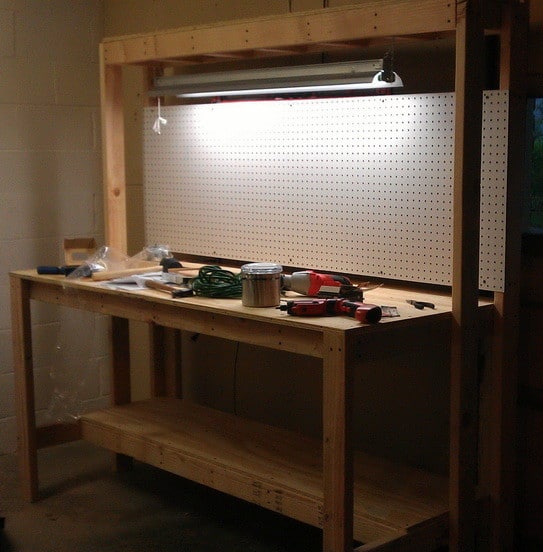
Here is the finished project with our nice bright light and pegboard installed to hang our tools.
This project will take you from 4 to 8 hours depending on your skill level
and your access to the proper tools you have to make this project go faster.

Written by Keith Schneerer
Certified Appliance Tech · Founder, RemoveAndReplace.com
Keith has spent 30+ years repairing machines, starting as a military mechanic and later maintaining food processing equipment before moving into appliance repair. He founded RemoveAndReplace.com to share field-tested repair advice.
More about Keith →


Thanks for the helpful instructions. I’m in the process of building my first official workbench and organizing my smallish garage.
Brenton Newell,
The dimensions of the peg board will be different for each area the workbench will be in. It will all depend on the size you need.
-RR
could you tell us the dimensions to the pegboard?