HVAC repair costs vary a lot depending on what’s actually broken. A blown capacitor is usually a $150–$400 fix. A failed compressor can run $1,500–$2,500 or more. A refrigerant leak costs somewhere in between, once you add recovery, repair, and recharge. The part alone rarely tells the whole story. Labor and diagnostic time matter just as much.
Wondering what a similar repair might run you? Try our Repair Cost Estimator for a ballpark parts + labor range.
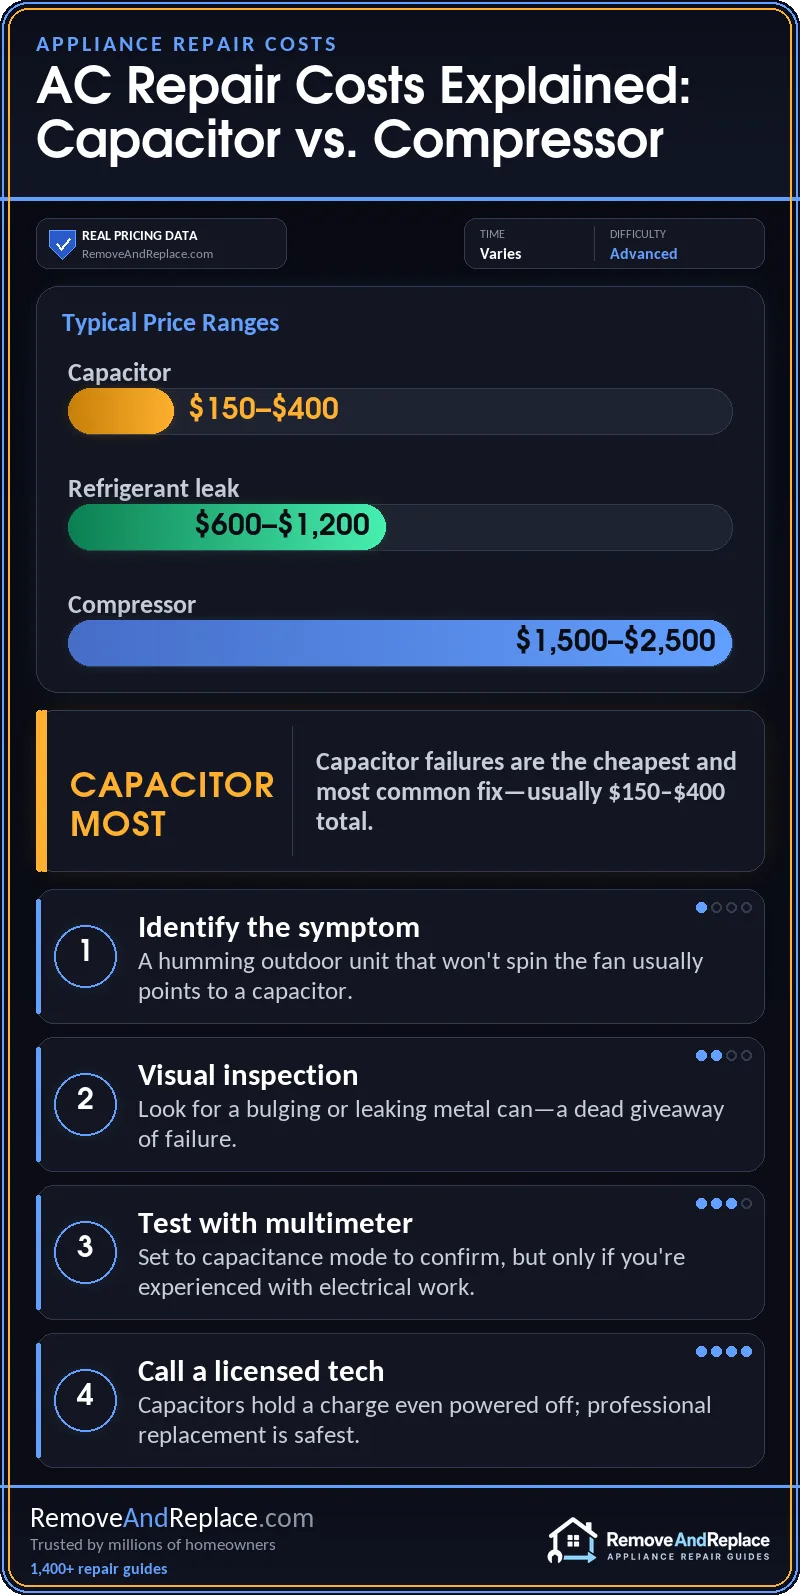
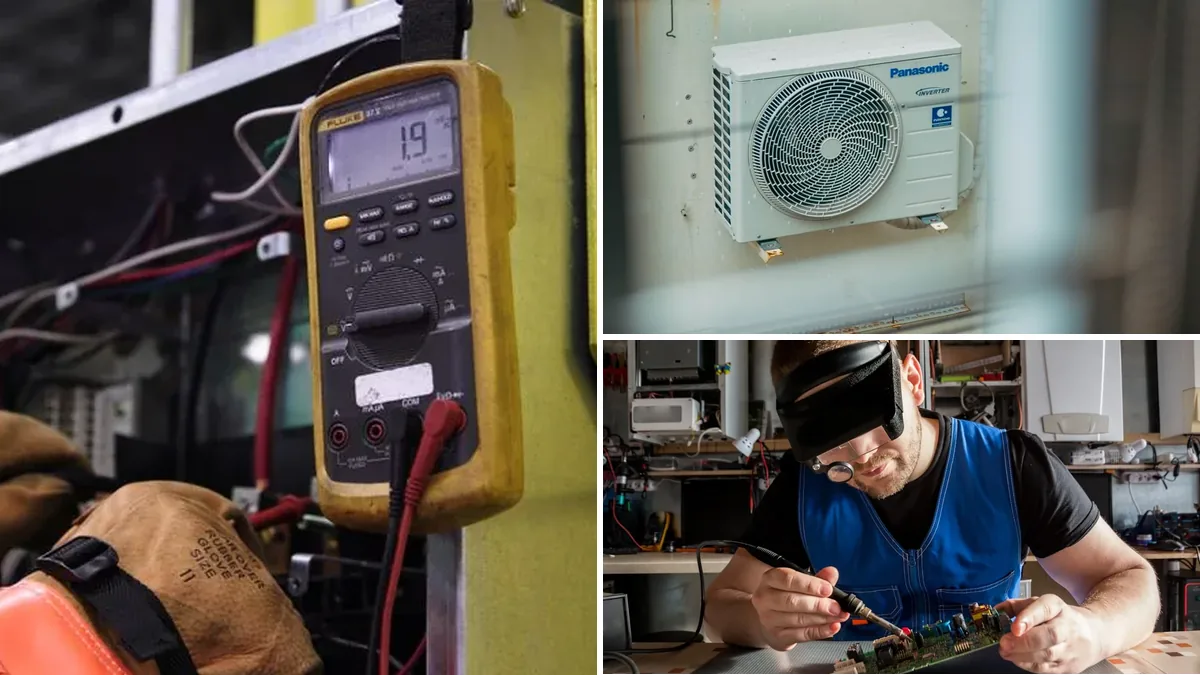
- Capacitor failures are the cheapest and most common fix on this list — usually $150–$400 for parts and labor combined.
- Compressor problems are the most expensive single-component repair, and on an older system often make replacement the smarter call.
- Refrigerant leaks aren’t a DIY repair — a licensed tech handles that one, and I get into why below.
| Cause | Likelihood | Fix Cost | DIY Time |
|---|---|---|---|
| Bad capacitor | Most common | $150–$400 | 30–45 min (advanced DIY only) |
| Refrigerant leak | Common | $600–$1,200 | Not a DIY job — requires certification |
| Failed compressor | Less common | $1,500–$2,500+ | Not a DIY job |
What’s Actually Driving Your HVAC Repair Cost
Most homeowners hear about a broken air conditioner and brace for the cost of a full replacement. After 19 years working aircraft maintenance in the U.S. Air Force before I moved into equipment repair, I’ve found most repairs aren’t nearly that bad. Three parts cause most service calls, and the price gap between them is huge. A run capacitor is a small metal can, about the size of a soda can. When it fails, the outdoor unit hums but the fan won’t spin. A refrigerant leak costs more to track down and repair. A compressor is the heart of the system, and when it fails, the bill can get close to the cost of a whole new unit. A cheap part ignored becomes an expensive one fast — that lesson holds true no matter what system you’re working on.
The assumption I run into constantly is that any repair call means the unit is dying. It doesn’t work that way. I’ve swapped $28 capacitors on 15-year-old units that kept running fine for another five years after that. The compressor and the capacitor fail for completely different reasons. Only one of them usually means the unit is actually on its way out.
The wrong move I see most: a breaker keeps tripping, and someone just keeps resetting it and hoping it holds. That’s usually a failing capacitor, or a compressor pulling more current than it should. Forcing the breaker back on every time adds more strain to a part that’s already struggling. Keep doing that and you can cook a compressor that might have been saveable. If a breaker trips more than once on the same unit, stop resetting it and get it diagnosed. If your unit is cycling on and off instead of tripping the breaker outright, short cycling is a different problem with its own set of causes, and it’s worth ruling that out separately.
How Much Does It Cost to Replace an HVAC Capacitor?
A run or start capacitor is the most common part I replace on a home HVAC system. Parts alone run $10–$30. Once you add a service call and labor, expect around $150–$400 total. The tell is usually a humming outdoor unit that won’t spin the fan, or a compressor that clicks and tries to start but won’t catch. If your system worked fine yesterday and won’t turn on today, check the capacitor before you assume anything worse.
You can test a capacitor with a multimeter set to capacitance, if you know what you’re doing. But I wouldn’t recommend it as a first DIY project — these parts hold a charge even with the power off, and that catches people off guard the first time. A bulging or leaking capacitor is a dead giveaway even without a meter. If the metal can looks swollen or has fluid on top, it’s done.
What Does It Cost to Fix a Refrigerant Leak?
A refrigerant leak repair usually runs $600–$1,200 once you add leak detection, the repair itself, and recharging the system. It can cost more if the leak is in a hard-to-reach spot like the evaporator coil. This is the one job on this list you genuinely can’t do yourself. Refrigerant handling requires EPA Section 608 certification, and buying refrigerant without it isn’t legal. If a tech tells you your system just needs “a top-off” without finding and fixing the actual leak, you’re gonna be paying for that same refrigerant again in a year.
What Does Compressor Repair or Replacement Cost?
When a compressor fails, the repair conversation changes fast. Replacing a compressor alone typically runs $1,500–$2,500 in parts and labor, before factoring in refrigerant recovery and recharge if the sealed system had to be opened. On an older unit, a lot of techs — myself included — will tell you straight up that putting that kind of money into a compressor on a 12-plus-year-old system usually isn’t worth it. You’re better off pricing a full replacement and comparing the two numbers side by side.
When a compressor is on its way out, you’ll usually hear it before you see any other symptom. Listen for a loud clunking or grinding on startup. Or a hard start, where the unit hums for a few seconds before it kicks in — or doesn’t kick in at all.
I’ve also seen compressors get blamed for problems they didn’t cause. A dirty condenser coil can make the compressor work harder. A low refrigerant charge from a slow leak can too. So can a bad start capacitor that won’t let the compressor turn over. All three get misdiagnosed as compressor failure more than people realize. Before anyone quotes you a compressor replacement, make sure they’ve actually confirmed it’s the compressor, and not one of these cheaper causes wearing a compressor’s symptoms. If cold air isn’t the complaint but the unit’s still struggling, it’s worth checking whether the AC is running but not blowing cold air for reasons that have nothing to do with the compressor at all.
If the compressor really is toast and the unit’s still under 10 years old, some manufacturers cover the compressor itself under a parts warranty, even after the original install warranty expires. It’s worth a call before you pay for the part twice — you don’t gotta pay for it twice if a warranty’s still active. Labor is still on you either way, and that alone can run several hundred dollars depending on how tight the space is to work in.
How Do I Know If It’s the Capacitor or the Compressor?
Start with what the outdoor unit is actually doing. If it’s quiet except for a faint hum, and the fan isn’t spinning at all, that’s classic capacitor territory. With the power off, a gentle push on the fan blade with a stick will sometimes catch and spin it up — that basically confirms it. If the unit clicks, tries to start, and shuts back off repeatedly, or you’re hearing grinding or knocking, that points toward the compressor instead. No sound at all, and the breaker’s fine? Check the thermostat and the disconnect switch before you assume either part is bad. I’ve made that mistake myself more than once. And if the unit is throwing a fault code instead of just going quiet, it helps to know what you’re actually looking at; York’s error codes, for example, spell out a lot of this before you even open a panel. If you’ve got a Samsung system instead, their indoor unit error codes cover a similar range of faults worth checking first.

Never open the electrical panel or the sealed refrigerant system without cutting power first and confirming the capacitor’s discharged. Capacitors can hold a dangerous charge even after the unit’s unplugged. If you’re not confident doing that safely, this is a job for a licensed tech.
A capacitor itself costs $10–$30 on RepairClinic, and a full service call for the same swap runs $150–$400. This Old House’s capacitor pricing breakdown gives a closer regional estimate if you want to compare. Compressor and refrigerant work is a different story — both involve a sealed, pressurized system, and refrigerant carries the certification requirement covered above. That’s not a corner I’d recommend cutting, even if you’re comfortable with a multimeter.
How to Avoid Another Big AC Repair Bill
The single best thing you can do to avoid another expensive repair is keep the outdoor coil clean and the airflow around it clear. A dirty coil makes the compressor work harder every cycle, and that’s exactly the kind of stress that kills capacitors and shortens compressor life. I’d rinse the outdoor coil with a garden hose twice a year and keep at least two feet of clearance around the unit. It’s a five-minute job that can genuinely buy you a few extra years. And if the airflow problem turns out to be indoors instead, it’s worth ruling out why the air conditioner isn’t blowing cool air before assuming the outdoor unit is to blame.
Frequently Asked Questions
These are the questions I get asked most once someone’s already staring at a repair quote.
Is it normal for an AC repair quote to grow once work starts?
Sometimes, yes. A quote for “compressor replacement” can grow once a tech gets in there and finds the coil’s also dirty, or the refrigerant lines have corrosion. I always tell people to ask for the diagnostic breakdown before agreeing to anything, so you know exactly what you’re paying for and why.
Can I replace an HVAC capacitor myself?
If you’re comfortable working around stored electrical charge and know how to discharge a capacitor safely first, yes. Otherwise, no — not worth the risk.
How long does a typical HVAC repair take?
A capacitor swap is usually 30–45 minutes once a tech’s on site. Compressor or refrigerant work takes longer — budget half a day, sometimes more if refrigerant recovery is involved.
Does homeowners insurance cover HVAC repair?
Generally no, unless the failure was caused by a covered event like storm damage or a power surge. Normal wear and tear — which is most of what fails — isn’t covered.
Should I repair or replace an old HVAC system?
I use a rough rule: if the unit’s over 12 years old and the repair quote is more than a third of what a new system would cost, I’d lean toward replacement. Under that, repair almost always makes more sense.
Most HVAC repair bills come down to one of these three things, and the cost gap between them is the whole reason getting an accurate diagnosis matters. Don’t let anyone quote you a compressor replacement before they’ve actually ruled out the cheaper stuff first.

Written by Keith Schneerer
Certified Appliance Tech · Founder, RemoveAndReplace.com
Keith has spent 30+ years repairing machines, starting as a military mechanic and later maintaining food processing equipment before moving into appliance repair. He founded RemoveAndReplace.com to share field-tested repair advice.
More about Keith →