Most people who tell me their oven is lying are right about the number and wrong about the cause. The display and the cavity temperature are two separate things, and they only agree some of the time. Before you order anything, find out which one is off.
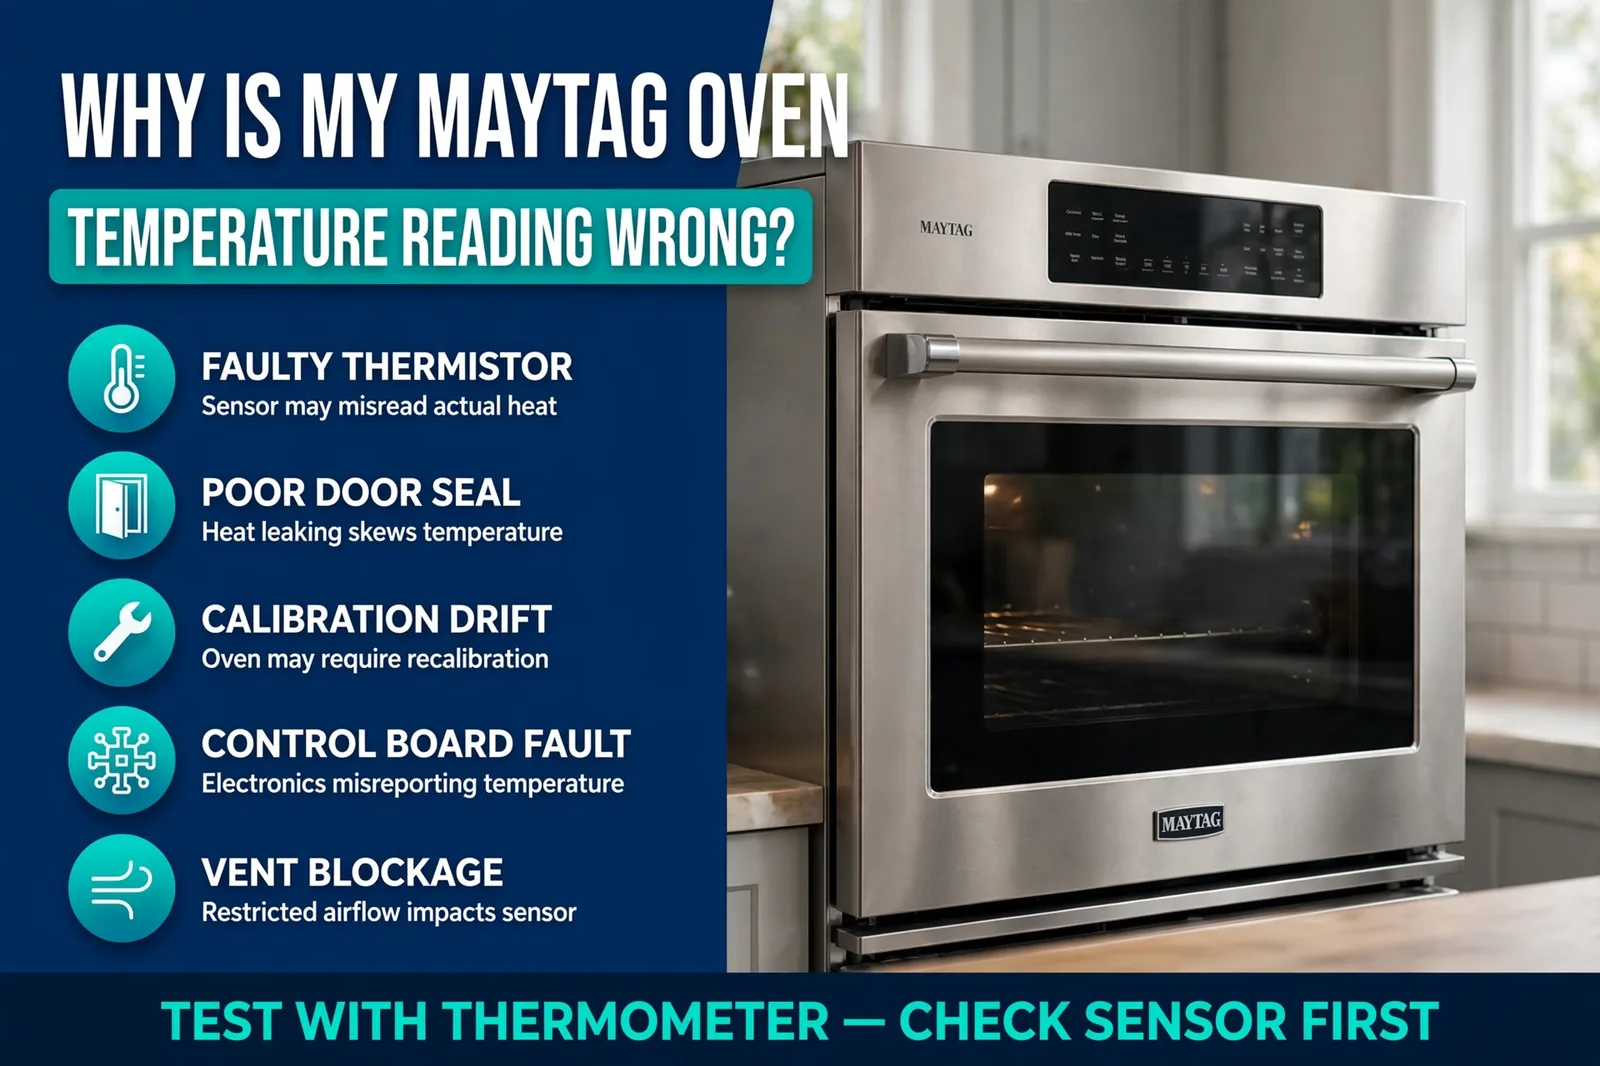
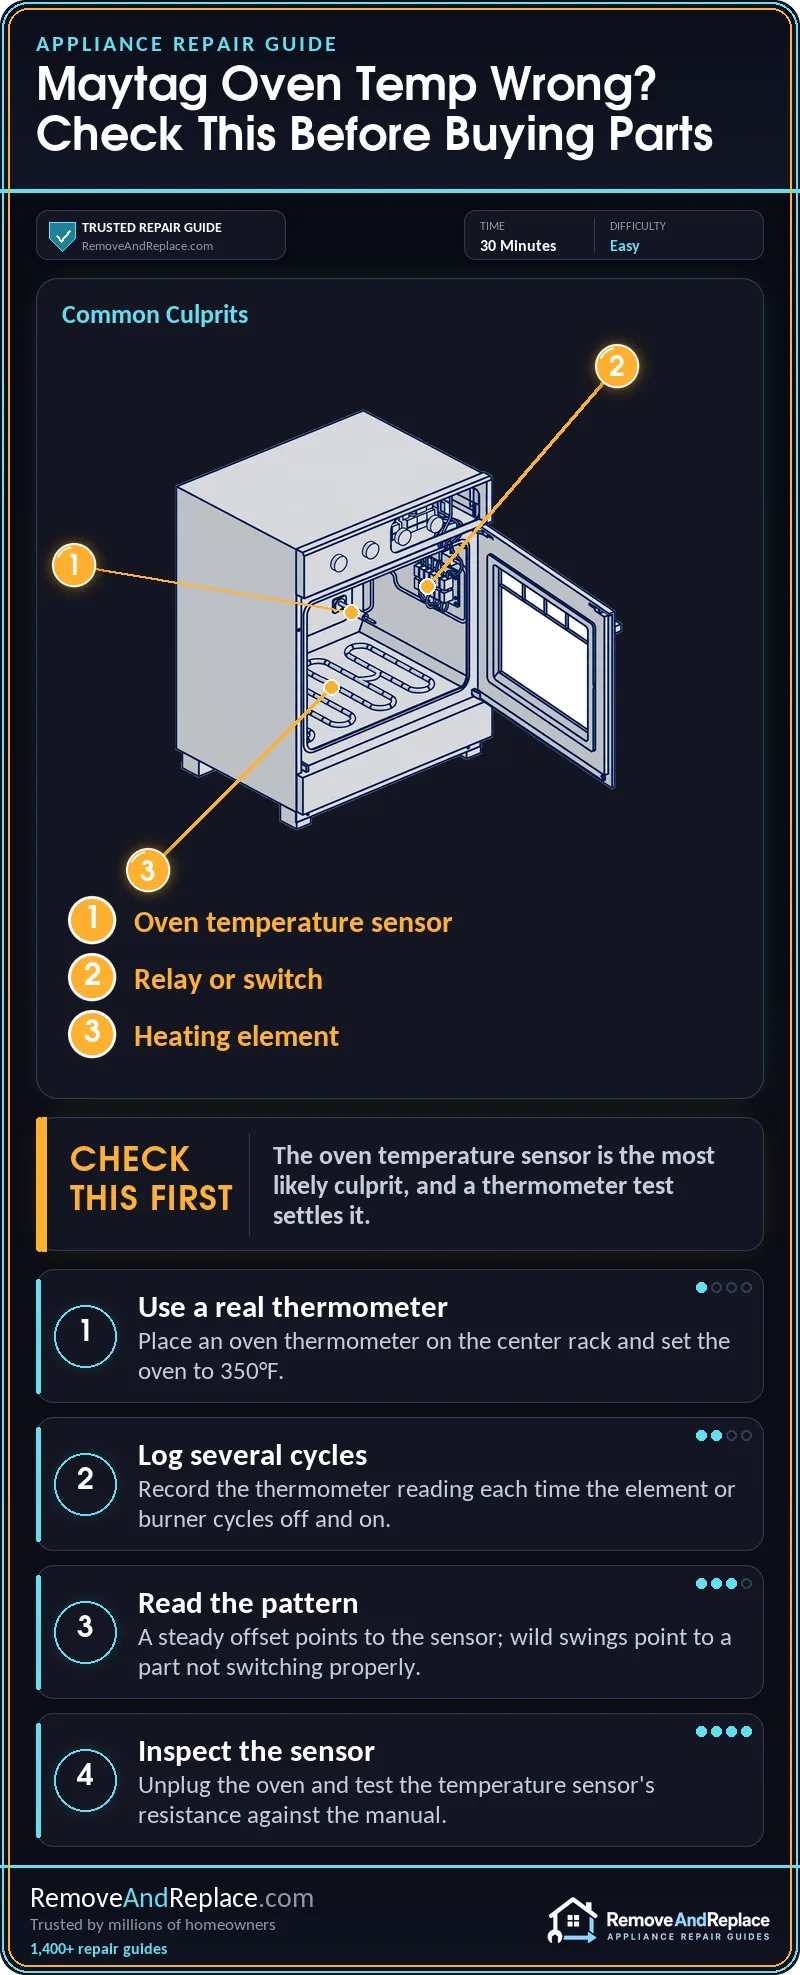
Maytag oven temperature wrong usually means a drifting sensor or a calibration offset, not a dead control board. Put an oven thermometer on the center rack at 350°F and watch several cycles: a steady gap in one direction points to the sensor; wild swings point elsewhere.
Is the Oven Wrong, or Is Just the Reading?
When a Maytag oven temperature wrong complaint comes in, it falls into one of two buckets. Either the heat in the cavity really is off (food burns or stays raw), or the cavity is fine and the display or control is misreporting it. The fixes are different, so sort that out first. It’s the same logic I relied on during 19 years of U.S. Air Force aircraft maintenance: never trust a single gauge until you’ve checked it against a second one.
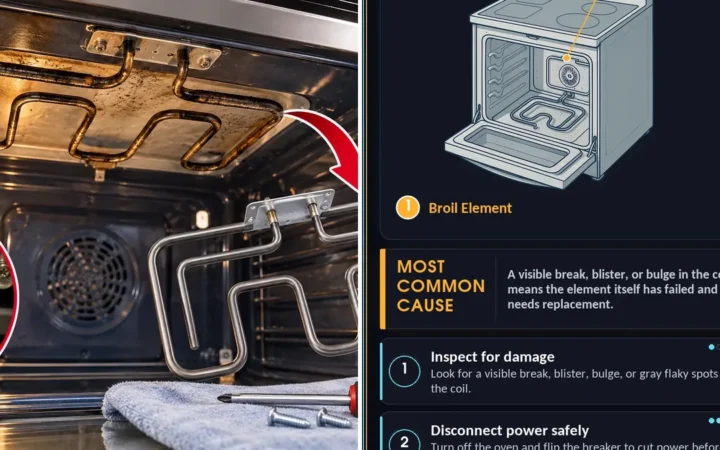
The most likely culprit in either bucket is the oven temperature sensor, the thin metal probe sticking into the cavity from the back wall. It tells the control what the oven is doing, and when it drifts, the control heats to the wrong point while the display looks perfectly confident. A bad relay or a worn element can also do it, but they’re less common.
The wrong assumption I hear most is that the preheat beep means the oven is at temperature. It doesn’t. The beep fires when the control thinks the air has reached the setpoint, and the walls and racks are still catching up for a while after that. Judge the oven once it has cycled for a good while, not on the first beep.
If the oven does not heat at all instead of running off-target, see Electric Oven Will Not Heat.
How to Test It With a Thermometer (and Not Fool Yourself)
Maytag’s own help pages treat the oven as accurate and don’t lean on thermometers, while repair sites go straight to one. Both can be right, because a single reading in a cold-started oven proves almost nothing. What matters is the pattern over several cycles. You can read more on the manufacturer’s side in Maytag’s oven temperature help page.
- Use a real oven thermometer. Skip the cheap dial that came free with something, and put it on the center rack, in the middle of the cavity, not touching the walls or the door.
- Set it to 350°F and let it preheat fully. Ignore the beep and give it extra time so the walls soak.
- Read it without holding the door open. Use a flashlight and a quick look through the glass. Every door opening drops the temperature.
- Log the high and low over several heating cycles. Write down the thermometer reading each time the element or burner shuts off, and again just before it comes back on, along with what the display said.
- Read the log. If the average sits off by the same amount in the same direction every cycle, you have an offset (a calibration or sensor drift problem). If the readings swing widely or change from cycle to cycle, suspect a part that isn’t switching properly.
The size of the gap that counts as a fault varies by model, so check your manual’s calibration range. A gap that is steady and repeatable is a lot easier to live with, and to fix, than one that wanders.
This video shows how to track down an oven that isn’t holding the temperature it should, and it’s worth watching before you open the back panel. It’s a good companion to the log above, since you’ll know what you’re looking for when you get to the sensor.
What It Usually Is, Ranked
I’d work through it in this order, cheapest check first.
- Calibration offset or a recent power glitch: compare your thermometer log to the display, then try the offset adjustment in the manual.
- Drifting temperature sensor: unplug the oven and measure its resistance at room temperature (steps below).
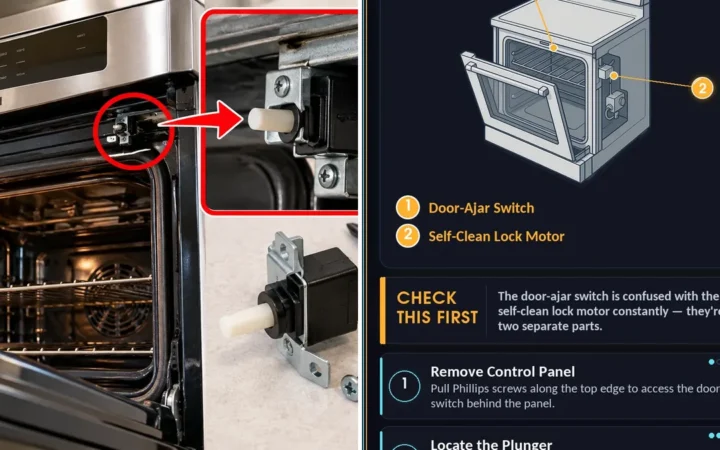
- Worn door gasket or a door that doesn’t seat: look for gaps or flattened spots, and feel for heat leaking around the edges.
- Weak element or igniter (bake or broil side): watch whether the oven is slow to climb or never gets there at all.
- Control board or relay fault: the display, beeps, or error codes act oddly, or the heat won’t shut off.
The Sensor: Where Most of These End Up
The sensor is a thin rod that sits inside the cavity, plugged into a use at the back. Its resistance changes with temperature, and the control reads that as the oven’s actual temperature. As it ages, it can drift, so the control believes the oven is cooler or hotter than it really is. The display looks fine and the baking is wrong, which is exactly the “reading versus real heat” confusion that sends people the wrong way.
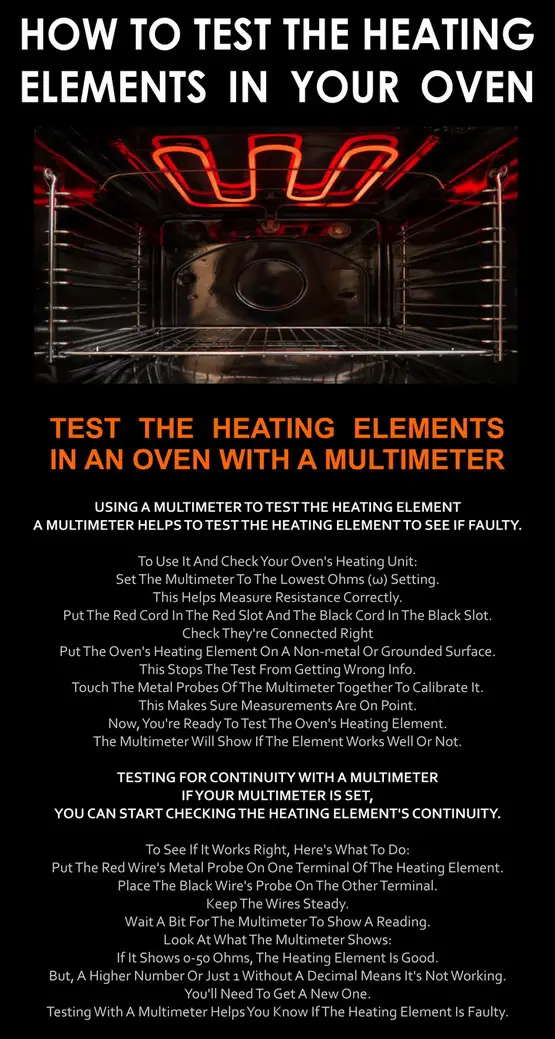
On a room-temperature oven, a healthy sensor usually reads somewhere around 1,000 to 1,100 ohms, but your model’s spec in the manual is the one to trust. A reading far off that, or an open circuit, means the sensor is done. A reading in range doesn’t rule out a bad connection at the plug, so check that too. If the display also throws codes, the Maytag oven error code list will help you tell a sensor fault from a board problem.
Replacing the Sensor
Unplug the appliance or switch off its breaker before you touch anything. Let the oven cool completely first. On a gas model, shut off the gas supply before you work on any gas component, and if you smell gas, leave and call your gas utility. A sensor swap doesn’t need you to open a gas line, so don’t.
- Cool it, then cut power. Pull the plug or flip the breaker, and take the racks out.
- Remove the sensor screws inside the cavity. They’re usually one or two small screws holding the probe’s bracket to the back wall. A nut driver or screwdriver does it.
- Pull the sensor out gently. Draw the use through the wall just far enough to reach the plug. Don’t yank, because the wires are thin and the plug is fragile.
- Measure it. Set a multimeter to ohms and compare the reading to your model’s spec at room temperature. Skip this only if the probe is visibly damaged.
- Swap in the new sensor. Match the plug, route the use the same way, and refit the bracket in the same spot.
- Restore power and re-run your thermometer test. Use the same method you used before so the comparison is fair.
Don’t bend the probe or move its position to “adjust” the temperature. A bent sensor reads wrong in a way you can’t predict.
Before You Order a Part
Run the thermometer log and the resistance check first. A pass is a steady thermometer reading that matches the display and a sensor in spec. A fail is a consistent gap and a sensor outside spec. Get the exact part number from the rating plate (usually inside the door frame or the oven frame) or from your manual. If you’ve lost the paperwork, this oven service manual roundup is a good place to start looking.
A Less Common One: Heat Leaking Past the Door
A door that doesn’t close tight leaks heat, so the oven runs long to reach temperature and the thermometer reads low near the door. Look at the gasket along its full length for flat or torn spots, and see if the door hinge is loose. If the door is also sticking or won’t release after a cleaning cycle, the locked oven door guide covers that problem separately.
Do You Still Need Calibration?
Maybe, once the hardware is right. The offset setting lets you shift the oven’s reading up or down. It’s meant for a steady gap, not for a part that’s failing. Maytag lays out the steps in its oven calibration guide, and the exact procedure depends on your control.
My mistake for a long time was calibrating first and diagnosing second. That just hides a failing sensor behind an offset, and the oven keeps getting worse underneath it. Test first, adjust last.
When to Stop
If the sensor is good, the door is tight, and the oven still swings or won’t shut its heat off, the board or a relay is likely at fault, and that’s the point to call a service tech. A gas smell or a sealed-wiring problem means stop immediately. For a double oven that also shows a door error, see this DOOR OPEN fix for Maytag double ovens.
Keeping It Accurate
A clean oven thermometer left on the rack is cheap insurance. Check it against the display once in a while, and wipe spills off the sensor and gasket so they don’t affect readings.
FAQ
Is a Maytag oven temperature wrong problem always the sensor?
No. The sensor is the most common cause, but a calibration offset, a leaky door gasket, or a weak element can all give the same symptom, so test before you buy.
How long should I run the thermometer test?
Long enough to see several heating cycles after full preheat. In my experience, one reading tells you almost nothing, but a handful of cycles shows whether the gap is steady or wandering.
Why does my oven beep done but the cake still comes out underdone?
The beep means the air reached the setpoint, not that the whole oven is soaked.
Can I fix a Maytag oven temperature wrong problem by calibrating alone?
Only if the gap is steady and the hardware checks out. I wouldn’t recommend using it to cover a sensor that’s out of spec, since the oven will keep drifting and you’ll be chasing it. For more detail on the symptoms and fixes, RepairClinic’s Maytag guide is a decent second opinion.
Is this a good DIY repair?
Testing and a sensor swap are manageable if you’re comfortable with a screwdriver and a multimeter, and I’d plan on an afternoon the first time. Anything involving the control board or gas parts is a job for a pro.

Written by Keith Schneerer
Certified Appliance Tech · Founder, RemoveAndReplace.com
Keith has spent 30+ years repairing machines, starting as a military mechanic and later maintaining food processing equipment before moving into appliance repair. He founded RemoveAndReplace.com to share field-tested repair advice.
More about Keith →