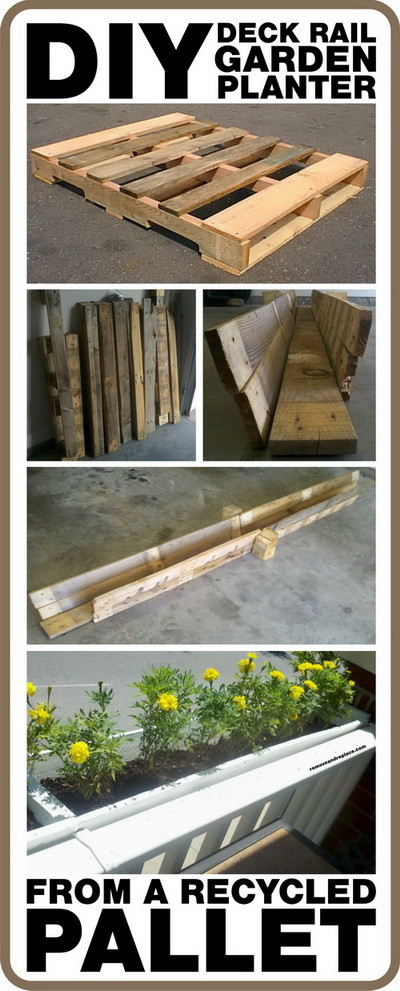
A smart and “green” way to recycle a wooden pallet is to make a simple DIY deck rail garden planter. This is also a great way to save money instead of buying wood by recycling a pallet. Interested in DIY projects with recycled pallets? Here are 64 more pallet recycling ideas for repurposing a wooden pallet.
First you will need to find a heat treated pallet that will be safe to grow flowers and or vegetables in. Once you have your pallet, you will then want to remove the wood from it to use for your planter. This can be accomplished by taking the pallet apart with a hammer and chisel. Be careful of the nails by wearing gloves and removing the nails with the hammer as you work. Once you have the wood separated from the pallet, you are then ready to start measuring and cutting to make your deck rail garden planter. Below we have step by step pictures to help you make your rail planter with minimum effort.
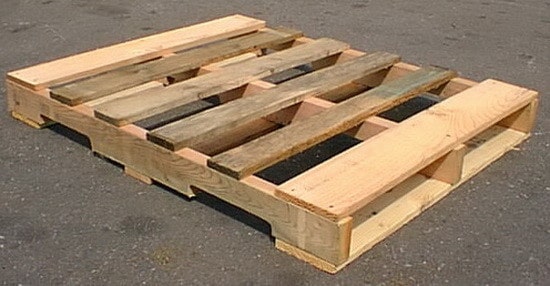 1. Find a heat treated pallet (HT) that is clean and free of bugs and chemicals.
NOTE: At times some stores and businesses will have a pile of “free” pallets behind the store.
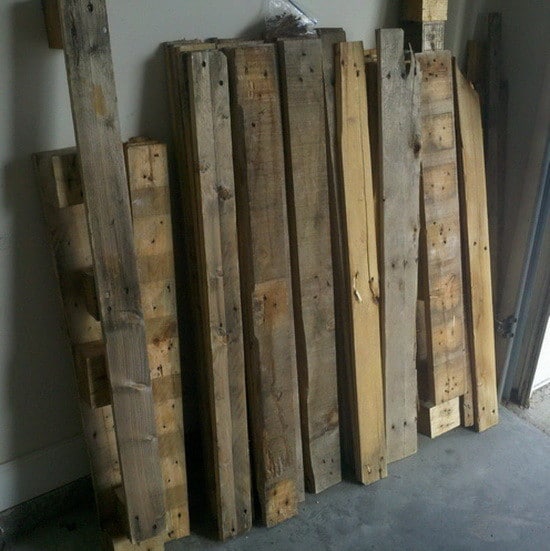 2. Using a hammer and chisel, remove all of the wood from the pallet.
NOTE: Remove all nails by using the back part of the hammer as you take the pallet apart.
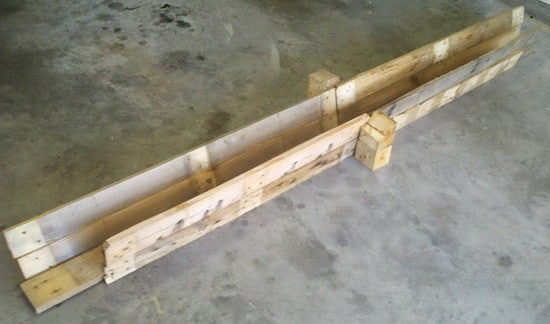 3. Measure where you will be placing the rail planter and cut the pallet wood to the appropriate size.
Once the wood is cut, lay out the pieces into the basic shape of your rail planter.
NOTE: If some of the wood is warped use another piece of the pallet wood to replace it.
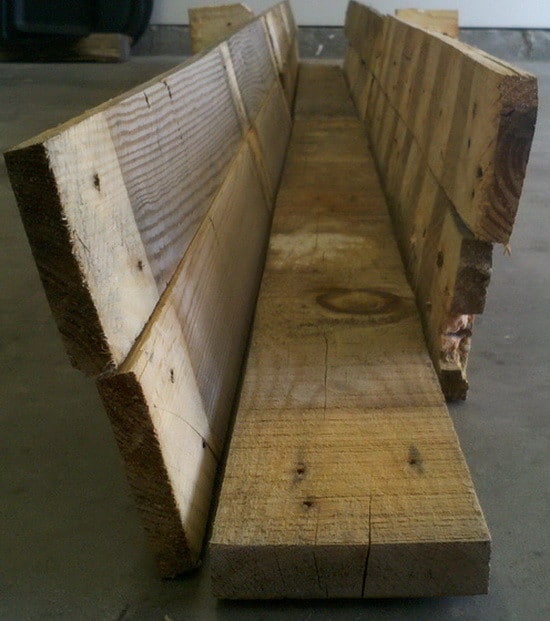 4. Once the wood is in the shape of your planter, start to use a hammer and nail it together.
Put the longest piece of wood at bottom as shown in the above picture.
When you put the sides on, they will be going at a slight angle to have the top of the planter wider.
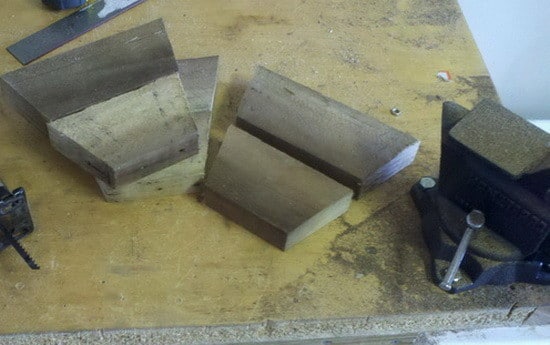 5. Use some of the wood to cut “triangles” to put inside the planter to create the correct angle.
You will need to cut 3 of these, left end, middle, and the right end.
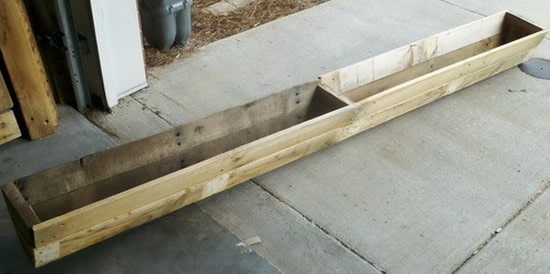 6. Nail everything together with the “triangles” in place making sure to line everything up straight.
NOTE: You can use wood screws to put the planter together if you desire.
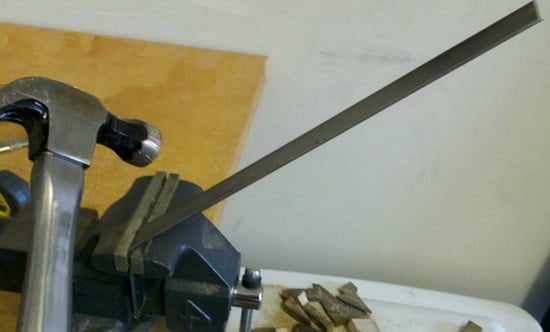 7. Obtain 3 pieces of metal strips at the length of 20″ to 30″ inches.
NOTE: These metal strips can be found at any home improvement store.
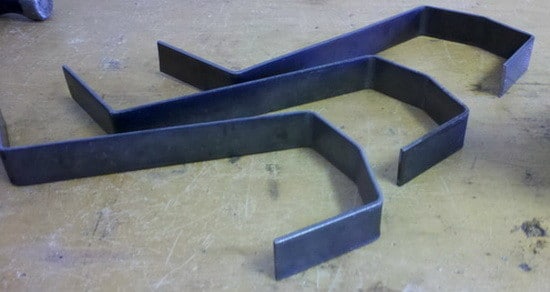 8. Bend each metal strip to look similar to the picture above by using a hammer and vise.
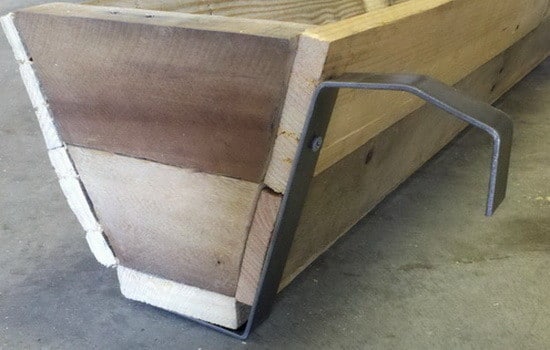 9. Using a drill, make holes in the metal strips to be able to run wood screws through them and into the wood.
NOTE: You can use anything you want to attach the planter to the rail.
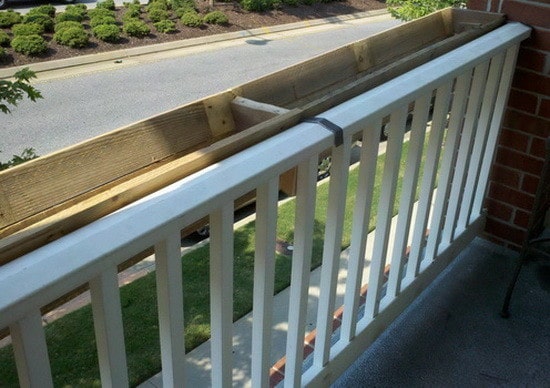 10. Once everything is assembled, test your rail planter by setting it in place making sure it holds secure.
 11. You can paint the pallet garden planter to match the rail if desired.
NOTE: Once in place, fill it with dirt and plant your flowers and or vegetable seeds.
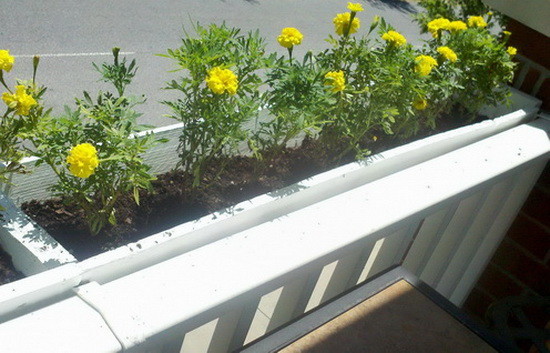 12. Here is the DIY Deck Rail Garden Planter finished with beautiful flowers growing in it.
This project took us 4 hours and cost us around $20 dollars for supplies needed.
This is a great garden project to make if you are limited in space but want a garden to enjoy.
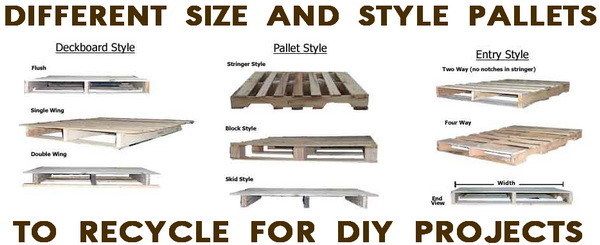 Some acceptable types of wood pallets to use for DIY recycling projects



Leave a Reply