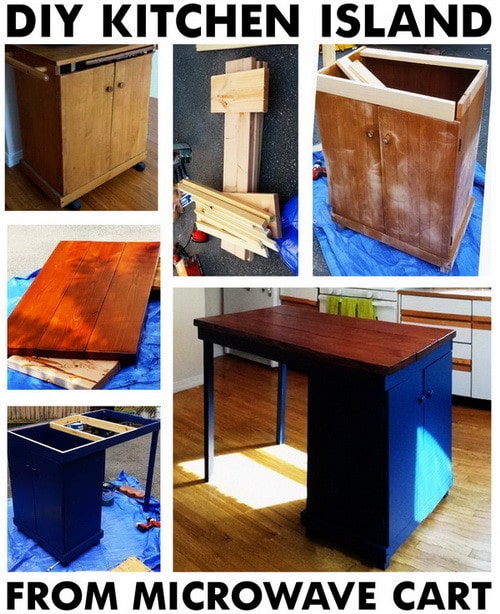
Here is a great way to take a relatively inexpensive microwave rolling cart and turn it into a rustic looking kitchen island. By purchasing or using recycled wood, wood stain, a can of paint, and a box of wood screws, you can convert your ugly microwave cart into a beautiful kitchen island. This is a simple DIY project and it can be completed in one afternoon. If you have an existing wooden microwave cart, this is a great way to recycle it and put it to a better use. The wood pieces that you will need to cut will vary depending on the length and width of your existing cart. See below for a brief method to DIY and gather some great ideas for a kitchen island project!
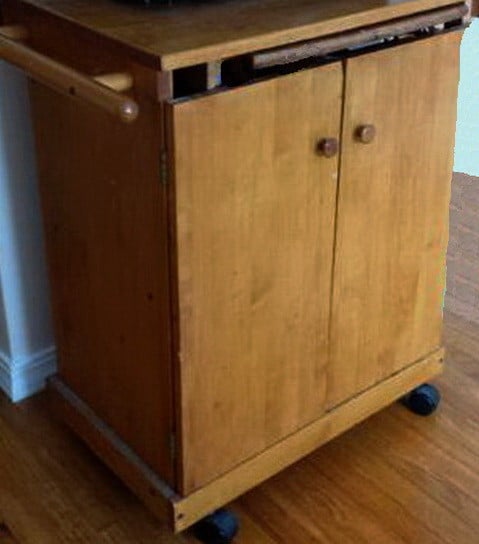 Here is the ugly microwave cart that will be turned
into a vintage looking DIY kitchen island.
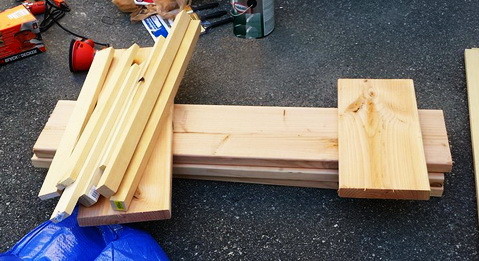 Purchase wood (or use recycled wood) for the kitchen island top, legs, and framing reinforcement.
Once you have your measurements, have the local hardware store cut the wood for you!
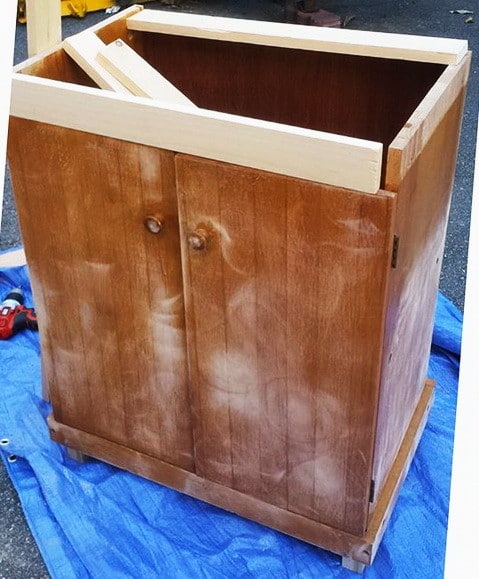 Sand down the microwave cart, remove the top
portion, and add wood framing to support the top.
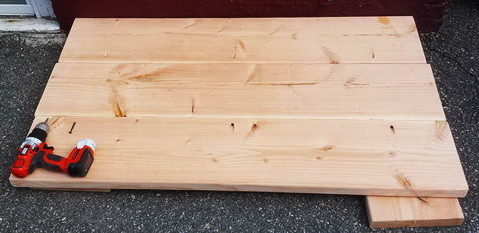 Build the complete top counter portion of your DIY kitchen
island according to the length and width of the cart.
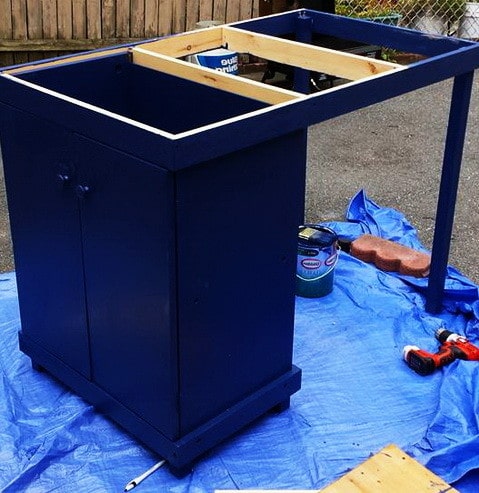 Build on the top framing, legs, and paint the complete
kitchen island the color of your choice.
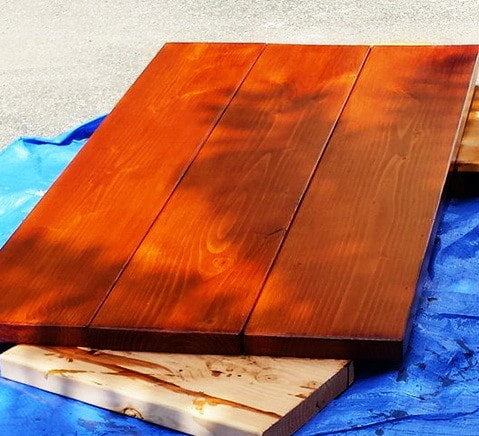 Stain and varnish the top counter with a wood stain
color of your choice using multiple coats for durability.
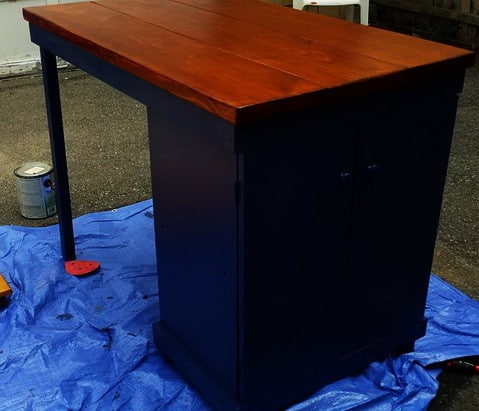 Once your DIY kitchen island base is fully constructed and
dry, attach the top counter to it using wood screws.
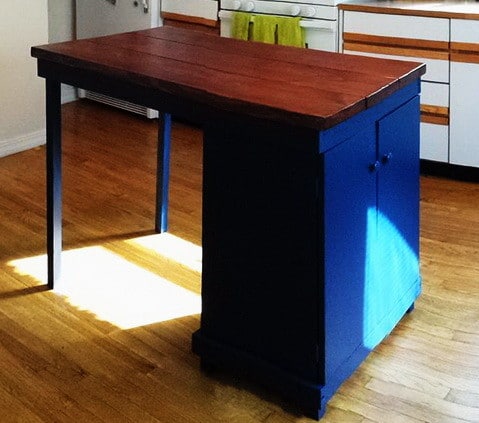 Once fully assembled move it into the center of your kitchen and enjoy!
Special thanks to Mark Thomas for supplying us with this great DIY project!
For a great way to create a kitchen island with common cabinets, see the video below.
Great Kitchen Island Design Idea: Designing a Kitchen Island with Wall Cabinet Ends
Do you know of ways to create a DIY kitchen island by recycling? Please let us know below.



Leave a Reply