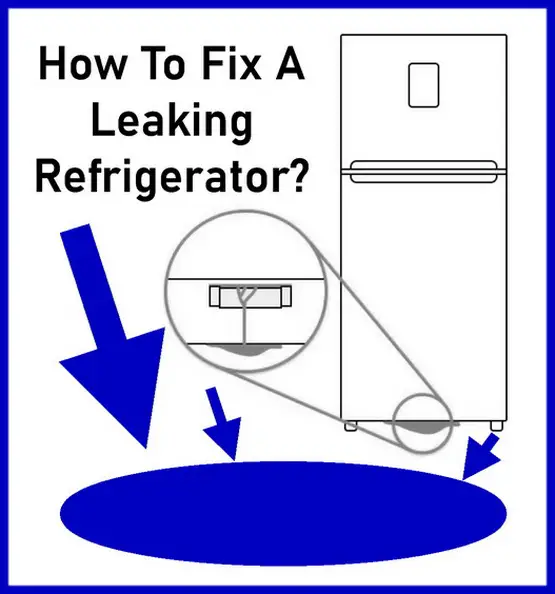
Is your refrigerator leaking and causing a mess in your kitchen? Leaks from your fridge can be potentially harmful if left unattended. Not only can they damage your floors and walls, but they can also lead to mold growth and other health hazards.

Causes of Refrigerator Leaks
A leaking refrigerator can be caused by several factors. Here are some of the most common causes of refrigerator leaks.
Clogged or Frozen Defrost Drain
The defrost drain in your refrigerator is responsible for draining the water from the defrost cycle. If the defrost drain is clogged or frozen, the water will overflow and leak out of the refrigerator. To fix this problem, you will need to unclog or thaw the defrost drain line.
Damaged Water Line
If your refrigerator has a built-in water dispenser or ice maker, it may have a water line that runs from the back of the fridge to your home’s water supply. If this water line is damaged, it can cause water to leak out of the refrigerator. Check the water line for cracks or tears.
Faulty Door Gasket
The door gasket on your refrigerator is responsible for creating an airtight seal that keeps the cold air inside. If the gasket is damaged or worn out, it can cause water to leak out of the refrigerator. Check the door gasket for any damage.
Identify a Leaking Refrigerator
Before you can fix your leaking refrigerator, you need to identify where the leak is coming from. Here are some steps you can take to identify a leaking refrigerator.
Check for Standing Water
The first thing you should do is check for any standing water around your refrigerator. If you see water pooling on the floor, it’s a clear sign that your refrigerator is leaking.
Inspect the Water Dispenser and Ice Maker
If your refrigerator has a water dispenser or ice maker, inspect these components for any signs of leaks. Check the water supply line, water filter, and any connections for any damage.
Check the Defrost Drain
If you suspect that the defrost drain is the problem, you will need to locate it. The defrost drain is typically located at the back of the refrigerator, behind the evaporator coil. Check the drain for any signs of clogs or ice buildup.
Safety Before Fixing A Leaking Refrigerator
Before you start fixing your leaking refrigerator, it’s important to take some safety precautions. Here are some safety tips to keep in mind.
Unplug Your Refrigerator
Before you start working on your refrigerator, unplug it from the power source. This will prevent any electrical shocks or injuries while you’re working.
Wear Protective Gear
When working on your refrigerator, wear protective gear such as gloves and safety goggles. This will protect you from any sharp edges or chemicals.
Use Caution When Handling Refrigerant
If you need to handle refrigerant during the repair process, use caution. Refrigerant can be harmful if inhaled, so make sure you’re working in a well-ventilated area.
Tools You Will Need to Fix a Leaking Refrigerator
Before you start fixing your leaking refrigerator, you will need to gather some tools. Here are some of the tools you will need – A screwdriver, wrench, hair dryer, and putty knife.
Guide to Fixing a Leaking Refrigerator
Now that you’ve identified the source of the leak and gathered your tools, it’s time to start fixing your leaking refrigerator. Here’s a step-by-step guide to walk you through the process.
Step 1: Remove Any Standing Water
Before you start working on your refrigerator, you will need to remove any standing water. Use a towel or mop to soak up any water on the floor.
Step 2: Locate the Defrost Drain
If the defrost drain is the problem, you will need to locate it first. The defrost drain is typically located at the back of the refrigerator, behind the evaporator coil.
Step 3: Thaw the Defrost Drain
If the defrost drain is frozen, you can use a hair dryer to thaw it out. Hold the hair dryer a few inches away from the drain and apply heat until the ice melts.
Step 4: Clean the Defrost Drain
Once the ice has melted, use a putty knife to remove any debris or ice from the defrost drain. Be careful not to damage the drain.
Step 5: Check the Water Line
If the water line is the culprit, check it for any damage. If you find any damage, you will need to replace the water line.
Step 6: Replace the Door Gasket
If the door gasket is the culprit, you will need to replace it. Remove the old gasket and replace it with a new one. Make sure the new gasket is properly aligned and sealed.
Step 7: Check the Water Filter
If your refrigerator has a water filter, check it for any signs of wear. If you find any damage, you will need to replace the water filter.
Step 8: Reassemble the Refrigerator
Once you’ve fixed the problem, reassemble the refrigerator. Replace any panels or screws that you removed during the repair process.
You can easily fix your leaking fridge. Remember to take the necessary safety precautions and gather the right tools before starting the repair process.


Leave a Reply