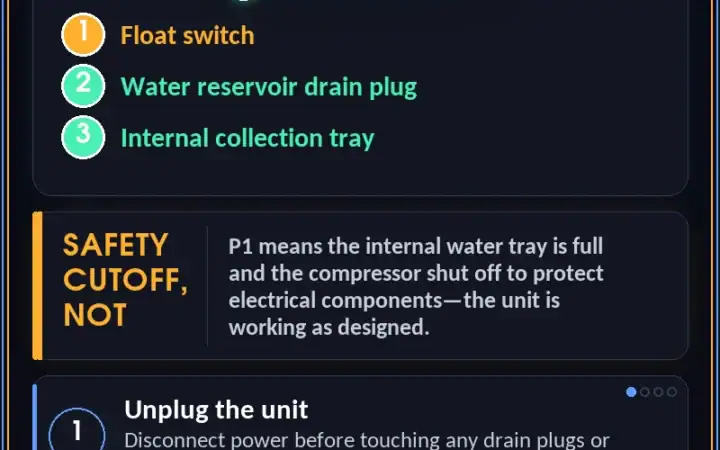
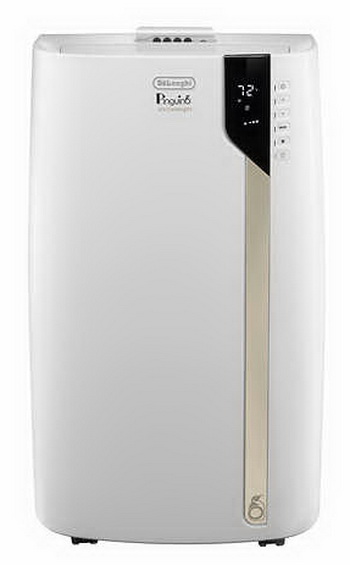
A Whynter portable air conditioner P1 error code means the internal water level switch has tripped — and that’s nearly always a full condensate tray, or a board that thinks it is. Unplug the unit, set a shallow pan under the lower rear drain port, remove the plug, and let it fully empty. Reseat the plug, restore power, and P1 clears in seconds.
Before You Pull Anything Apart
- Drain from the lower rear port, not the upper one — the upper port is for continuous drain hookup.
- The drain plug is two pieces on most Whynter models. The inner rubber stopper is the part that actually seals.
- If the tray comes out dry and P1 is still showing, the float switch is the suspect, not the water.
- Never tilt the unit to dump water faster. Drain it flat, into a pan.
What the P1 Code Is Actually Telling You
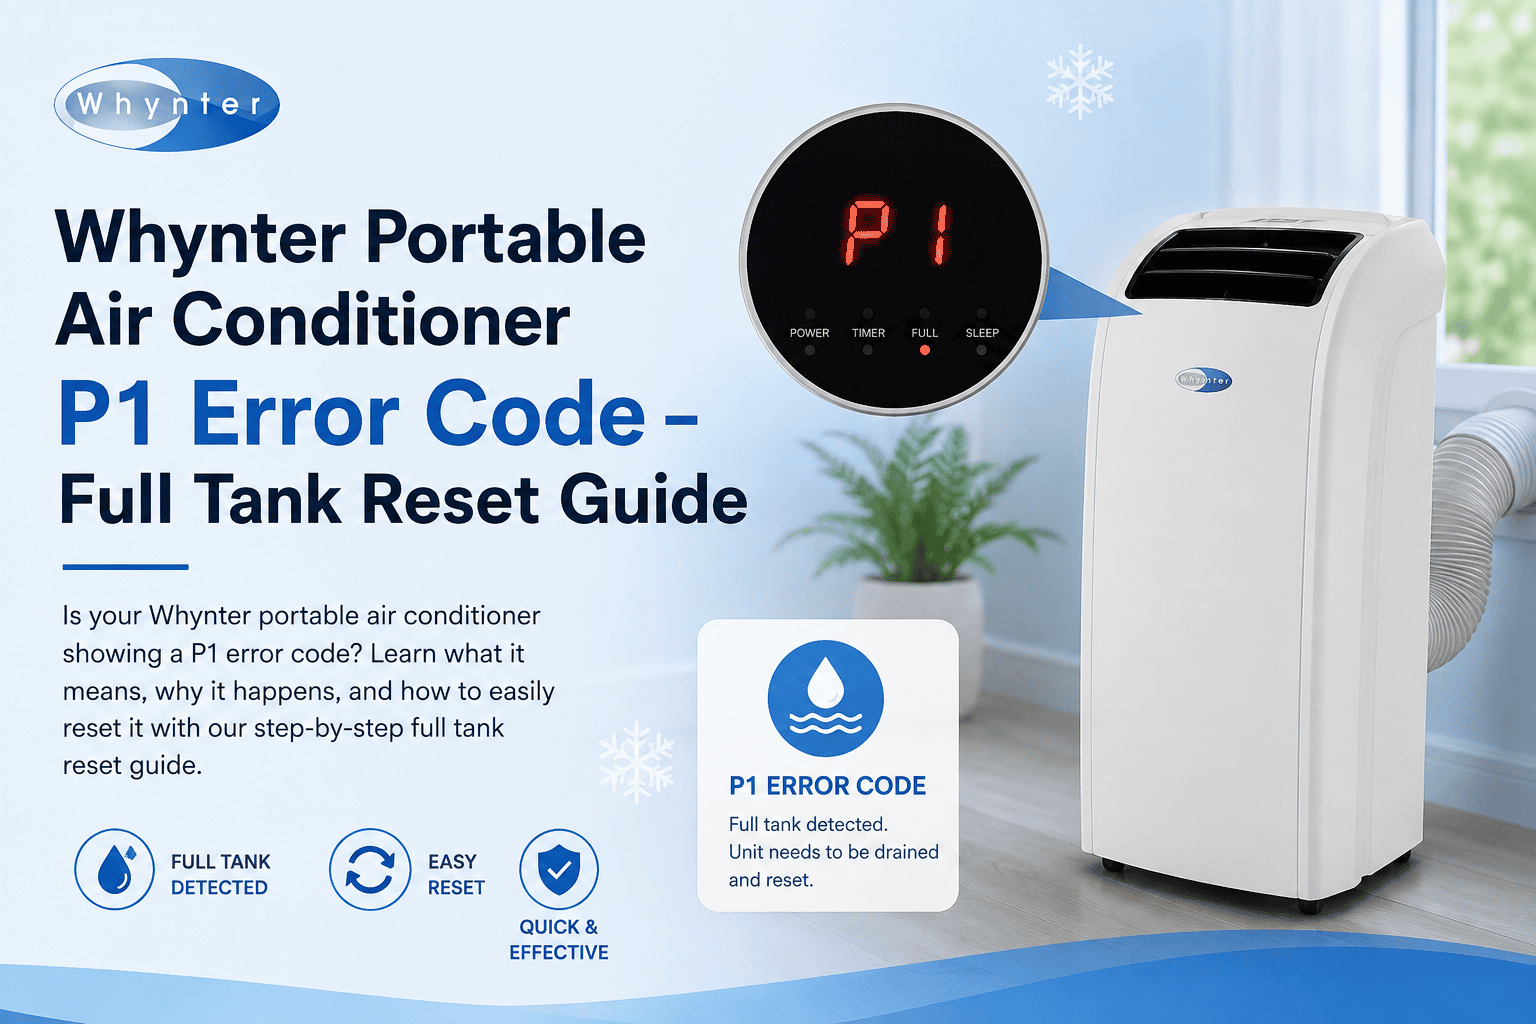
Nine years of fixing commercial food service equipment taught me that condensate problems are almost never about the water itself — they’re about where the water can’t go, and that’s exactly what P1 is. The code is Whynter’s shorthand for one thing: the water level switch inside the unit thinks the condensate tray is full, so the compressor shuts down and the fan keeps running. The Whynter portable air conditioner P1 error code isn’t a refrigerant fault, a compressor fault, or a board fault — it’s a float sitting on top of water, or a float that thinks it is. Unplug the unit, put a shallow pan under the lower drain port on the back, pull the plug, and let it run dry. Reseat the plug, plug the unit back in, and P1 should clear on its own within a few seconds. If it doesn’t clear — and that’s the part nobody covers — the tank isn’t your problem, and I’d start working backward from the switch.
The assumption I want to kill right now: everybody reads P1 as “the tank is full.” Plenty of the time the tank is bone dry when it comes out. That’s the whole reason this piece exists, because the manual and every video on the subject stop at “drain it.”
| Cause | Likelihood | Fix Cost | DIY Time |
|---|---|---|---|
| Condensate tray genuinely full | Most common | Free | 10 min |
| Drain plug or rubber stopper mis-seated | Common | Free | 5 min |
| Float switch stuck, scaled, or failed | Less common | Free–$30 | 20–40 min |
| Kinked drain hose or dead condensate pump | Less common | $0–$60 | 15–45 min |
| Control board misreading the switch | Rare | $80–150 | Call a pro |
Unplug the unit before you touch anything. Not standby, not “off” on the remote — pull the cord. You’re about to be handling standing water inside a cabinet that has a compressor, a capacitor, and a control board in it. Let it sit upright a few minutes after running so the water settles before you pull the plug.
Drain the Tank First — It’s Free and It’s Usually It
If you nudged the cabinet and heard water move, you’ve found your answer and this is a ten-minute job with no tools. The tray sits in the base of the unit and it fills from the evaporator shedding condensate. Once the float rides high enough, the switch opens, the board latches P1, and the compressor stops so the unit doesn’t overflow onto your floor. I still start every P1 right here, even on a unit somebody swears they emptied yesterday.
- Unplug the unit and move it somewhere you don’t mind a spill — a garage floor, a tub, outside.
- Find the lower drain port on the back panel. Most Whynter portables have two. The upper one is the continuous-drain fitting; the lower one empties the tray.
- Slide a shallow pan or a baking sheet under it. A gallon isn’t unusual after a humid week, so I use a sheet pan rather than a bowl.
- Unscrew the outer cap, then pull the inner rubber stopper. Water comes fast. Let it run until it’s down to a drip.
- Tip the unit back slightly — an inch at most — to move the last of it toward the port. No further.
- Reinstall the rubber stopper first, then thread the cap back on hand-tight. The threads are plastic, and I’ve seen plenty stripped, so don’t crank on it.
- Plug in and power up. P1 should be gone before the compressor kicks in.
The move I’d talk you out of: tipping the unit up on end over a sink or tub to dump the water out faster. I see people do this constantly. Tilting a portable AC more than a few degrees pushes compressor oil where it doesn’t belong, and all you’re gonna do is slosh tray water sideways into the base pan where the wiring lives. Flat, through the port, into a pan. Every time.
The Drain Plug Goes Back In Two Pieces
This is the one that sends people to the parts counter for no reason. On most Whynter portables the drain “plug” is actually two parts — a soft rubber stopper that does the sealing, and a threaded cap that holds it in. If the stopper backs out even partway, or gets left off after a drain, the cap still looks perfectly installed from the outside while water weeps past it into the base and, on some layouts, right back into the tray path. You end up with a unit that throws P1 every day or two and an owner who swears they just drained it — and I take that complaint as a hint, not a contradiction.
My first instinct on a P1 that wouldn’t clear was always to order a float switch. I did that for a long stretch before I got smarter about it. Then I started pulling the drain plug apart as step one and found a backed-out or missing rubber stopper far more often than a genuinely dead switch — and the stopper costs nothing. Pull the cap, look at the stopper, make sure it’s seated square and not cupped or torn (that’s the one I learned to check the hard way). If it’s split, a #6 or #7 rubber stopper from a hardware store will get you through the season.
Testing the Float Switch When the Tank Is Already Empty
Dry tray, correct plug, still P1 — now you have a real fault, and this is where every other guide on this topic hands you off to customer support. The float switch is a small plastic assembly sitting in the base of the unit with a foam or plastic float riding on a stem and two wires running back to the board. It’s a simple normally-closed switch. Water lifts the float, the contacts open, the board reads that as “full.” Scale, algae slime, or a float that’s swollen and stuck up the stem does the same thing with no water present. A replacement runs $15 to $30 and takes about 20 minutes to swap, against $95 to $125 for a diagnostic visit that ends with the same part, so I test it myself before I call anybody.
- Unplug the unit and remove the rear panel. Usually six to eight Phillips #2 screws around the perimeter. I keep them in a cup — some are shorter than others.
- Locate the float in the base pan, typically near the drain port on the drain-plug side.
- Push the float down the stem with a finger and let go. It should drop freely and click faintly. If it hangs anywhere on the stem, I stop there — that’s your fault.
- Clean it before you condemn it. I use white vinegar on a rag, work the float up and down until it moves freely, then rinse. Scale is the number one killer of these on hard water.
- Meter it if cleaning didn’t fix it. Unclip the two-wire connector, set a multimeter to continuity, and probe both terminals with the float down. I want continuity there. Lift the float — continuity should break. No continuity with the float down means the switch is dead.
- Reassemble and test before you put all eight screws back in. Two screws is enough for a power-up check.
Model notes: panel access isn’t identical across the line. The dual-hose ARC-14S and ARC-14SH open from the back with the whole rear panel coming off in one piece. The ARC-122DS Elite has the float tucked further forward, and you’ll get a better angle by pulling the side panel instead. The newer smart units — ARC-1280MX and ARC-1280WX — document the drain procedure clearly in the factory user manual PDF, and I’d pull up your exact model’s copy before unscrewing anything. The ARC-148MS is a tighter cabinet than it looks — budget extra time.
Pump Models vs. Manual-Drain Models
Worth knowing which one you own, because P1 means slightly different things on each. Manual-drain units just fill a tray until you empty it. Units with a built-in condensate pump are supposed to move that water out through a small clear hose automatically — so on those, P1 usually means the pump isn’t running or the hose is kinked, run uphill too far, or plugged with slime. The first thing I do on a pump model is trace that clear hose end to end. Straighten it, make sure it falls downhill the whole way, and listen for the pump humming when the tray fills. Silence points at the pump, though I check the hose routing first because it’s free.
Why does my Whynter portable air conditioner keep saying P1?
Recurring P1 is a different problem than one-time P1, and the fix is almost never inside the unit. A portable AC only makes as much condensate as the air you feed it. If it’s filling a tray every single day, the room air is wetter than the machine can handle, or the water isn’t leaving when it should. In a dry climate a healthy unit shouldn’t need draining more than every week or two in season — so when somebody tells me they’re hitting P1 daily in low humidity, I stop looking at the weather and start looking at a kinked hose or a stopper that isn’t sealing.
Things that genuinely cut how often you see the code:
- Run a continuous drain. Hook a hose to the upper port and route it to a floor drain or a bucket below the unit’s base, downhill the whole way. It’s what I do on any unit that stays in one place.
- Flush the tray with vinegar once a season. Half a cup down the upper port, let it sit twenty minutes, drain it out the lower port. That’s what keeps the float free.
- Seal the window kit properly. A sloppy seal pulls hot, humid outdoor air back at the evaporator, and that’s a lot of extra water.
- Don’t run it below about 60°F outdoors. You’ll ice the coil, and when the ice melts it dumps into the tray all at once.
One more thing on codes in general — they latch. The board holds the fault until it gets a clean power cycle, which is why I leave the unit unplugged for three full minutes after any repair. It’s the same behavior you see on other appliances that stop working suddenly and come back after a hard power cycle, and the same reason a refrigerator will sit there flashing a stored error code long after the actual condition has passed. Whynter’s own troubleshooting page confirms P1 is the water-reservoir code, but it won’t tell you the code stays put until the board resets.
The float switch is $15 to $30 from a parts supplier and it’s a twenty-minute swap once you’ve got the panel off. A service call to diagnose the same thing runs $95 to $125 before anybody touches a screwdriver. If the switch tests good and the tray is dry and you’re still getting P1, that’s a board reading the input wrong — $80 to $150 for the board plus labor on a unit that probably cost $400 new. At that point I’d stop spending and start shopping, honestly.
Questions I Get About P1
Is there a reset button for the P1 code?
No, and there’s no hidden one either — don’t ask how long I looked. The code clears itself when the float drops and the board sees a clean power cycle. Drain it, unplug it for three minutes, plug it back in.
How much water should come out when I drain it?
Anywhere from a cup to over a gallon depending on how humid your space is and how long it’s been running. If almost nothing comes out and P1 was showing, I’d call that confirmation it’s a switch or plug problem.
Can I run my Whynter with a continuous drain hose instead of draining it by hand?
Yes, and I’d recommend it on any unit that lives in one spot. Connect to the upper port, keep the hose falling downhill the entire run, and you basically never see a Whynter portable air conditioner P1 error code again. Whynter covers the hookup in their FAQ section too.
Will the remote clear the error?
It won’t. The code lives on the control board, and the remote is just an input device — same limitation you run into when you’re trying to pair a generic remote with a ceiling fan. I’ve never seen a remote clear a latched code. You gotta fix the water condition first, then cycle the power.
The fan runs but no cold air and P1 is showing — is my compressor bad?
Almost certainly not. That’s exactly the behavior P1 is designed to produce: the board cuts the compressor and leaves the fan running so the coil doesn’t ice while the tray sits full. I used to walk people through the whole condensate-shedding sequence, and now I just say water goes to the bottom, so empty the bottom.
P1 is one of the friendlier codes you can get on a portable AC, and I mean that. Most of the time you’re ten minutes and a pan away from having it running again, and even the worst case is a thirty-dollar part you can swap on a Saturday morning. The thing that separates a five-minute fix from a week of frustration is that rubber stopper, so I’d check it before you order anything. Do that first, then come back to the switch only if you have to.

Written by Keith Schneerer
Certified Appliance Tech · Founder, RemoveAndReplace.com
Keith has spent 30+ years repairing machines, starting as a military mechanic and later maintaining food processing equipment before moving into appliance repair. He founded RemoveAndReplace.com to share field-tested repair advice.
More about Keith →