Here’s how to test a thermistor: unplug the appliance, disconnect the sensor, and measure resistance with a multimeter. A reading that shifts smoothly as it warms passes; open or zero ohms fails. A bad one is a common reason for wrong temperatures or odd error codes.
Before you grab the meter
- There is no single “good” number. The spec for your exact sensor lives in the manual or tech sheet.
- Test the sensor unplugged from the use, never while it’s connected to the board.
- A sensor can read in range and still be wrong, so run a cold point and a warm point.
- If the sensor passes, the wiring and the board are next.
Meter first, part number second
Don’t order a sensor until a meter has told you it’s bad. I spent 11 years on commercial coolers and dishwashers, and the habit that saved the most wasted parts was always checking the sensor itself before blaming it. Many people suspect a faulty thermistor when a fridge runs constantly, and sometimes they’re right.
The wrong assumption is that a thermistor should read one fixed number. It shouldn’t. Most appliance thermistors are NTC types, meaning resistance falls as they warm up, so the reading depends on temperature, and the correct value depends on the exact part.
A few parts are PTC and behave the opposite way, so check your spec. That’s why how to test a thermistor properly means comparing against two temperatures, not one.
Read the error code before you pull anything
A displayed code points at a circuit, not always at a sensor. Frigidaire’s F21 on a washer, for example, is most commonly a low-drain (slow drain) code, and some sources call it a door lock fault. The sources conflict, but none tie it to a temperature sensor.
Look up your model’s code first, and only go hunting for a thermistor when the code or the symptom actually points to temperature sensing.
Resistance reference for fridge, dryer and dishwasher sensors
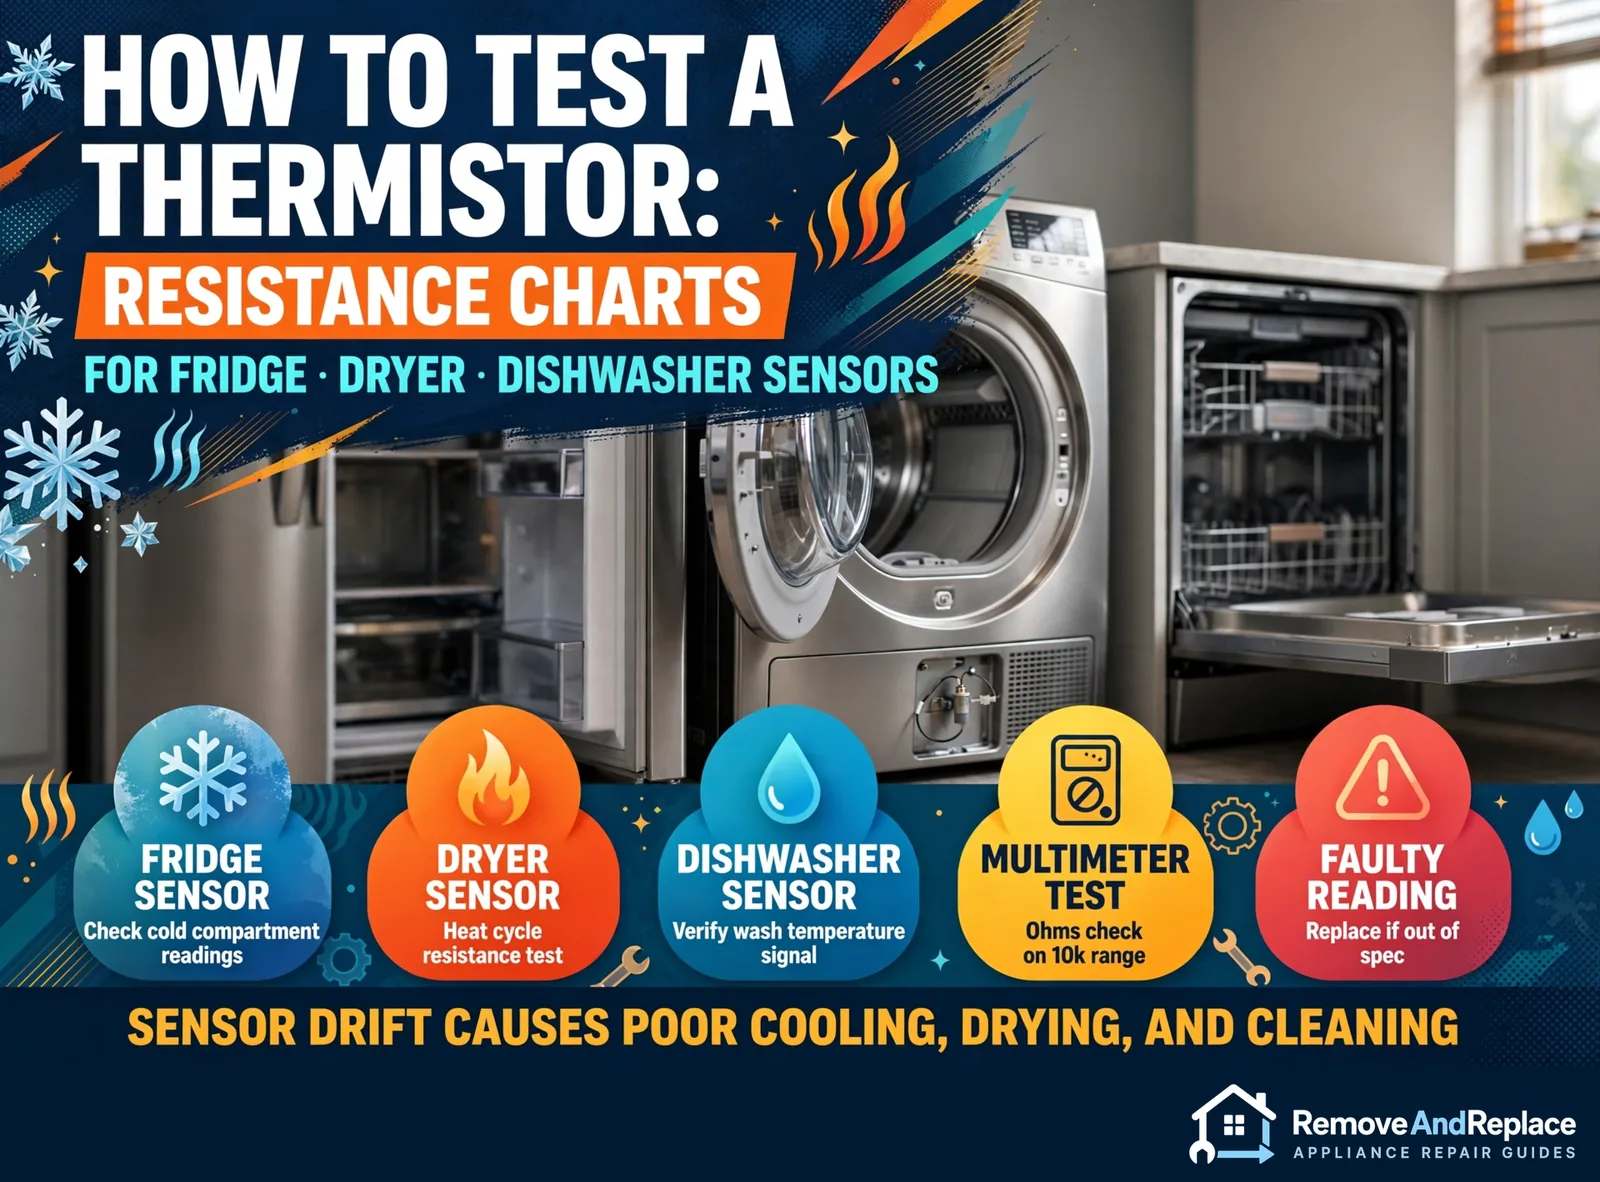
I won’t print a single resistance chart and pretend it fits every model, because it doesn’t. Plenty of household sensors land near 10,000 ohms at room temperature, but treat that as a ballpark only. This table tells you where to look and what the reading should do.
| Appliance | Where the sensor usually sits | What a good reading does | Where to get the exact spec |
|---|---|---|---|
| Refrigerator / freezer | Fresh-food compartment, freezer or evaporator area | Higher when cold, lower as it warms (NTC) | Tech sheet or manual for your model |
| Dryer | Often on the blower housing or in the exhaust path | Drops steadily as the sensor heats (NTC) | Service sheet behind the panel or the manual |
| Dishwasher | Often near the sump or heater area; varies by model | Drops as the water-side sensor warms (NTC) | Manual or the model’s parts diagram |
A sensor that sits open (no reading) or reads close to zero is bad on any of them. The harder cases are the ones in between.
See the test done on video
This video shows a thermistor being checked with a multimeter. Watch how the meter touches the sensor leads, then compare it with the steps below. For a fridge-specific look, Sears PartsDirect has a diagnosing video too.
Safety first. Unplug the appliance or switch off its breaker before you touch anything. The only exception is the optional live voltage check near the end of the next section, which needs power for one reading. Don’t do that one unless you’re comfortable working around a powered control board, and unplug again as soon as you have the number.
How to run the two-point test
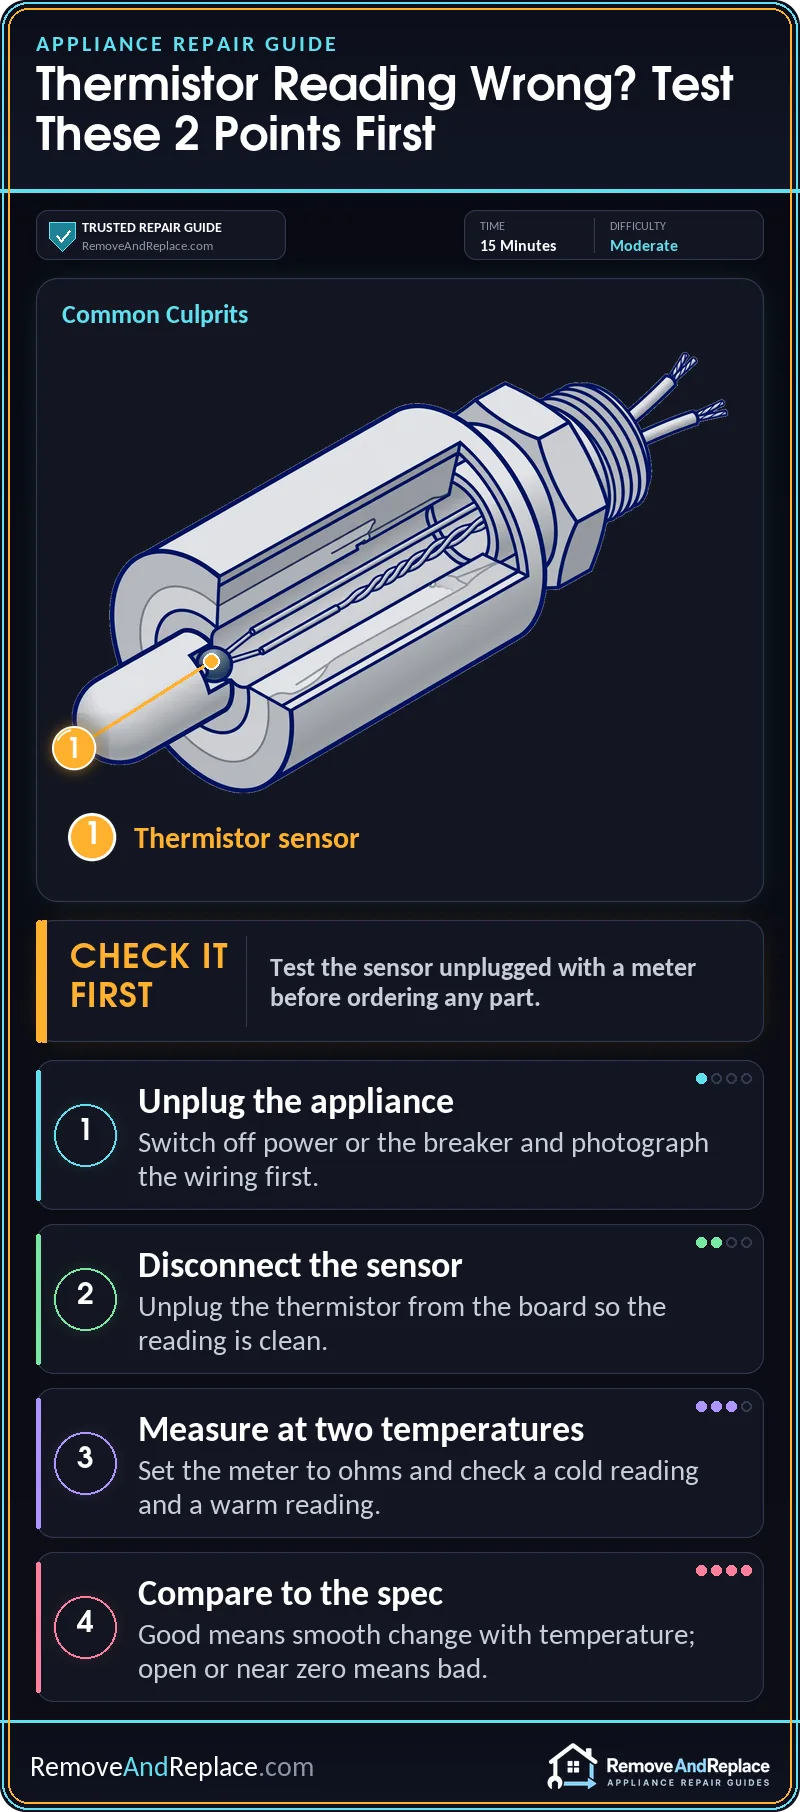
- Unplug the appliance. Get to the sensor and snap a photo of the wiring so you can put it back the same way.
- Disconnect the sensor from the use. Testing it while it’s still plugged in gives you a reading through the board, which tells you nothing reliable.
- Set the meter to ohms and touch one probe to each pin or lead. Write down the room-temperature reading and compare it with your model’s spec.
- Cool it down. Fill a cup mostly with ice and only a little water, and put the sensor tip in (keep the connector pins out of the water). Give it about five minutes, then read it again. For an NTC sensor, the resistance should be noticeably higher than at room temperature. A PTC sensor will read lower.
- Warm it up. Move it to warm tap water or hold it in your hand. The reading should change smoothly (falling for NTC, rising for PTC), with no jumping or sticking.
- Compare to the spec. Within roughly 5 to 10 percent of the published value at that temperature is a reasonable pass. Check your model’s tolerance if the sheet lists one.
A common wrong move is prying or tugging on the leads to get a probe on them. That can break the wire right at the sensor, and now you’ve made a good part bad. Back-probe the connector gently or use small alligator clips instead.
If the sensor passes: check the wiring
- Unplug the sensor from the board and keep the power off. Measure the resistance of the wiring use with the sensor disconnected at the board, then compare that reading to the sensor’s own reading taken earlier.
- Test from the wire side of the use connector, with the probes on the two pins that the sensor plugs into, and read resistance.
- Compare it to your sensor reading. With the sensor still connected at its far end, the use reading should closely match what you measured at the sensor. An open reading from the wire side means the circuit may be open, which could be a broken wire, a loose or corroded connector, or a failed sensor. Isolate it by disconnecting the sensor from the use to find out which.
- Inspect the connector if the reading differs or is open. A different or open reading means the use or connector may be at fault. I’ve seen heat-darkened or green connector pins cause exactly that.
For the optional live check, many boards feed the sensor roughly 5 volts DC through a divider, but confirm your model’s value. With the sensor unplugged and power briefly on, read the board’s sensor socket. Around 0 volts points toward a short, and a full reference voltage (about 5 volts) on a plugged-in sensor circuit points to an open circuit, which can also come from a bad ground or an unplugged connector.
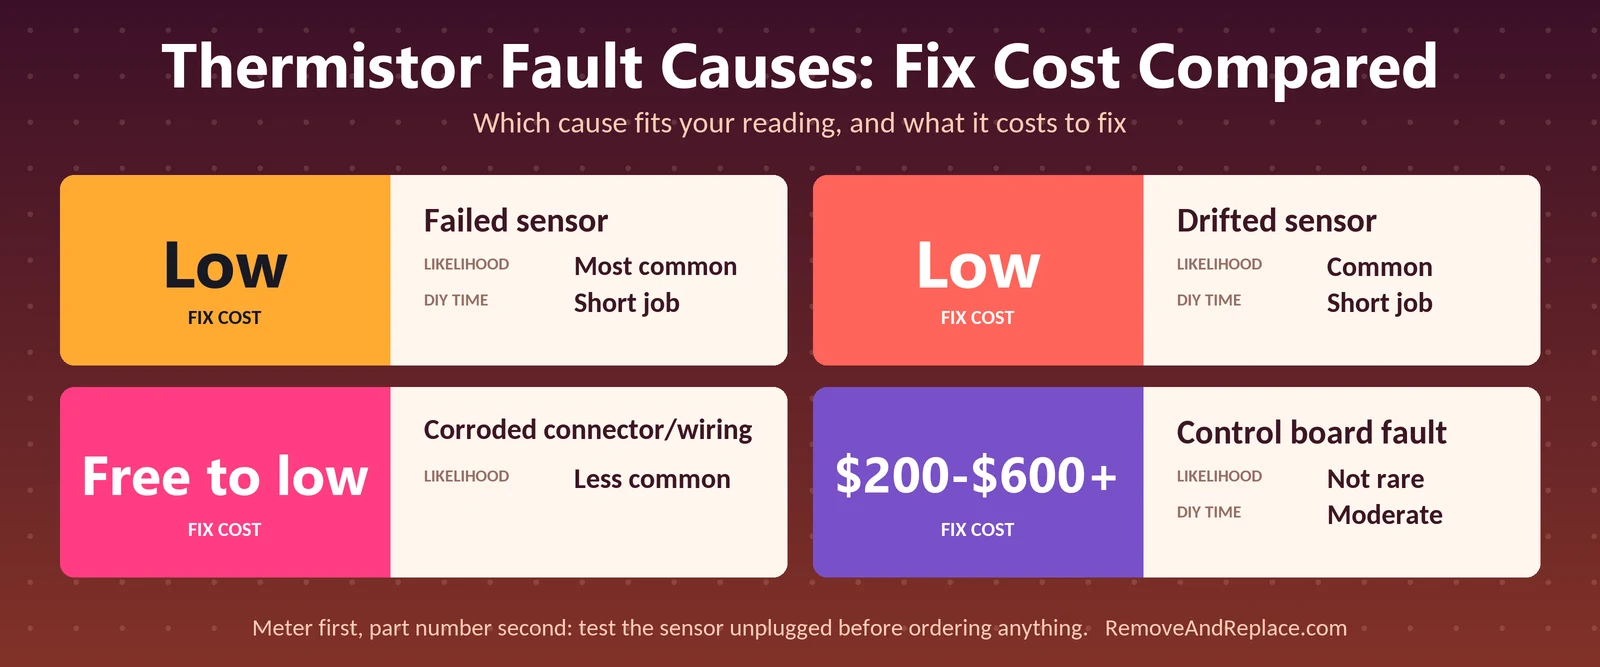
Which cause fits your reading?
| Cause | Likelihood | Fix Cost | DIY Time |
|---|---|---|---|
| Failed sensor (open or shorted) | Most common | Low | Short job |
| Drifted sensor (reads in range, but wrong) | Common | Low | Short job |
| Corroded connector or damaged use | Less common | Free to low | Short to moderate |
| Control board fault | Not rare; among the more common failures in some repair data | Highest, roughly $200 to $600+ depending on the appliance | Moderate |
A sensor that reads in range but doesn’t track a real thermometer is drifting, and a drifting sensor fools the board just as well as a dead one. If a fridge is warm and the compressor never starts, that’s a different problem, so check the refrigerator compressor not starting guide before spending money.
What if the sensor passes but the problem stays?
Then it isn’t the sensor, and a new one won’t help. The same disconnect-and-measure habit applies to other parts, like the switch in a washing machine lid lock assembly. I’d rather clean and reseat a connector than buy a board on a guess.
When to call a pro. If the sensor and use both check out and the board still misbehaves, board diagnosis is where a technician earns the call. Sealed-system or refrigerant problems also need a licensed, EPA-certified technician, so don’t try to chase those yourself.
FAQ
Can I test a thermistor without knowing its spec?
Yes, partly. You can still confirm it’s open, shorted, or changing smoothly with temperature. I’d still look up the spec before replacing anything.
Can the same meter test work on a washer part?
Some, yes. Coils and some switches are tested for resistance too, and the unplug-and-measure habit is the same when you’re sorting out a water inlet valve on an LG washer. The expected number is different for every part, so check the spec.
How do I keep a replacement from failing early?
Keep the connector dry and seated, and don’t yank the wires when you work around it. If I find a darkened connector, I replace it rather than reuse it.

Written by Keith Schneerer
Certified Appliance Tech · Founder, RemoveAndReplace.com
Keith has spent 30+ years repairing machines, starting as a military mechanic and later maintaining food processing equipment before moving into appliance repair. He founded RemoveAndReplace.com to share field-tested repair advice.
More about Keith →