The capacitor cooked itself, often because the motor behind it was working too hard. For any washing machine capacitor melted replace job, first spin the drum by hand with power off and the drive belt removed: a free-turning drum points away from the bearings, while stiff, rough, or gritty turning points to worn drum or motor bearings, a belt problem, or a trapped object. Then fit one with the original microfarad and voltage ratings.
- If the capacitor’s own label is scorched, the motor’s data plate or your model’s parts listing is where the microfarad and voltage ratings live.
- Check the terminals and connector for browning or softened plastic before the new part goes in.
- A burnt smell or smoke from the motor, or damaged wiring, means stop operating the machine and unplug it; a drum that won’t turn freely should be diagnosed as a bearing, belt, or motor fault before further parts are swapped.
A Melted Capacitor Usually Means Something Made It Work Too Hard
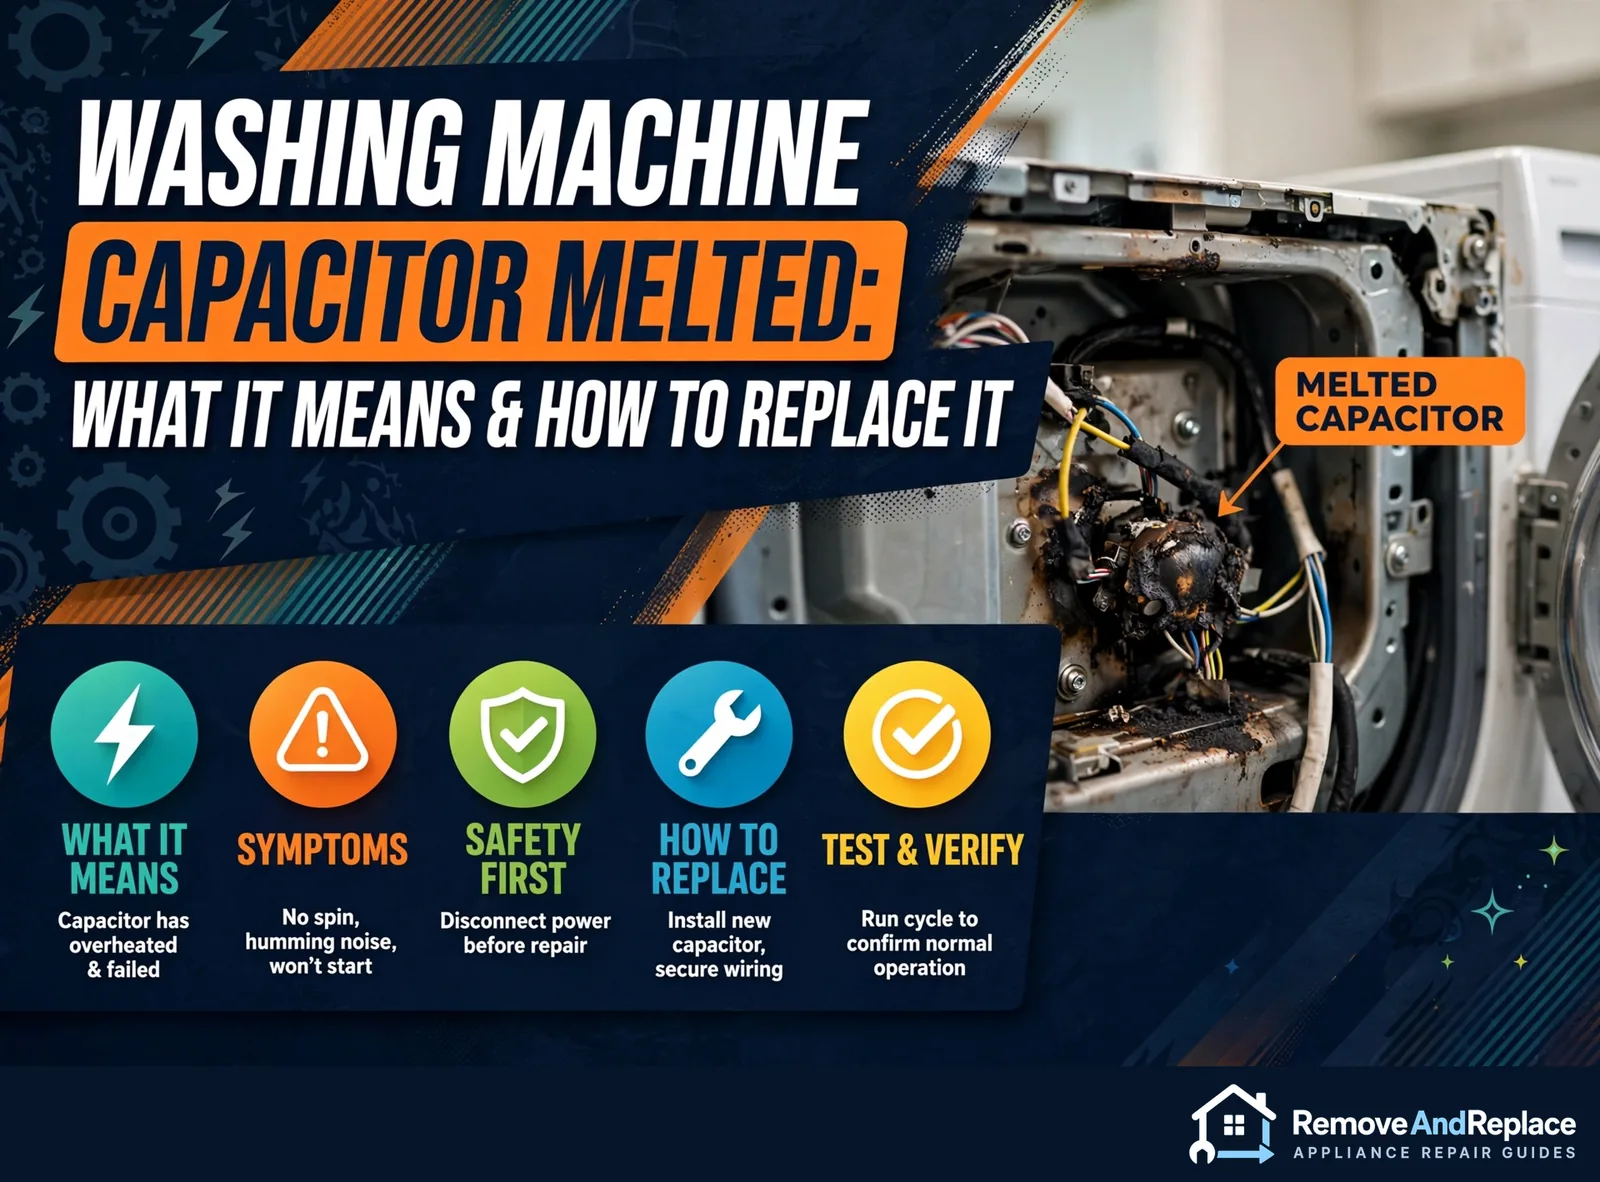
The way people usually put it: “my washer hums, won’t spin, and the little can on the motor is melted.” That’s a washing machine capacitor melted replace situation, and yes, the capacitor has to go. But a capacitor doesn’t melt on its own. Heat that bad usually has a source: a motor straining against a stiff drum, a weak start winding, a connector that’s been arcing, or an earlier swap with the wrong rating. I came up through Air Force aircraft maintenance, and the same rule applies here: a part that cooked itself usually had help. Swap it without asking why and the new one can go the same way. So the job has two halves. Find out what stressed it, then fit the right replacement. The cause is often visible with the power off and a few minutes of looking, and the capacitor itself is an inexpensive part.
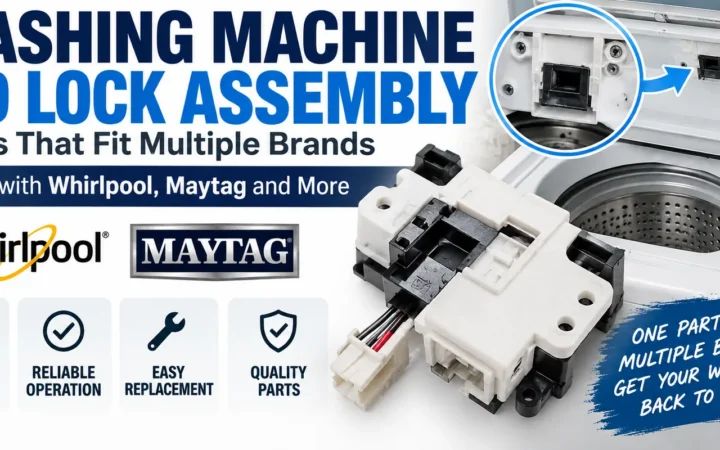
Many people assume it’s a simple part swap. It often is, but the melt is evidence, and the capacitor is only the part that gave up first. Another thing worth ruling out: a door or lid lock fault can stop a spin cycle from starting and look like a motor problem. My notes on the washing machine lid lock assembly and the Maytag F5 E2 door lock fault cover that side. A visibly melted capacitor, though, points at the motor circuit first.
What Makes a Capacitor Melt, in the Order I’d Check
- Motor straining against a stiff drum or drive. Test: unplug the washer and turn the drum or agitator by hand. It should move freely.
- Weak or failing motor start winding. Test: the motor hums or runs hot even with a free-turning drum, and a new capacitor doesn’t cure it.
- Loose, corroded or burnt connector terminals. Test: look for browned metal, softened plastic, or a terminal that slides on with no grip.
- A previous replacement with the wrong rating. Test: compare the old capacitor’s remaining label, or the motor’s data plate, to what’s installed.
- Plain age and heat. Test: nothing else is wrong, and the case is swollen or cooked but the motor and terminals check out.
The first one deserves most of your attention. A stiff drum, a dragging belt on belt-drive models, or a seized bearing makes the motor draw more current and run hot. The capacitor sits right beside that heat and has a hard time of it. If the drum feels rough or gritty, fixing the drag matters more than the capacitor, because the new one will cook the same way.
The second cause is less common, and it’s the one that traps people. A start winding going bad can make the motor struggle to get going even with a new capacitor installed. You’ll see a hum, maybe a hot motor housing, and a burnt smell that isn’t just melted plastic. A hard hum with a fresh, correctly rated capacitor tells me the motor is the real problem. Don’t replace the capacitor a second time hoping it changes.
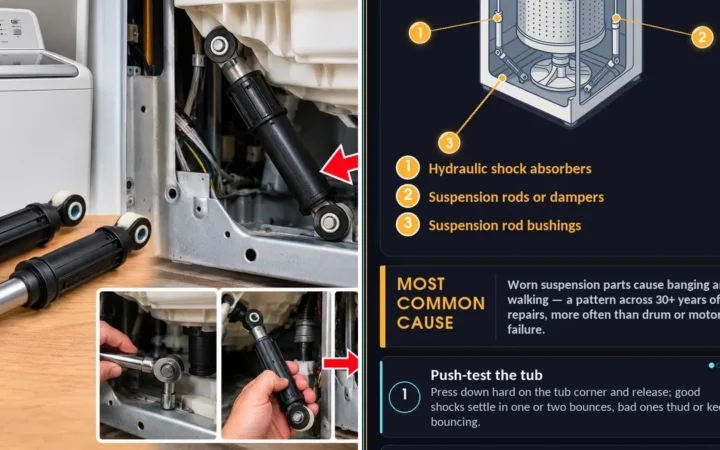
If the drum turns freely but the machine shakes violently once it spins, don’t assume the motor circuit is to blame. Shaking like that can come from an unbalanced load, an unlevel machine, weak floor support, worn suspension, or drum bearing wear, so a free-turning drum doesn’t prove it’s the suspension either. The shock absorber replacement on a Kenmore washer is a good example of one of those separate repairs.
Watch a Capacitor Swap Before You Start
This video shows a washer capacitor being replaced. Pay attention to where the capacitor mounts on the motor and how the wires push onto the terminals. Compare that to your machine before you disconnect anything, since layouts vary by model and your manual wins over any video.
Before You Order the Replacement Capacitor
Don’t buy anything until you can read the ratings. The check is simple: find the microfarad (µF) and voltage printed on the old capacitor. A melted case often hides them, so look on the motor’s data plate or look up your washer’s model number in the parts listing. The Fix.com capacitor guide for washers that won’t agitate explains what the part does, and the DoItYourself walkthrough on checking a washer motor capacitor covers testing a capacitor that isn’t visibly damaged.
A pass looks like a legible rating that matches the manual or data plate. A fail is a label you can’t read and no listing for your model. Then stop and get the exact part number from the manual or the appliance nameplate, not a guess. Use the same microfarad value as the original, and a voltage rating that’s at least what the original specified.
Unplug the appliance or switch off its breaker before you touch anything. A capacitor can hold a charge after the power is off, so discharge it with an insulated-handle screwdriver across the terminals before you handle it, and keep your fingers off the metal. If the case is ruptured or leaking, wear gloves and keep the oily residue off your skin.
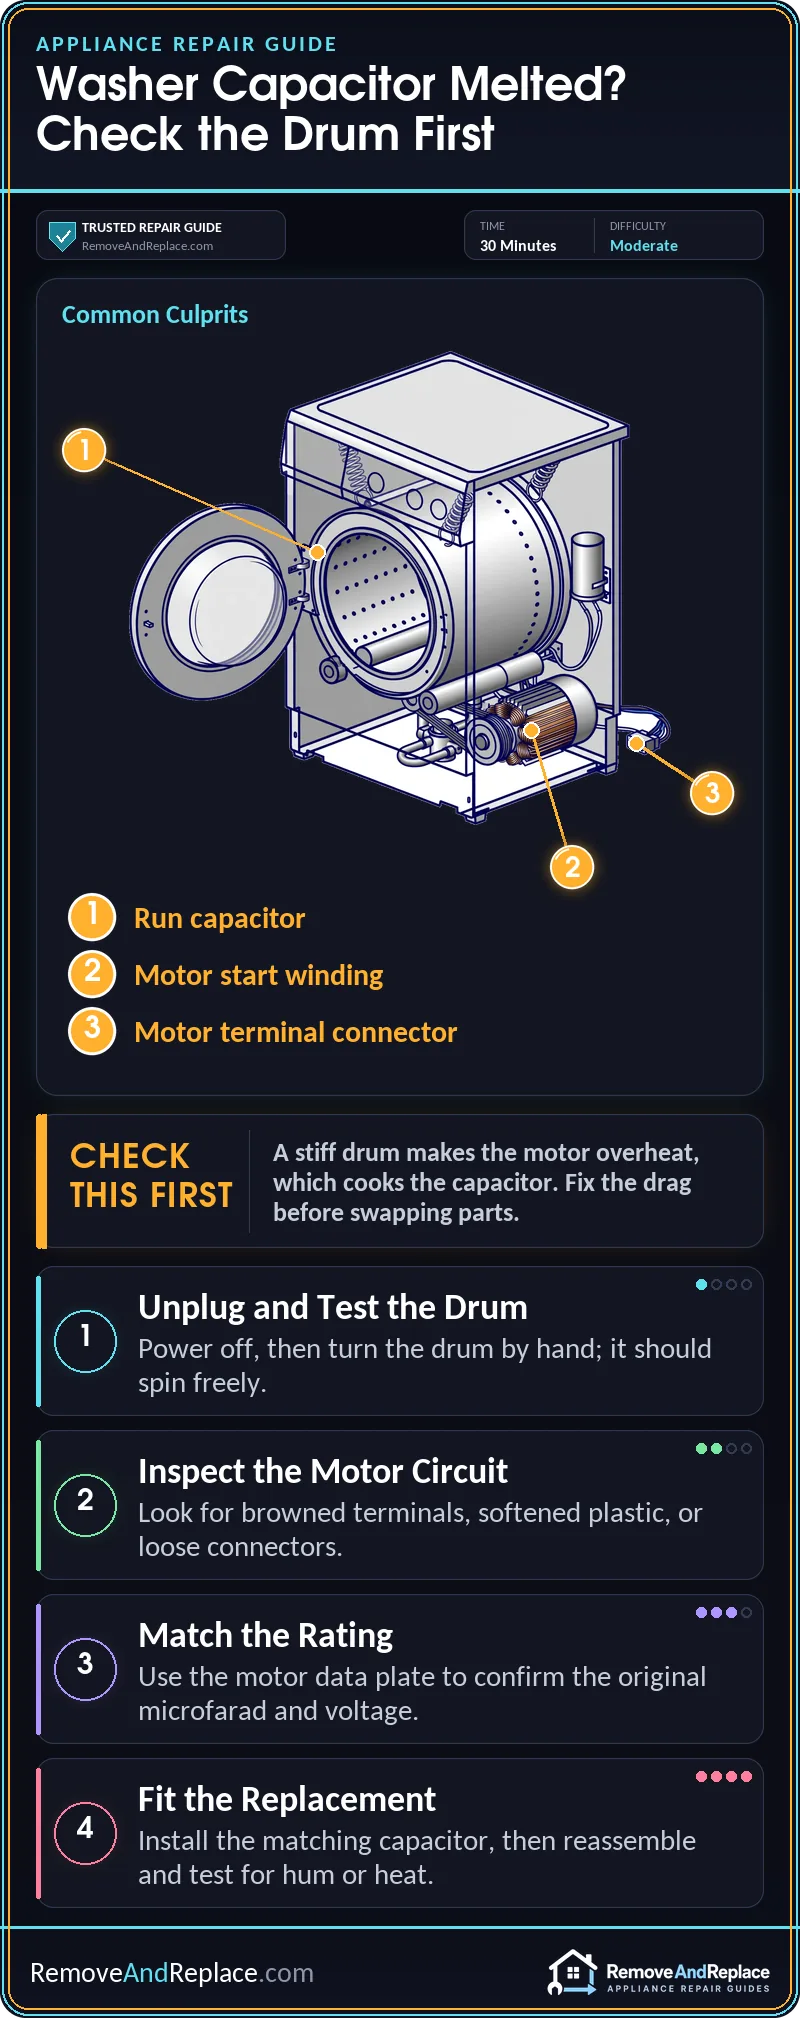
How to Replace the Capacitor
- Unplug the washer. Pull the plug, or switch off the breaker, and move the machine so you can reach the motor area. Your manual shows how the cabinet or rear panel comes off on your model.
- Photograph the wiring. Take a clear shot of the capacitor, the terminals and where each wire goes before you disconnect anything.
- Discharge the capacitor. Touch an insulated screwdriver across both terminals, as described in the warning box.
- Check the drum and motor. Turn the drum by hand. If it’s stiff, find the drag first. Smell the motor area for burnt varnish.
- Inspect the use. Look at each terminal and the connector plastic. Brown, black or softened parts need replacing, and a loose terminal can be tightened with needle-nose pliers, not by guessing.
- Remove the old capacitor. Pull the wires straight off by the terminal, not by the wire, and release the mounting clip or bracket.
- Fit the new one. Mount it the same way, push the terminals on firmly, and match your photo.
- Close up and restore power. Reinstall the panel, plug in the washer, and run a short cycle to test. Listen for a hum without movement, and check the motor area for heat or smell after a few minutes.
The swap itself typically takes well under an afternoon, roughly 20 to 60 minutes, and less once you know where everything sits. If the new capacitor gets hot again, treat it as a motor or wiring problem, not a bad part.
When Does a Melted Capacitor Mean Stop and Call a Pro?
If the motor smells scorched, the connector to the use or control board is charred, or the breaker trips when you plug in, you’re past a capacitor swap. A seized motor or a burnt control board costs noticeably more than a capacitor, so compare a service call against the washer’s age before you commit. If you’re not confident reading wiring or testing a motor, hand it off.
- Melted wire insulation or a charred connector
- A hard hum with a new, correctly rated capacitor
- A drum that won’t turn freely and a cause you can’t find
A melted capacitor is the cheap part of a bigger story, so use the replacement as a chance to look for what stressed it. Look the whole area over whenever the cabinet is open. Browning on a terminal or a stiff drum is easier to fix before the next melt.
FAQ
Is a melted capacitor safe to keep using?
No. A melted capacitor can leak or short and the heat source is still there. Unplug the washer and stop running it until the cause is found.
Can I pick a replacement with a different microfarad value?
Match the µF value and use at least the original voltage rating. If a washing machine capacitor melted replace advice you find online suggests “close enough,” I wouldn’t trust it; the motor was designed around one value.
Why did my new capacitor melt too?
I’d suspect the motor, the drive load, or a bad connection, not the capacitor. In my experience a repeat failure usually points to an underlying problem that was never fixed, most often a struggling motor, a mechanical bind, or a wiring short.
Could a door latch problem cause this?
A latch fault usually stops the cycle with an error code rather than melting a part. My piece on the Frigidaire F21 error shows what that looks like. I’d still check the capacitor’s surroundings if you see melting.
Replace the capacitor, but don’t stop there. If I had to bet on one habit that saves people the most trouble, it’s turning the drum by hand before ordering anything.

Written by Keith Schneerer
Certified Appliance Tech · Founder, RemoveAndReplace.com
Keith has spent 30+ years repairing machines, starting as a military mechanic and later maintaining food processing equipment before moving into appliance repair. He founded RemoveAndReplace.com to share field-tested repair advice.
More about Keith →