A Panasonic microwave that runs fine — fan spinning, turntable turning, display lit up — but leaves your food cold is one of the most common complaints I see. It’s also one of the most misunderstood. Most people assume the problem is expensive, like the control board. That’s usually wrong. The parts that make the oven hum, spin, and light up sit on a different circuit than the parts that cook your food. So a normal-sounding unit with cold food points to a short list of likely causes, not a mystery in the control panel. That’s different from a microwave that won’t power on at all. I cover that case separately in why a microwave would suddenly stop working, if that’s your situation.
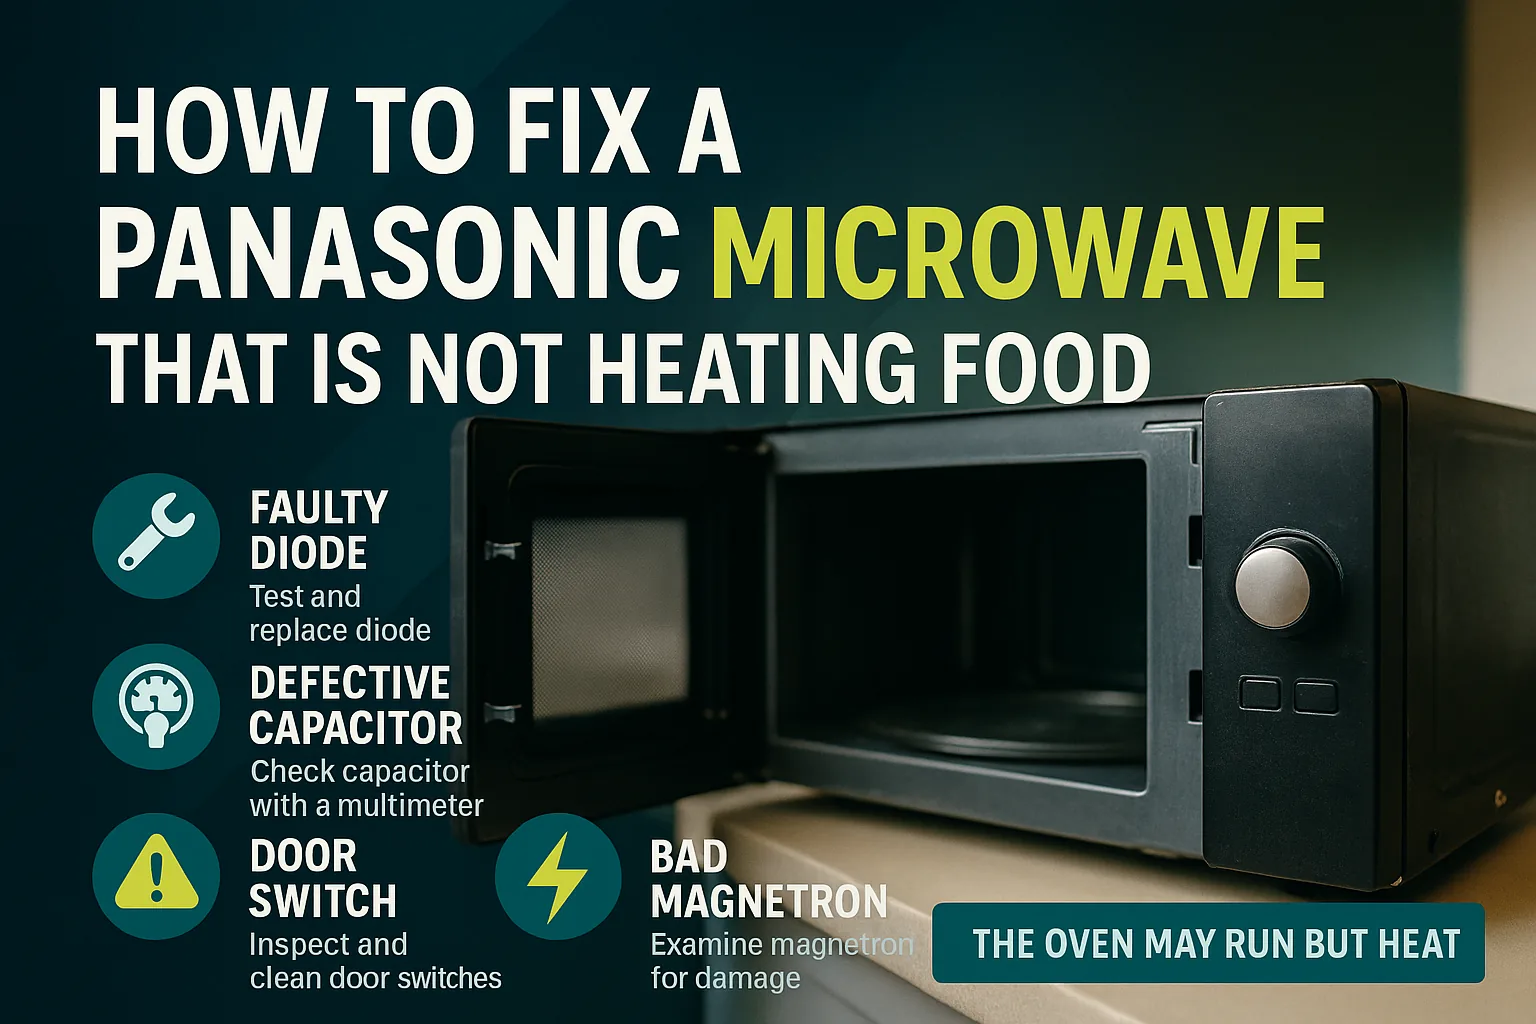
A Panasonic microwave not heating food is almost always the magnetron, the high-voltage diode, or a failed door interlock switch — not the control board. Testing takes about 20 minutes with a multimeter, and most fixes run $10 to $120 in parts. The magnetron is the most common cause and should be checked first.
- Check the door switches and confirm the light and fan still work before assuming the worst — it’s free and takes two minutes.
- The magnetron is the most common culprit; the high-voltage diode and capacitor cause most of what’s left.
- Never touch the high-voltage capacitor without discharging it first — it holds a lethal charge even hours after you’ve unplugged the unit.
- Panasonic’s Inverter models can throw an H97 or H98 code specifically for an inverter circuit fault — a detail most repair guides skip entirely.
- Budget 20-60 minutes and $10-120 in parts for most fixes; a service call typically runs $150-250.
| Cause | Likelihood | Fix Cost | DIY Time |
|---|---|---|---|
| Magnetron failure | Most common | $40-90 | 45-60 min |
| Diode or capacitor | Common | $10-50 | 30-45 min |
| Door switch/interlock | Occasional | $8-20 | 20-30 min |
| Inverter board fault | Less common | $60-120 | 45-90 min |
| Blown fuse/other | Rare | $6-15 | 15-20 min |
Why Is My Panasonic Microwave Not Heating Food?
If your Panasonic microwave hums along like normal — turntable spinning, light on, display working — but the food comes out cold, the magnetron is almost always the reason. It’s the cause I check first for most of these complaints, and I always start there before looking at anything else. Nineteen years spent chasing electrical faults on U.S. Air Force aircraft taught me to check and test before touching the expensive part. The magnetron is the vacuum tube that makes the microwave energy. Panasonic’s tubes tend to outlast a lot of budget brands, but they still fail. Usually it happens gradually — the oven may run weak for a couple weeks before it quits heating altogether. Fan and light operation don’t depend on the magnetron at all; it’s on a separate circuit. That’s why people assume the whole unit died when it’s really just this one part.
This shows up across every era of Panasonic countertop microwave, old and new. You won’t see scorch marks or cracks — the tube just quietly stops working. Panasonic’s no-heat troubleshooting guide confirms this diagnostic order.
You Hear Buzzing, Cracking, or a Loud Pop When It Runs
If the microwave makes a buzzing, cracking, or popping sound during operation, you’re looking at the high-voltage diode or the capacitor. Sometimes the sound is loud enough to make you jump back from the counter. This is one of the more common causes I run into after the magnetron itself. The diode rectifies the voltage coming out of the transformer. When it shorts, it usually fails loud and dramatic rather than quiet like the magnetron. A burnt or ozone-like smell right after the pop is a pretty reliable tell. It’s kinda counterintuitive, but a loud, obvious failure like this is actually easier to diagnose — you just have to be careful getting to it.
Here’s a wrong move I see constantly: people pop the case open and start poking around near the capacitor with a bare screwdriver to “test” it live. Don’t. A microwave capacitor holds a lethal charge for hours after the unit’s unplugged (trust me on this one). The right move is to discharge it properly first, with an insulated screwdriver bridged across both terminals, before you touch anything else in that compartment. If you’re not confident doing that safely, you’ve gotta stop here and hand it to someone who does it daily.
Unplug the microwave before opening the cabinet — don’t just power it off at the switch. The high-voltage capacitor can hold a charge strong enough to seriously injure or kill you even after the unit has been sitting unplugged for a while. Discharge it with an insulated screwdriver before touching anything near the magnetron, diode, or capacitor (seriously, don’t skip this — a bare screwdriver can arc and weld itself to a terminal).
This video walks through the same diagnostic order I just laid out — checking the fan and light first, then moving to the magnetron, diode, and capacitor before assuming the control board is at fault. It’s a good visual reference if you’ve never had the cabinet open on a microwave before, especially for seeing exactly where the capacitor sits relative to the magnetron.
The Microwave Shuts Off Immediately or Won’t Start At All
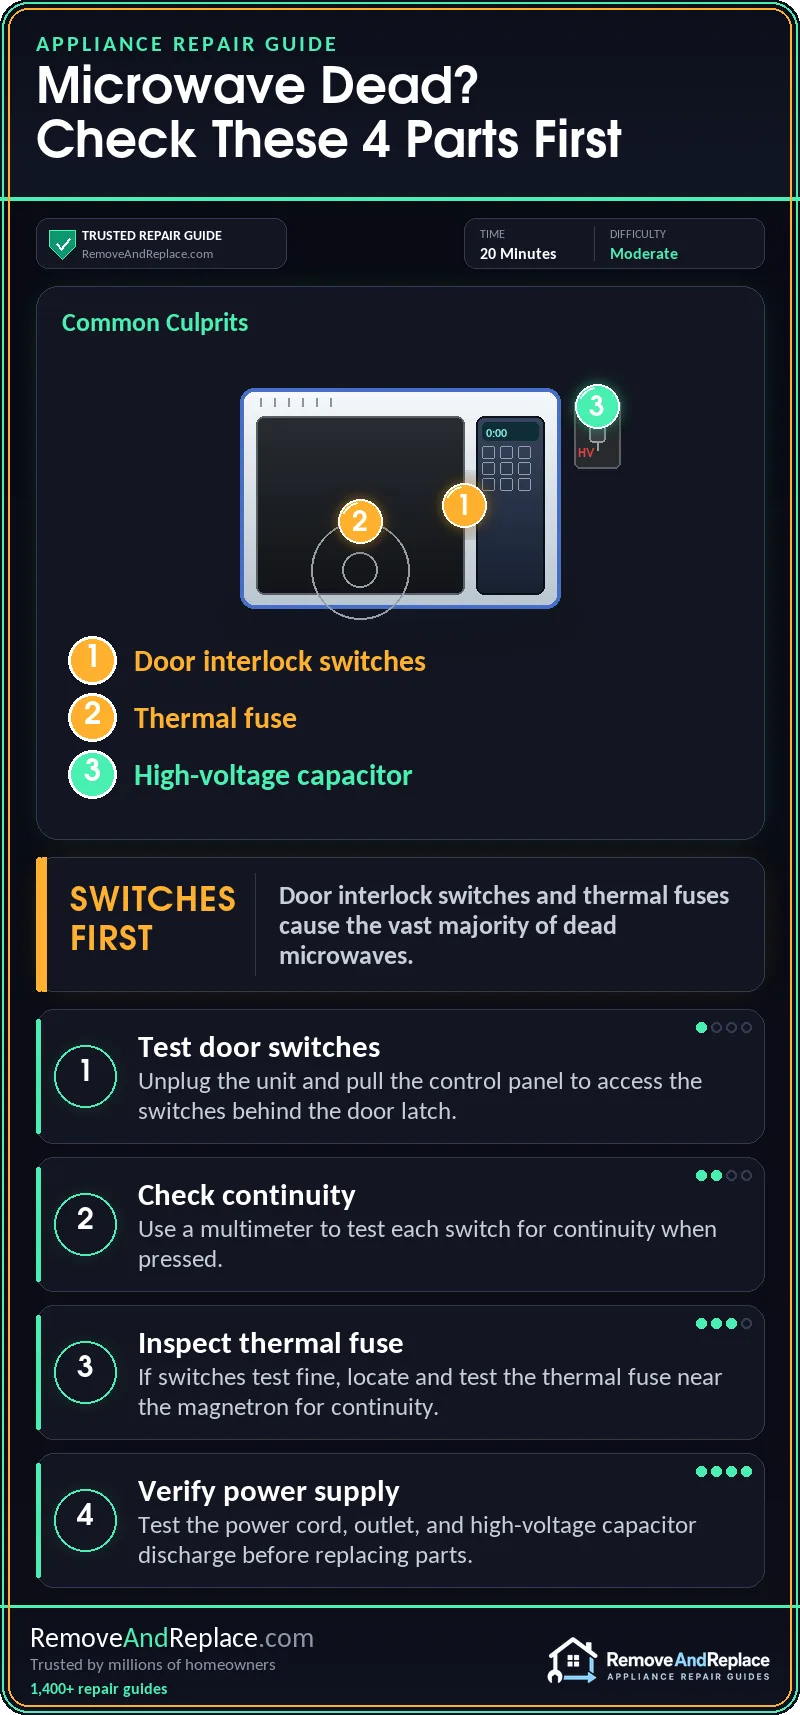
When the display works and the turntable spins, but the oven shuts off the second you close the door — or won’t start heating at all — I’d put my money on a door switch or interlock. It’s right behind the magnetron and diode on my list of usual suspects. Panasonic microwaves use two or three of these switches in sequence. I always test each one individually rather than assuming they all fail together. If even one is worn out or misaligned, the unit’s safety logic won’t let the magnetron fire. You’ll sometimes hear a faint click when you press the door closed that sounds different than it used to. Or the door might feel like it’s not latching with the same snap. For the broader repair process on a unit that’s acting up in general, I’ve also got a walkthrough on how to repair a microwave oven that is not working that covers this family of issues too.
The Display Shows an H97 or H98 Error Code
This is the one almost nobody talks about, and it’s specific to Panasonic. Their Genius Inverter models don’t use a bulky transformer like older microwaves do. Instead, they run a compact inverter circuit board that regulates power more precisely — similar to how a variable-speed motor works differently than an on/off one. When that board starts failing, it doesn’t always act like a dead magnetron or diode. Instead of going cold right away, you might get intermittent heating paired with an H97 or H98 code on the display. I’ve replaced a handful of these boards over the years, and it’s always been on an Inverter-line model, never the older transformer-based units — the technology really is different under the hood. If your unit is showing one of these codes, check it in this order:
- Confirm the door switches test fine first — a failing switch can sometimes mimic an inverter fault.
- Look for intermittent heating (food warms briefly, then stops) rather than a total no-heat symptom.
- Check your model’s manual to confirm the code is actually H97 or H98, not a different fault code.
- Test or replace the inverter board directly — skip the magnetron and diode tests, since they’re rarely the cause when this code shows up.
Other Rare Causes: A Blown Fuse or a Failed Control Board
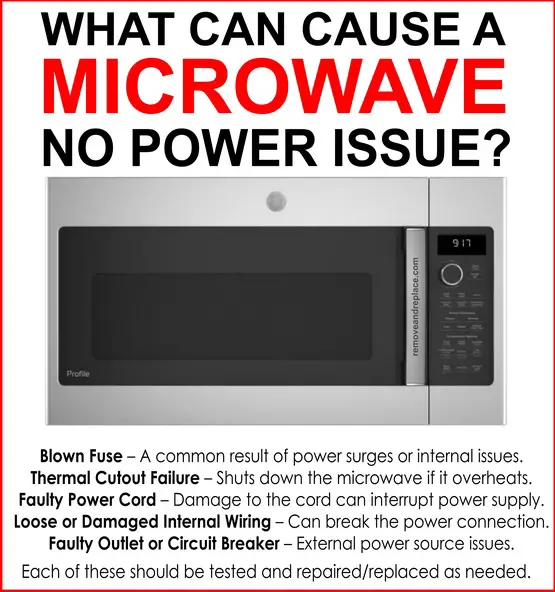
Every once in a while, the culprit is a blown thermal fuse or a dead control board. It’s rare, but it happens. A blown fuse usually means the unit won’t power on at all, which is a different symptom than what most people mean by “not heating.” If that’s your situation, I’ve written up how to fix a microwave oven that will not turn on separately, since the diagnostic path splits off from here. A genuinely dead control board is rare enough on Panasonic units that I test everything else first. It’s the last thing on my list, not the first — no matter what half the internet tells you to replace right out of the gate.

Step-by-Step: Testing and Replacing the Magnetron, Diode, or Capacitor
Test order matters here (my first instinct was always to grab the diode first since it’s cheap and easy to swap — then I learned that shortcut cost me more wasted teardowns than it saved, so now I test the magnetron first). The order that actually works looks like this:
- Start with the magnetron if the microwave runs quiet with no heat — that’s the more common cause, and testing it first saves you a second teardown.
- Suspect the diode first only if you heard a pop or crackling sound — diodes almost always fail loud, not quiet.
Below is the full order I follow now (I check this every time):
- Unplug the microwave and let it sit for a few minutes. Don’t rely on the power switch alone.
- Remove the outer cabinet — usually 4-6 Phillips or Torx screws around the back and sides.
- Discharge the capacitor with an insulated screwdriver across both terminals before touching anything else inside.
- Test the door switches with a multimeter set to continuity — you should get a clean beep when each switch is engaged, nothing when it’s not.
- Check the magnetron for continuity across its filament terminals (should read low resistance, not open) and for insulation resistance from the terminals to the case (should read infinite, not a short).
- Test the high-voltage diode with the diode-test setting on your meter — it should conduct one direction only. A diode that reads open both ways or shorted both ways needs replacing.
- Replace the failed part — the diode and door switches are usually just a screw or two and a couple of spade connectors; the magnetron takes a bit more disassembly since it’s bolted to the waveguide.
- Reassemble and test by heating a cup of water for 60-90 seconds before you button the cabinet back up all the way.
Whoever at Panasonic decided to bury the diode behind six screws and a metal shield plate never had to replace one twice in the same month. It’s needlessly annoying every time — though I still respect the rest of their design. If you need wiring diagrams to match your exact model, PartSelect’s no-heat microwave repair guide is a solid reference to have open on your phone while you work.
When to Call a Pro Instead
A replacement magnetron runs $40-90. A diode or capacitor runs $10-50. A door switch runs $8-20. You can find all of these through parts suppliers like RepairClinic’s Panasonic no-heat parts listings — just match the part number to your model. A service call for the same repair typically runs $150-250 with labor included. Doing it yourself saves real money if you’re comfortable with a multimeter.
- Call a pro if you don’t own a multimeter and can’t verify a part before buying it.
- Call a pro if the capacitor won’t discharge cleanly on your first attempt — don’t keep poking at it.
- Call a pro if you smell burning plastic or see scorch marks near the magnetron or waveguide.
- Call a pro if the unit is still under warranty — opening the cabinet voids that instantly.
How to Keep This From Happening Again
Wipe down and check the waveguide cover — that little mica or fiberglass sheet inside the cavity — about once a month. Grease and food splatter on it will arc and can damage the magnetron over time. Don’t run the microwave empty, even briefly. There’s nothing for the energy to absorb, and it stresses the magnetron. Don’t force the door shut if it’s not latching smoothly, either — that’s your door switches warning you before they actually fail. I check mine on this same schedule, and it’s saved me more than one service call over the years. None of this is complicated. It’s just stuff people need to remember to do.
Frequently Asked Questions
Why does my Panasonic microwave run but not heat anything?
In my experience, a Panasonic microwave not heating food usually comes down to the magnetron, with the high-voltage diode and capacitor covering most of what’s left. The parts that make it run — fan, light, turntable motor — sit on a separate circuit from the parts that generate heat. So a normal-sounding unit with cold food is exactly what you’d expect from a failed magnetron.
Is it safe to test the microwave’s capacitor myself?
Only if you discharge it properly first with an insulated screwdriver. Even then, I’d think twice if you’ve never done it before. I’ve been doing this for decades, and I still treat that capacitor like it’s live every single time. That’s not caution for show — that’s just how you avoid getting hurt.
How much does it cost to fix a Panasonic microwave that won’t heat?
Parts alone usually run $10 to $120 depending on whether it’s the diode, magnetron, or inverter board. A professional service call runs $150-250 with labor included, so doing it yourself saves you a good chunk of that cost.
What does the H97 or H98 error code mean on a Panasonic microwave?
Those codes point specifically to a fault in the Genius Inverter circuit board, not the magnetron or diode. It’s a Panasonic-specific detail most repair guides skip entirely, and if your unit’s throwing one of those codes, don’t waste your first hour testing the magnetron — go straight to the inverter board.
Should I repair or replace a Panasonic microwave that’s not heating?
If it’s the magnetron, diode, or a door switch, I’d repair it — those are all under $90 in parts and 20-60 minutes of your time. If it’s the inverter board on an older unit, or you’re already fighting other issues with the same microwave, replacement starts making more financial sense.
I’ve found that most of this comes down to trusting the order of operations instead of jumping straight to the priciest part. Check the free stuff first, test before you buy. You’ll usually have this fixed for less than the cost of a new microwave — and a lot faster than waiting on a service appointment.

Written by Keith Schneerer
Certified Appliance Tech · Founder, RemoveAndReplace.com
Keith has spent 30+ years repairing machines, starting as a military mechanic and later maintaining food processing equipment before moving into appliance repair. He founded RemoveAndReplace.com to share field-tested repair advice.
More about Keith →