Before you price anything, figure out what the fridge is actually doing. A warm box, a clicking compressor, a rusted cabinet and a door that won’t seal all point to different answers, and some of them cost you nothing to fix. Work through the symptoms below in order, and the decision usually makes itself.
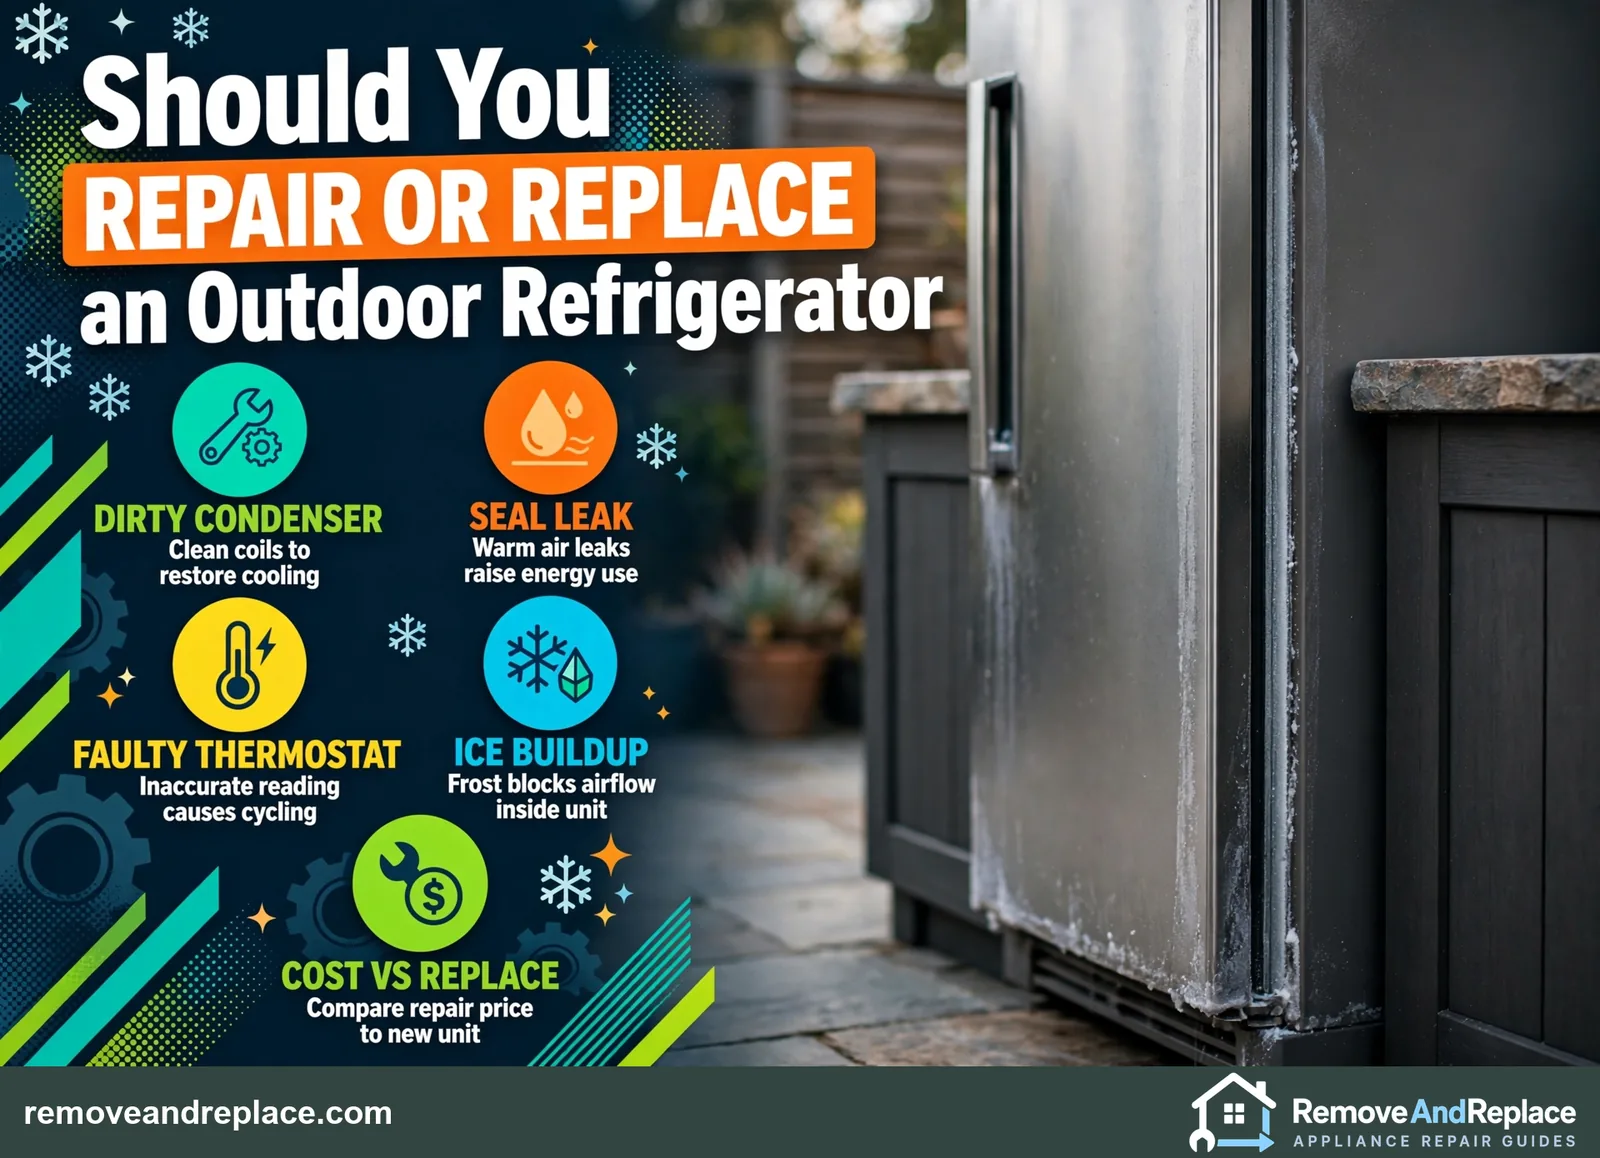
To repair or replace outdoor refrigerator problems, start with the free checks: clean the condenser coils, confirm the outlet has power, and see whether the fan runs. If those pass and the unit still runs warm, a failed sealed-system part usually points toward replacement, while a thermostat, fan, or door gasket is worth repairing. Sealed-system work needs a licensed technician.
- Free checks first: power, coils, airflow, door seal.
- Cheap parts are worth fixing; sealed-system failures usually are not.
- A fridge not rated for outdoor use changes the math and the warranty.
Where to Start When You Need to Repair or Replace an Outdoor Refrigerator
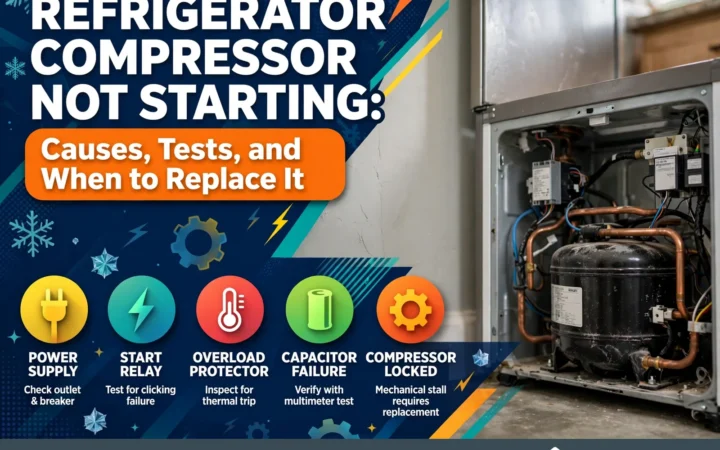
An outdoor fridge lives a harder life than the one in your kitchen. It deals with heat, dust, humidity, and sometimes salt air or freezing nights, and all of that wears on seals, fans and coils long before the cooling system itself gives up. So the question isn’t just “how old is it.” It’s “what failed, and what did the environment do to the parts around it?” The compressor question comes down to this: a fan, relay, thermostat or gasket failure is usually a low-cost repair, while a compressor or sealed-system failure is generally a repair-versus-replace decision that depends on the unit’s age and the repair quote. Many units that look dead turn out to have one of the cheaper problems, so don’t write yours off yet. Check the basics, then decide.
A warm fridge doesn’t automatically mean a dead compressor, so the cheap causes are worth ruling out first. A dirty condenser, a stuck fan or a worn door seal can all make a healthy compressor look like it’s failing.
Safety first. Unplug the appliance or switch off its breaker before you touch anything. Outdoor outlets should be GFCI protected, so if the outlet itself keeps tripping, stop and have it looked at. This part needs a licensed, EPA-certified technician: anything involving the sealed refrigerant system, including the compressor and the lines.
Warm Inside, but the Fridge Is Running
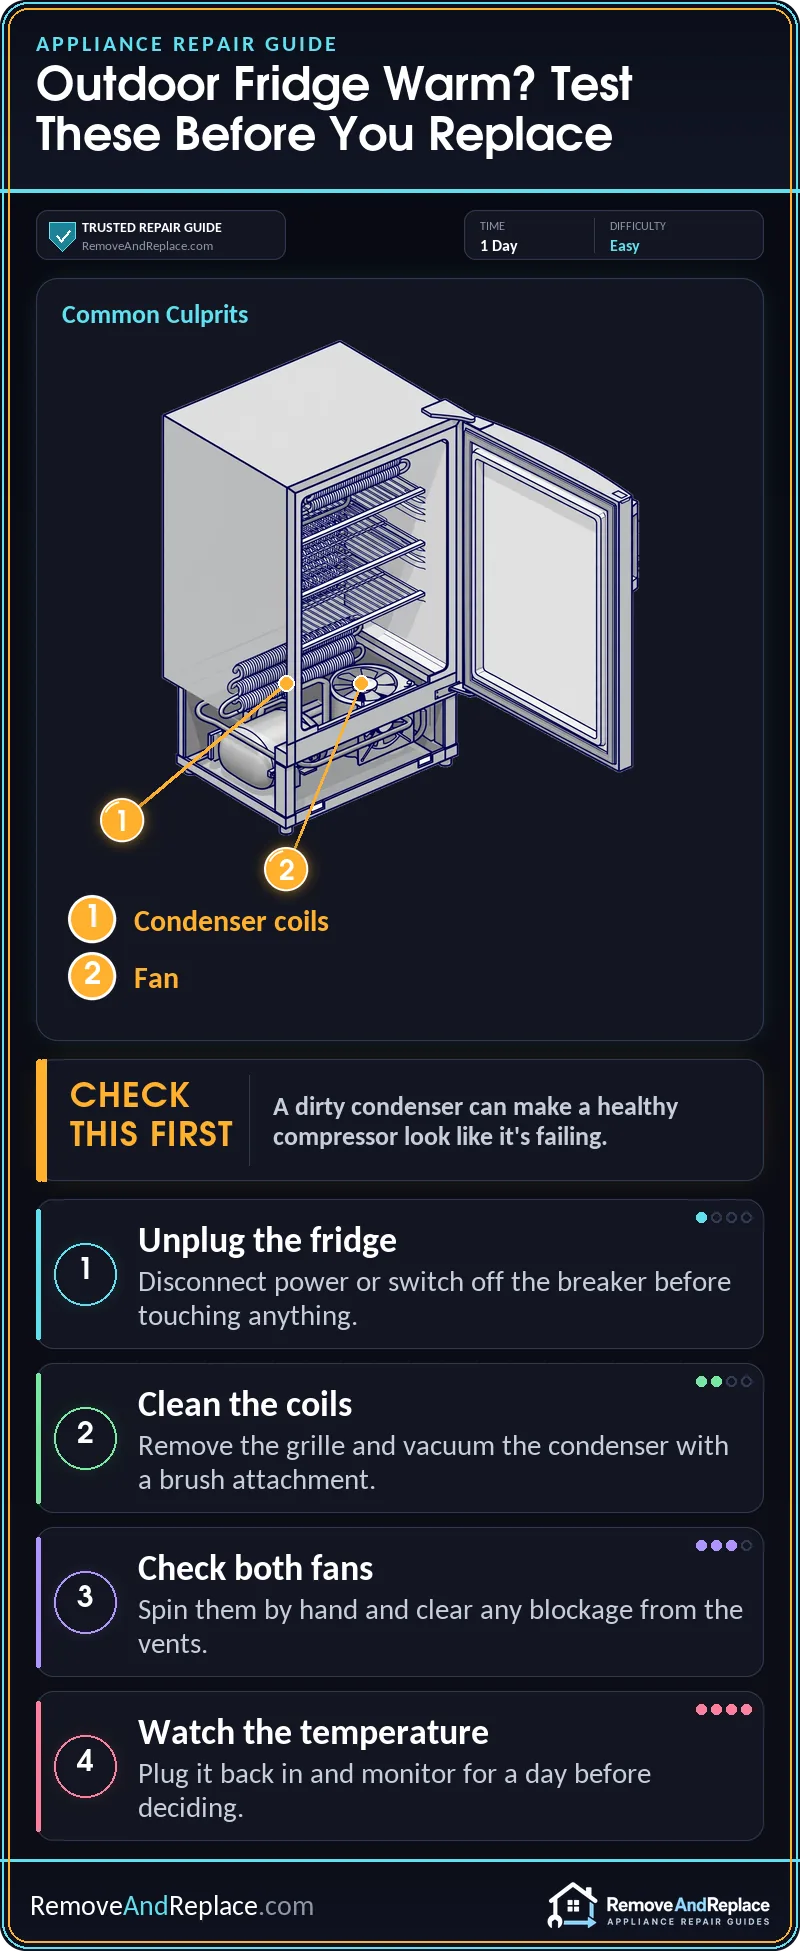
Start here, because it’s free. Outdoor units sit in dust, pollen and cottonwood fluff, and a coated condenser can’t shed heat. Unplug it, pull the grille, and look at the coils. If they look like felt, vacuum them with a brush attachment. The fridge may take a day or more to settle back to normal. This is the kind of job that belongs with the easy appliance repairs you can do yourself.
- Unplug the fridge. Pull it out far enough to reach the grille and condenser.
- Remove the grille. Most snap off or come off with a couple of screws.
- Vacuum the coils. Use a brush attachment and work gently so you don’t bend the fins.
- Check both fans. Spin them by hand and make sure nothing is blocking the vents.
- Plug it back in. Give it a day or more and watch the temperature.
If you want a second checklist for the cooling side, this outdoor fridge not cooling guide covers the common causes. Heat matters here too. In a hot climate, a unit tucked into a tight cabinet with no airflow will struggle, and the problem may be placement, not the machine.
OK, so the coils are clean, the fans spin, and it’s still warm. That narrows it down to a thermostat, a sensor, or the sealed system.
Clicking, Humming, or Never Settling
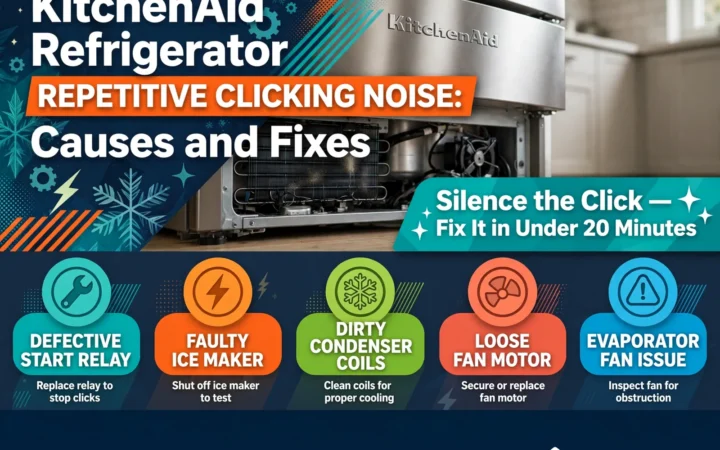
If you hear a click every few minutes and the compressor never settles into a steady hum, the start components or the control are the first suspects. That’s a repairable problem on most units, and the pattern is the same on indoor fridges, as in this write-up on repetitive clicking in a fridge. Where it gets expensive is when the compressor itself is drawing hard and tripping out. That one is a sealed-system issue, so stop there.
Temperature Swings or Odd Readings
A fridge that freezes the lettuce one day and warms up the next often has a bad temperature sensor or thermostat. It’s a small part. You can test a thermistor with a multimeter and a resistance chart, and this thermistor testing guide walks through it. A control board is the more costly cousin. On a basic outdoor model, a board failure can cost enough that replacement becomes the better choice.
| Cause | Fix Cost | DIY Time |
|---|---|---|
| Dirty condenser or blocked airflow | Free | Short job |
| Thermostat, sensor or fan failure | Low to moderate | Longer the first time |
| Worn door gasket | Low to moderate | Short job |
| Control board failure | Moderate to high | Varies by model |
| Sealed-system leak or compressor failure | High, so compare it with replacement | Pro only |
This video walks through the repair-versus-replace decision for an outdoor fridge. It’s worth a watch before you spend anything, because it shows how to weigh the cost of the fix against the price of a new unit.
The Door Won’t Seal or the Cabinet Is Rusting
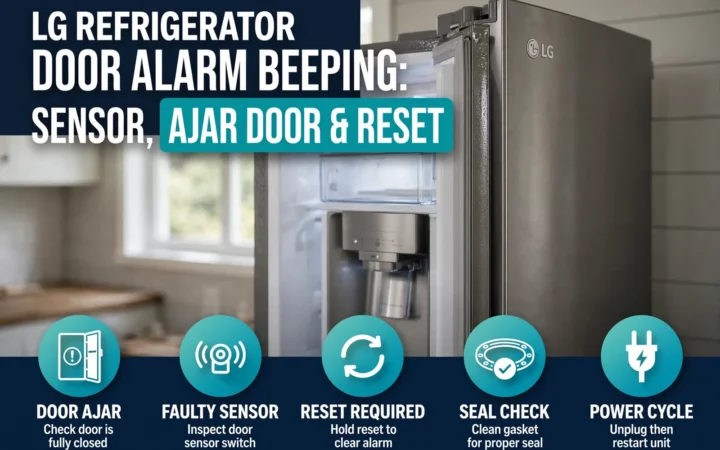
A gasket that has hardened or torn lets warm, humid air in, and the compressor runs constantly to catch up. Run a dollar bill through the closed door at several spots. If it slides out easily, the seal isn’t gripping. A new gasket is a good repair on most units. If the door alarm keeps going off even when the door looks shut, check the sensor and latch too, as covered in this door alarm article.
Rust is different. Surface rust on a hinge is cosmetic. Rust through the cabinet, or around the condenser and electrical area, is a replacement sign.
Is It Really an Outdoor-Rated Fridge?
Many outdoor units are actually indoor fridges parked on a patio. That matters. Indoor models aren’t built for wide temperature swings, moisture and dust, and manufacturers may not cover them for outdoor use. Check the manual or rating plate for the outdoor rating. If yours isn’t rated, a big repair bill is harder to justify, because the same conditions that killed the first one will go after the next.
Built-In Undercounter Units: Will a New One Fit?
If the fridge is built into outdoor cabinetry, the repair math changes. Pulling it out may mean disconnecting it, moving heavy cabinet pieces, and working around masonry or a countertop. A replacement has to match the cutout width, height and depth, plus the ventilation requirements. Measure the opening and check the manual for clearance and venting before you shop. A unit meant to vent through the front can overheat if you tuck it into a closed cavity.
How Do You Decide Between Repair and Replacement?
Many people use a rule of thumb: once the repair costs a large share of what a comparable new unit costs, replacement makes more sense. Outdoor exposure shortens a unit’s remaining life, so replacement tends to win sooner outdoors than indoors. A repaired outdoor fridge with a rusted cabinet and tired seals may simply fail again.
- Unplug the unit. Pull it away from the wall enough to reach the back and condenser.
- Clean the coils and clear airflow. Give it a day or more and watch the temperature.
- Test the door seal. Replace the gasket if it fails the dollar-bill check.
- Identify the failed part. Use the rating plate model number to price it.
- Compare the total. Add the part, any labor, and the cost of pulling a built-in unit, then compare against a new one that fits the opening.
Before You Order a Part
Run the free check first: coils clean, fans spinning, seal tight. A pass means the cooling problem is likely in a thermostat, sensor or board. A fail means you’ve found the cheap fix. Get the exact part number from the rating plate or the manual rather than guessing, since the wrong part is an easy mistake to make. If the part is hard to find or backordered, that pushes the decision toward replacement.
Keep the wrong action in mind too: don’t chip ice out of a freezer compartment or pry at a stuck door with a screwdriver. You can puncture the evaporator, and that’s a sealed-system repair no one wants.
In short: a cheap part on a sound cabinet is worth repairing, but a sealed-system failure on an aging outdoor fridge usually isn’t.
Keeping the Next One Alive
Vacuum the condenser every few months, more often if you’re near trees or dusty ground. Give it room to breathe. Keep it out of direct afternoon sun if you can, and wipe the gasket clean so it doesn’t stick and tear.
If you smell burning, see smoke, or the problem points to the compressor or refrigerant lines, stop and call a licensed appliance technician. Treat the rule of thumb as a guide rather than a law, and for a tired unit, deciding early beats paying twice.
FAQ
How long should an outdoor refrigerator last?
It depends on the model, the climate and how well it’s maintained. There’s no reliable exact number. Outdoor-rated units tend to hold up better than indoor fridges used outside, and clean coils and good airflow help either one.
Can I use a regular indoor fridge outside?
You can, but I wouldn’t count on it. Indoor models aren’t built for temperature swings, moisture or dust, and the warranty may not cover outdoor use. Read your manual first.
Is it worth repairing a fridge with a bad compressor?
Usually not. A compressor is part of the sealed system, so you’re paying for a licensed technician, the part and the refrigerant work, and the total often makes replacement the better choice.
What’s the first thing I should check when my outdoor fridge stops cooling?
Power, then the coils. A tripped GFCI outlet or a dirty condenser explains more warm fridges than people expect.
Should I replace a built-in outdoor fridge or just repair it?
I’d repair it if the problem is a cheap part, since pulling out a built-in is a hassle. If the unit is failing in more than one place, measure the cutout and look at a replacement that fits it.

Written by Keith Schneerer
Certified Appliance Tech · Founder, RemoveAndReplace.com
Keith has spent 30+ years repairing machines, starting as a military mechanic and later maintaining food processing equipment before moving into appliance repair. He founded RemoveAndReplace.com to share field-tested repair advice.
More about Keith →