Here is an easy way to build a DIY Bookcase using common wooden craft crates. We will even show you how to build the actual craft crate too. This is a very simple project and all you will need is wood, wood screws, wood glue, polyurethane and wood stain. If you choose to make your own wood craft crates you will need the wood pieces pictured below that are 24″ length x 18″ width x 14″ height. Those dimensions are what we used but obviously you may use whatever dimensions you choose to fit your particular craft project. See below for a quick tutorial to build the stacked craft crate bookcase.
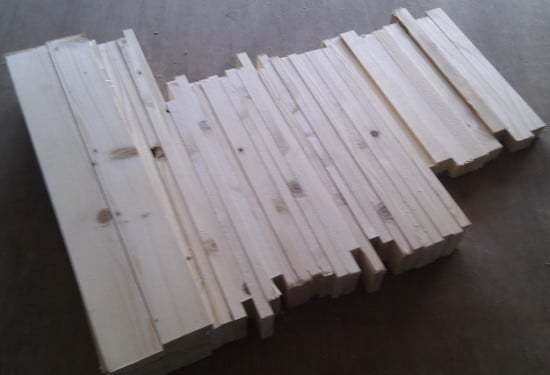 Here is the wood we used to create our craft crate and the sizes are 24″ length x 18″ width x 14″ height.
If you are going to be making your own craft crates then purchase the wood and cut to size as shown above.
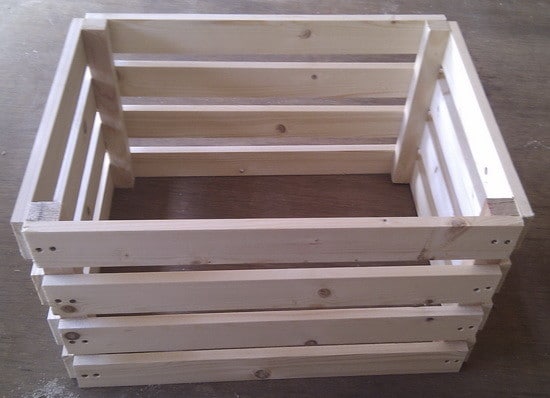 Put the craft crate together using 2″ long wood screws with 2 screws in each area as shown above.
You can also use wood glue with the wood screws to allow for optimum strength.
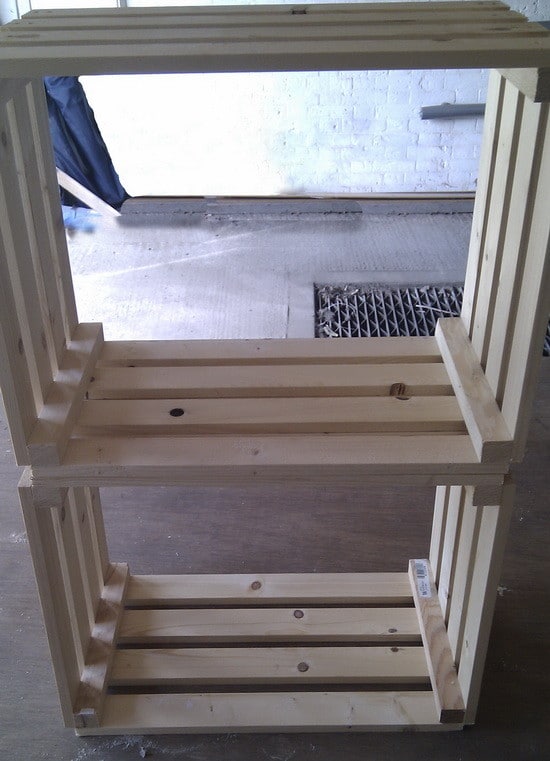 Once you have multiple craft crates built, you can start stacking them on top of each other.
We used the same wood screws to attach each wooden crate to one another.
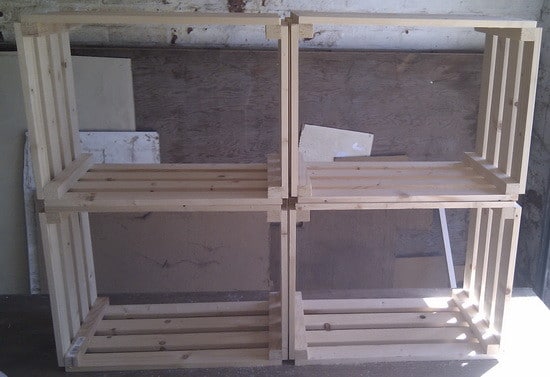 Once you have 4 craft crates stacked and secured as above, you can begin wood staining them.
NOTE: Make sure your crates are stacked and secured evenly to avoid having them topple over with weight.
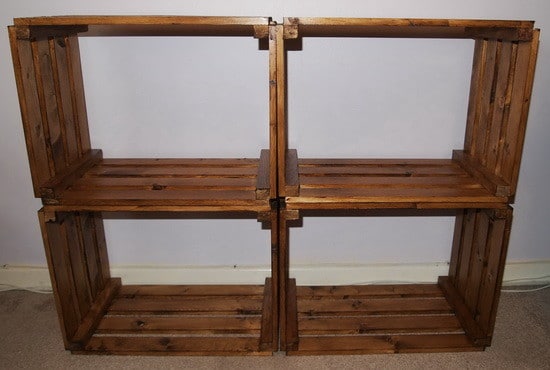 Next apply the wood stain evenly to the surface of your 4 tier crate and allow 3 hours to dry.
NOTE: We recommend adding 3 coats of wood stain to the craft crates to give a deep color structure.
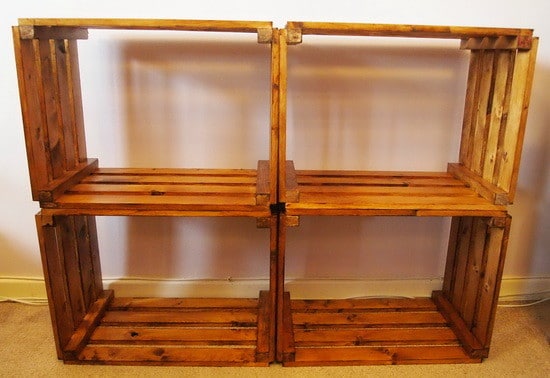 Next, apply the clear polyurethane finish to the surface of the craft crates.
NOTE: Give the polyurethane finish a good 4 hours to dry before adding anything to the surface.
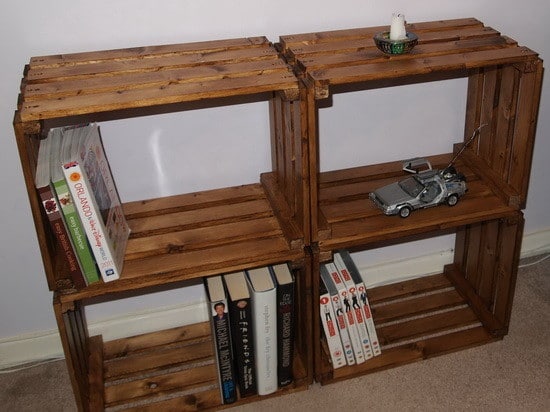 Here is our craft crate assembled, stained, sealed and with books in our living room.
NOTE: You can complete this whole project again and stack the 4 crates on another 4. (See below)
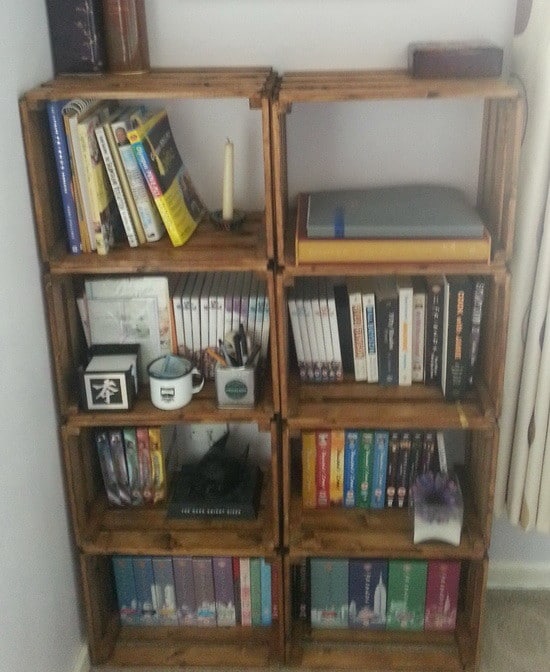 Here is our wood crate project doubled. We stacked one set on another set.
If you decide to do this, make sure you use a wall mounted fastener to hold the assembly to the wall.


Leave a Reply