We found a very unique wooden shipping crate in a garbage dumpster and decided to make a DIY bookshelf from the wood. This crate we found was in the trash at Ikea! We grabbed it quick and took it home. We must say that this was a very easy and cheap project but the most difficult part was removing all of the nails! This woodworking project cost us only $10 dollars as all we needed was the wood stain! Have a look below as we guide you step-by-step on our DIY wooden crate bookshelf project.
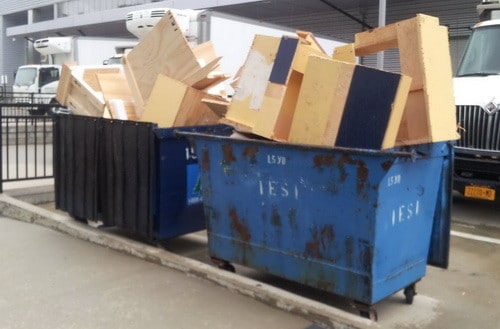 Here is the wooden crate we found in the trash behind our local Ikea store.
We snagged it, brought it home, and began tearing it down.
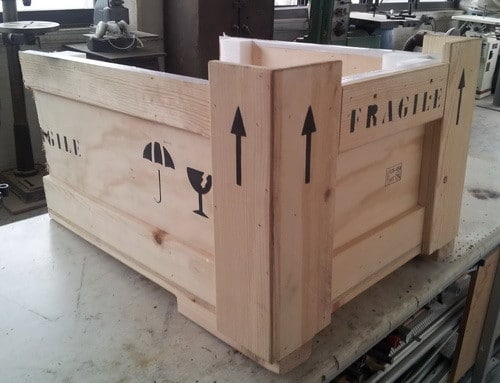 Here is our main crate ready to be taken apart to apply our wood stain and make a bookshelf.
We liked the look of the shipping crate symbols on the sides so we made an effort to keep them intact.
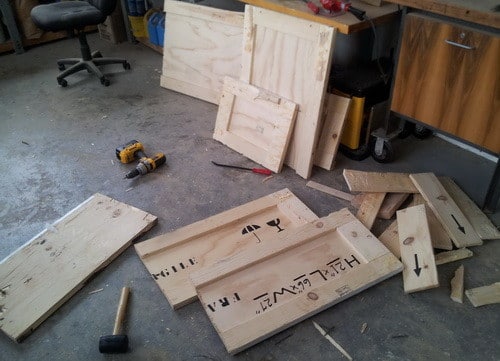 Here is about 2 hours into removing the nails from all of the pieces of wood.
This was the most time consuming phase of the project as we took care to not damage the wood.
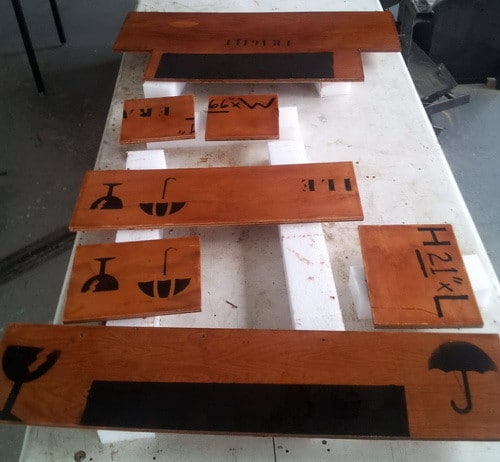 Once we had all the nails out we cut the wood and used a mocha colored wood stain on all of the wood pieces.
As you can see we were able to keep the shipping crate symbols intact.
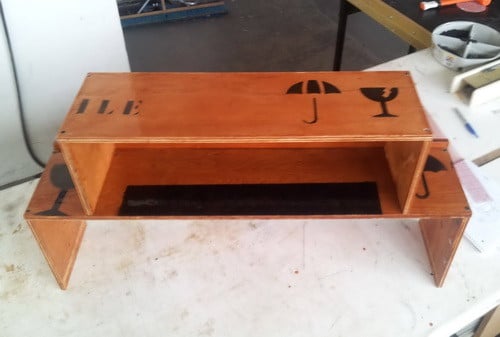 Once the wood stain was dry we assembled our wood pieces with wood screws to form our book shelf.
NOTE: We didn’t need a huge bookshelf so we only used about 50% of the wood from the crate.
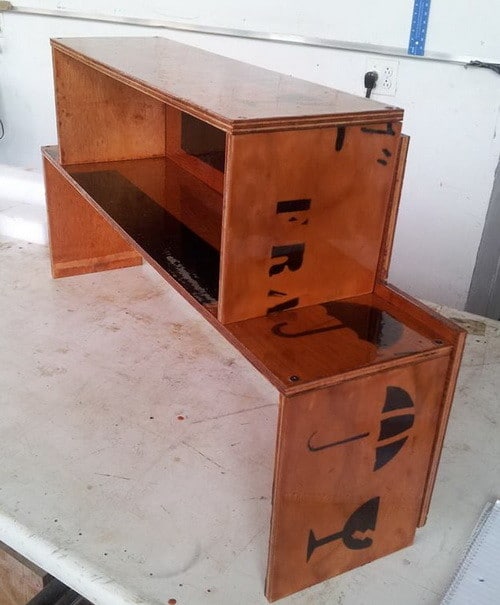 Here is another view once we had our bookshelf fully assembled.
NOTE: We used 2″ wood screws and common wood glue to hold the wood together.
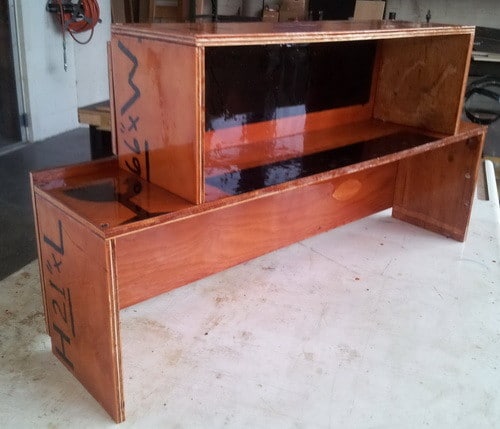 We applied a final coat of a shiny polyurethane that will seal and protect our wood from scratches.
We let the polyurethane dry for 4 hours before we placed our shelf and then added our books.
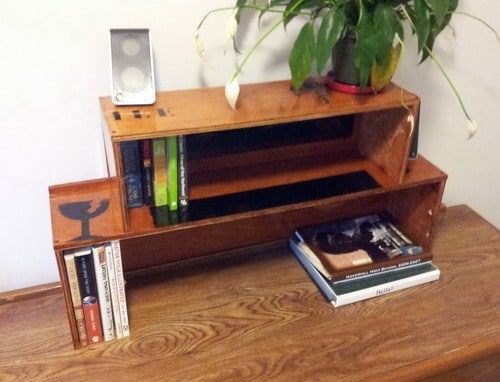 Here is our DIY wooden crate bookshelf from a crate we got at Ikea!
This project was a great way to recycle wood that was going to be thrown away!
If you are lucky enough to find a crate like this, we know you will enjoy making this yourself!


Leave a Reply