If you are looking to spruce up a corner in your living room or bedroom then we have a great project for you! An easy and fun woodworking shelf project that will be in the corner of your room to display pictures and more. Using just inexpensive wood cut to your specific size, you can make and build your own DIY corner wall shelving. It is very easy to do yourself and it won’t hardly cost you anything.
You will need wood (any type but the better quality wood is best) and wall anchors (either various screws or wall anchors). Basically all you need to do is find the perfect corner in your house for a cool DIY shelf. Measure it out with a tape measure and find the dimensions you will need. Go to your local home improvement store and purchase wood, wall anchors, and paint to paint the wood to match the wall. You will also need wood clamps, wood glue, a magnetic stud finder, power wood saw, power drill and paint brush. Use the pictures below to help you get a better idea of how to do this DIY shelving project yourself.
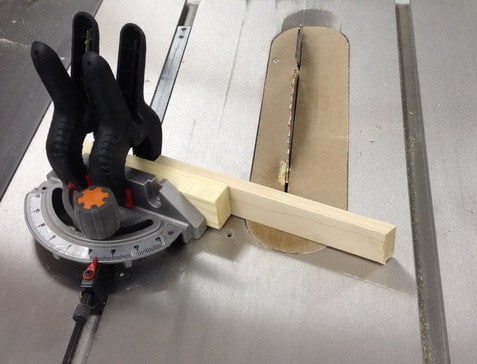 Step 1 – Cut the wood to the proper size needed for your DIY corner wall shelf.
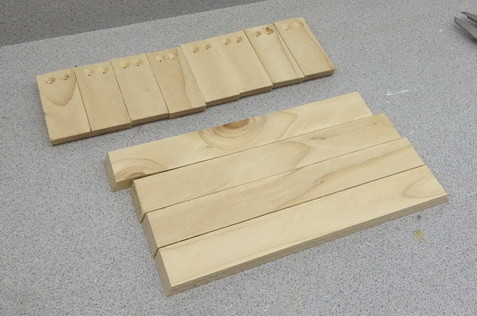 Step 2 – Once all wood is cut, drill holes into the wood to create pilot holes so the screws install easier.
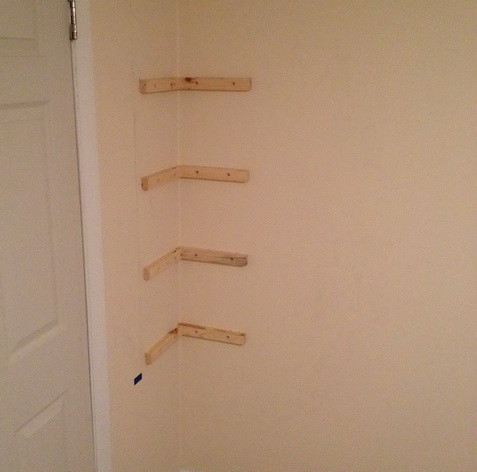 Step 3 – Mark the areas on the wall and start screwing in the base of the shelves using the wall anchors.
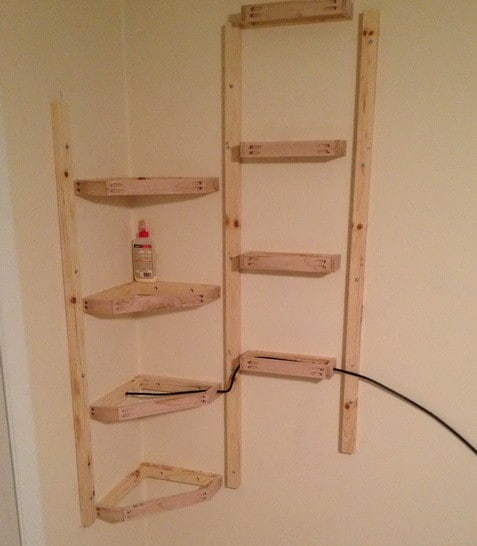 Step 4 – Continue securing the wood to the wall according to your specific dimensions and design.
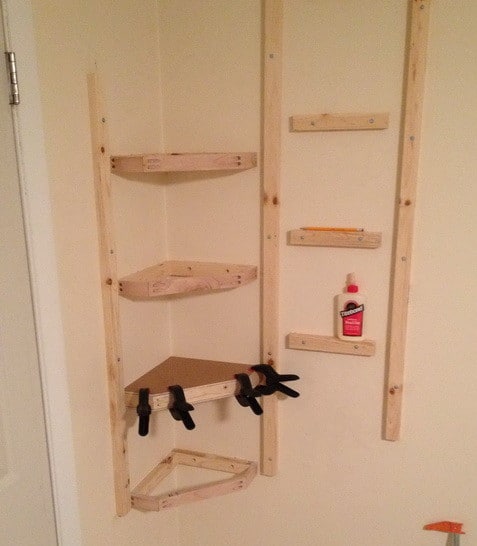 Step 5 – Cut the actual “shelf” part where your things will be sitting by measuring the dimensions needed.
Once in place glue the top portion of the shelf to the wood using wood glue and wood clamps.
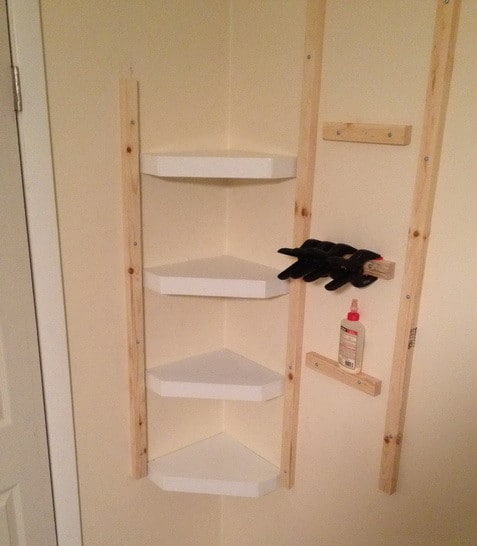 Step 6 – Once the shelving is fully assembled and glued, you can paint the shelves if desired.
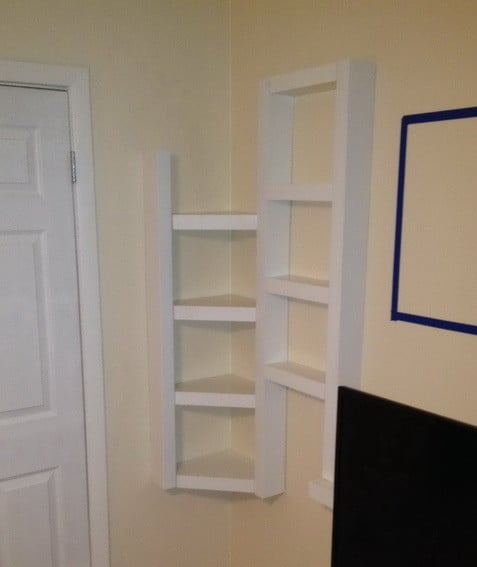 Here are the DIY corner shelf unit completely finished and painted white.
This was done for about $35 dollars and took 2 hours! Very easy!



Leave a Reply