You don’t have to spend a large amount of money to add a kitchen island to a new or existing kitchen. If your kitchen square footage is big enough, you can add one yourself. Hiring a contractor or a cabinet company can be expensive. If you are looking to install one yourself, there are many options available. We will show you the most inexpensive DIY way possible to make your kitchen more usable and add more counter space. If you simply just want some amazing ideas for a your new kitchen island, here are some great Kitchen Island Ideas with 38 great pictures!
A DIY kitchen island can be one with wheels that can be moved around or one that is permanently attached to the kitchen floor. It doesn’t have to be an expensive pre-made island. With the right materials and style, you can use a simple unfinished 2 or 3 cabinet unit and decorate it yourself. See below for information on how it can be done easily and inexpensive all by yourself.
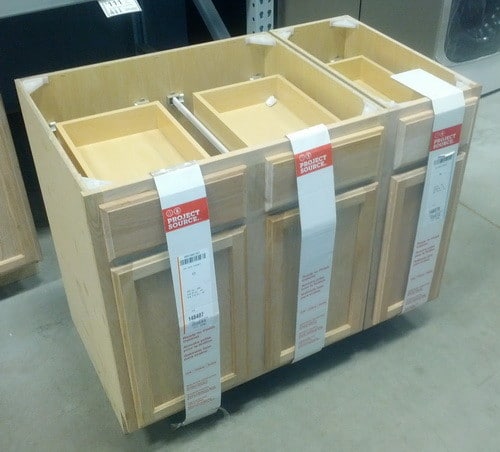 Here is an unfinished cabinet unit that can be used to make your DIY kitchen island.
You can find these unfinished kitchen cabinets at your local home improvement store.
The picture is a double and single cabinet that was purchased for $220 dollars to make the DIY kitchen island.
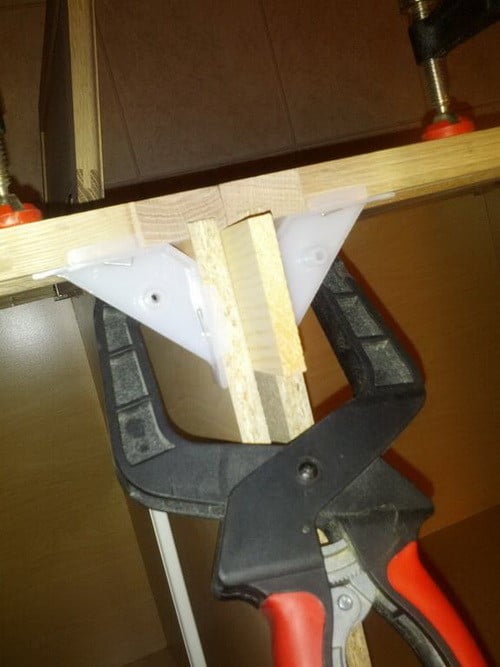 The first thing you will need to do is attach the cabinets together using wood clamps and screws.
If your cabinet is a 3 unit cabinet, you will not need to attach them together.
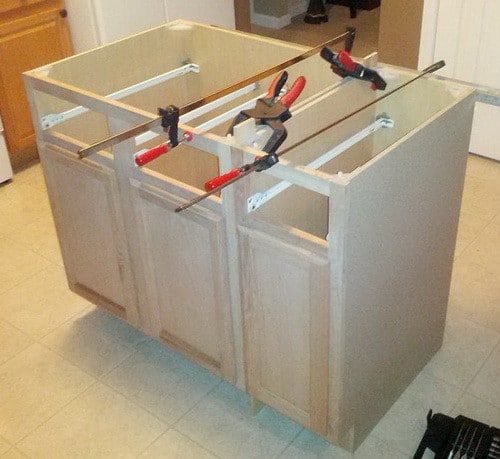 You will first want to line everything up to make sure the cabinets are aligned using wood clamps.
It is recommended to remove the top drawers to make it easier to access the inner cabinets.
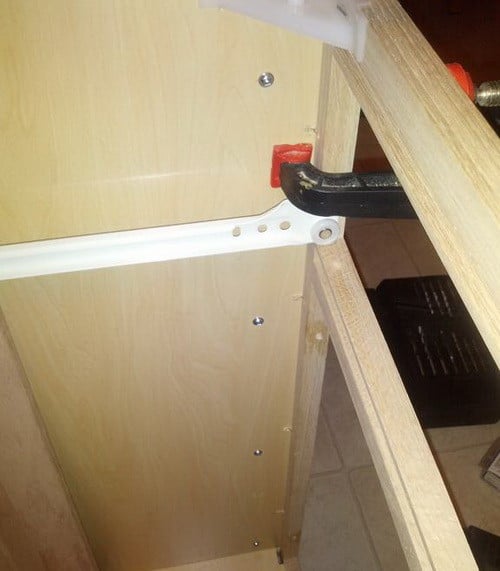 Once the cabinets are perfectly aligned, attach them to one another using wood screws.
It is recommended to use a battery powered drill to screw the wood screws into the cabinet.
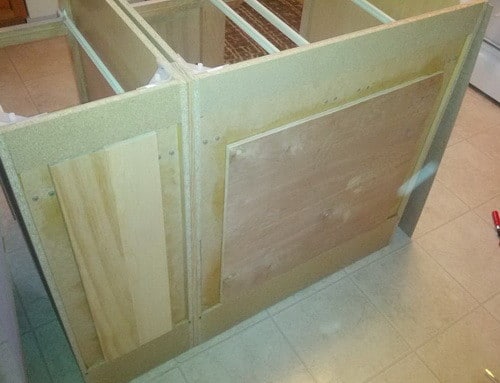 Once the cabinets are attached, you will need to add wood paneling to the back to match the front.
2 pieces of wood were cut and glued onto the back of the cabinets to be able to mount the decorative wood.
The cabinets shown are meant to be installed on a wall therefore the back has no wood panels.
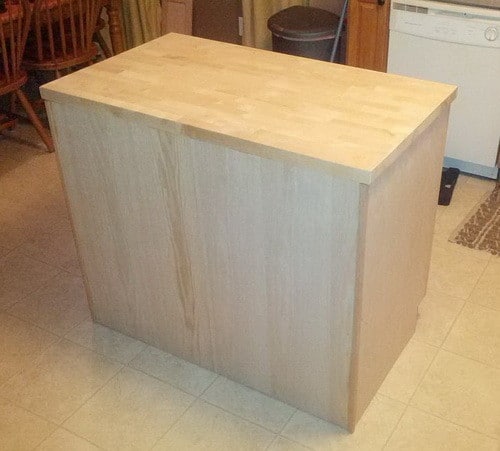 A nice matching wood “finishing” panel was then attached to the sides and back of the cabinets to match the front.
Corner wood moulding strips were also added to give the cabinets a nicer “flush” look.
A “butcher block” counter top was also added by attaching with multiple wood screws.
All of the panels, wood moulding, and butcher block top can be purchased wherever cabinets are sold.
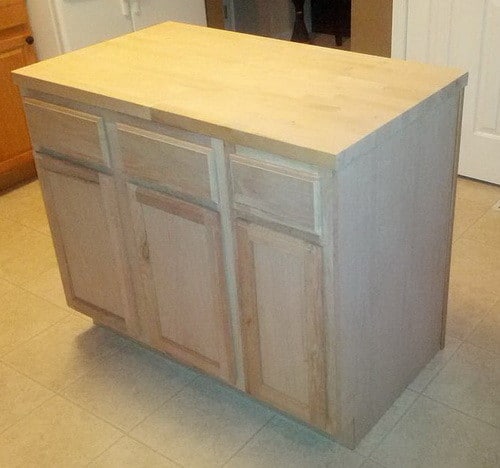 Once all wood panels, wood moulding, and the top was attached, the cabinet was sanded for painting.
Use a soft grit sandpaper to gradually smooth out a few areas so the paint looks uniform.
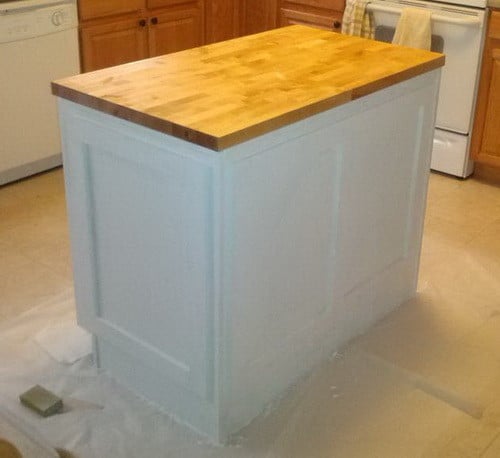 After the DIY kitchen island is sanded, paint the bottom your chosen color.
At this time you can stain the top butcher block counter top using your choice of wood stain.
Add multiple coats of paint and wood stain to allow for a durable surface.
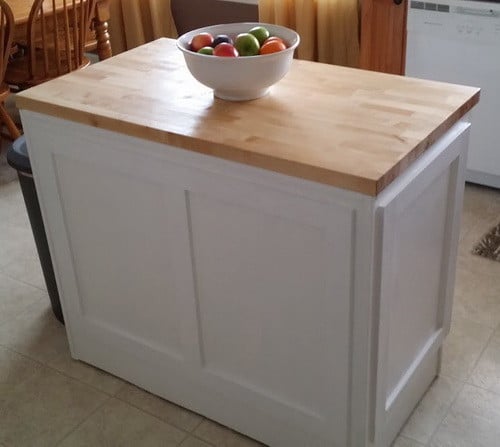 Once the paint is dry you can attach the DIY kitchen island into your kitchen floor using the proper fasteners.
If your kitchen floor is wood you can use thick wood screws to secure it.
If your floor is concrete, you can use concrete anchors to mount it to the floor.
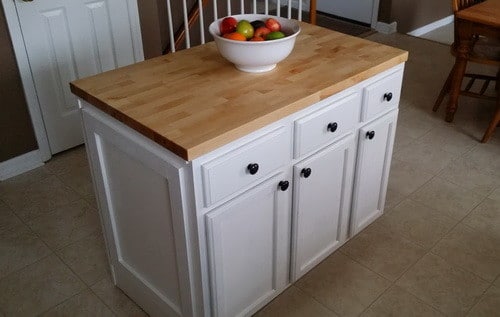 Here is the DIY Kitchen Island completed and in the kitchen.
A kitchen island will add useful counter and cabinet space to your existing kitchen.
It is a great surface to make and serve meals and anything else!
You can also do as above and add any type of knobs on the front drawer and cabinets for handles.


I did make a island for our kitchen, using unfinished cabinets, bead board and a Formica top came out great. Matched my pickled oak cabinets. Very satisfying project. Nobody believes I did it.