Need more storage space in your kids room? Here is a great DIY project that just about anyone can do. An elevated kids bed frame with plenty of storage underneath for toys and more. This project can be built in a child’s room or any room in your home where you wish to have more storage. All you will need is the wood, simple tools, and the space to build it. You can make the bed higher (for more storage) or lower (for less storage). We have the dimensions below but this is just a guide to the dimensions in the pictures. You should build your storage bed to the dimensions that fit the room you are building in. See below for the step-by-step pictures.
Dimensions of this elevated storage bed frame DIY:
Floor to top of bed frame – 50 inches high
Length of bed – 78 inches
Width of bed – 58 inches
Storage doorway – 45 x 26 inches
Internal storage space – 75 x 70 inches (145 cubic feet)
Full size mattress – 72 x 52 inches
Wood size used – 2 x 4 and 2 x 6
ALL SIZES ABOVE ARE ROUNDED AND MAY NOT BE EXACT.
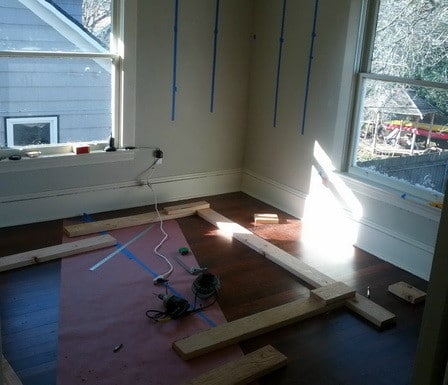 Measure out the area where the bed will be, cut the wood, and lay the wood out to visualize.
This is a good time to make DIY wood shelving as seen in the picture.
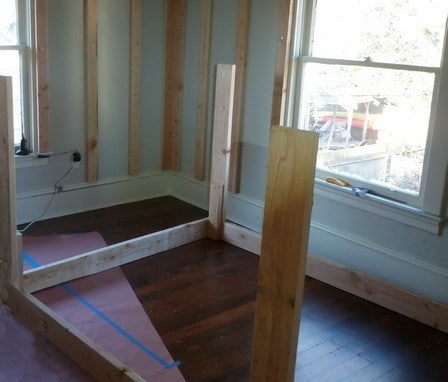 Begin attaching the wood frame together with wood screws.
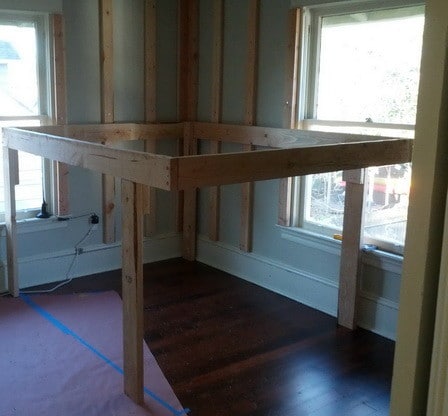 It is best to build this in a corner so it can be attached to the wall.
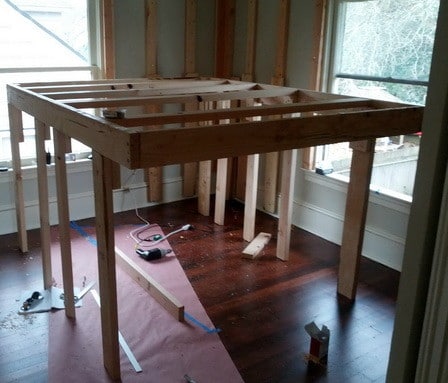 Continue assembling the bed frame making sure everything is square.
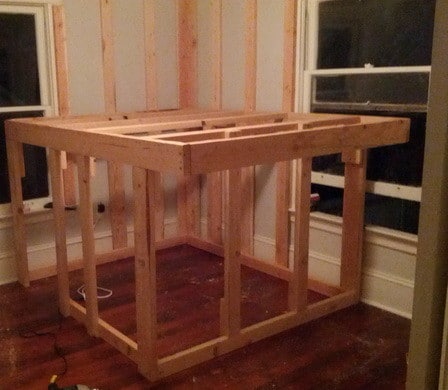 Add on the wood for the bottom base and secure to the floor if desired.
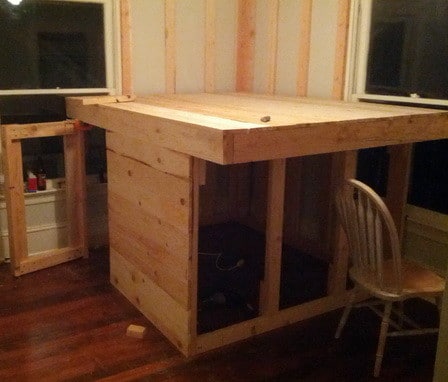 Continue building by adding the panels for the sides of the storage area.
You will need to construct a door or cut an entrance to enter the storage area.
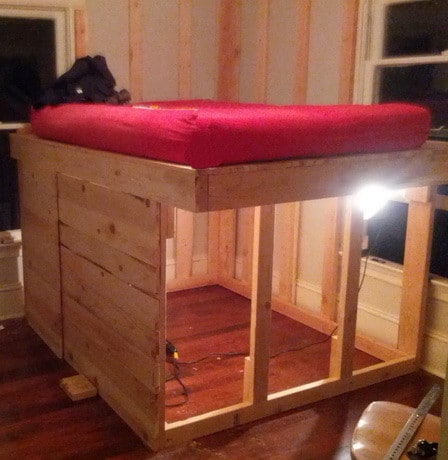 Full size mattress has been put atop frame to test sturdiness.
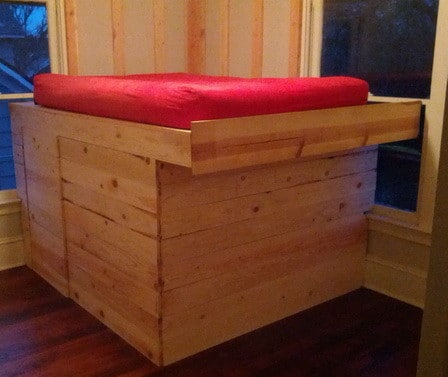 Add some side panels to the bed to make it safe for a child to sleep on.
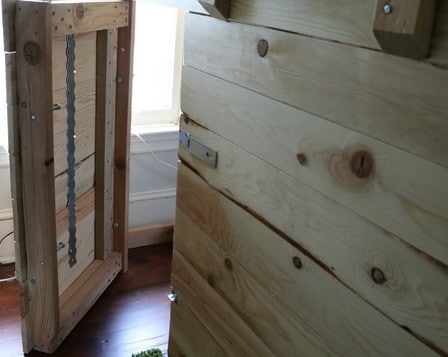 Here is the door to the storage area with a lockable mechanism added.
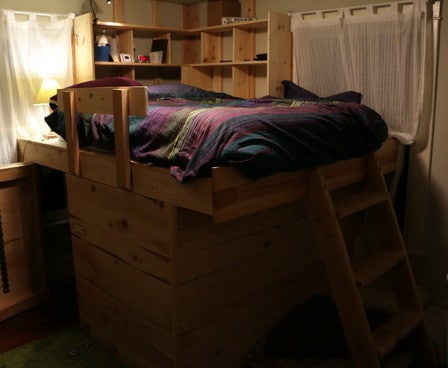 Here is the bed frame complete with wooden stairs, side safety panel and shelving.


Leave a Reply