One of the easiest ways to add style to your bedroom is a DIY tufted headboard. Making a tufted headboard yourself can save you hundreds of dollars. It does not involve much work and can easily be completed in a couple hours. This easy tufted headboard is basically made up of one sheet of plywood, your choice of fabric, buttons, batting, and some staples. This complete DIY headboard project will cost around $100 if you buy the supplies needed at the correct places. Have a look below to see how easy it can be to make your own headboard.
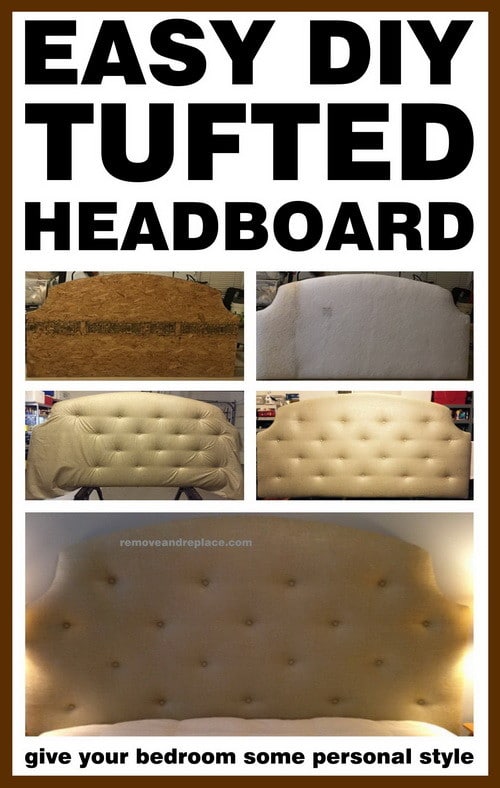 Here you can purchase the buttons, batting, fabric, and a good staple gun.
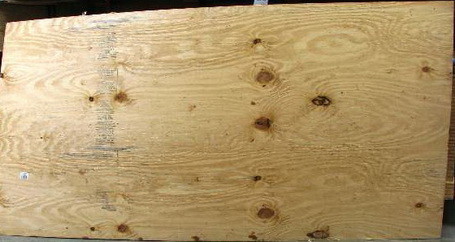 STEP 1: Purchase a full sheet of plywood or particle board that is ¾ inch (1.9 cm) thick.
Make sure the sheet of plywood is perfectly flat and not warped.
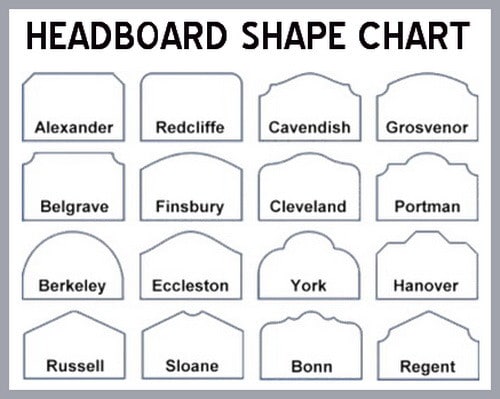
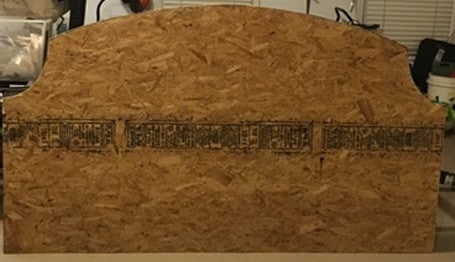 STEP 2: Draw out a pattern with a marker for how you want the shape to be.
Be sure to make the headboard fit to the size of bed you have.
Using a jigsaw or circular saw, cut along the lines to get the unique shape.
At this point you can mark and drill the holes for where the buttons will be placed.
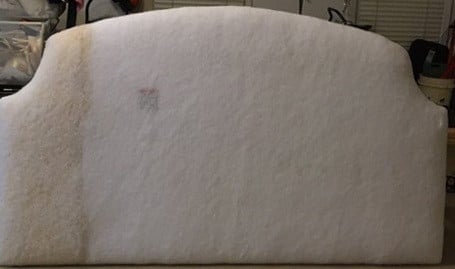 STEP 3: Begin to upholster the Headboard.
Purchase fabric, batting and buttons.
(Batting is sold in bags, and you will need 4 bags for 3 or 4 layers)
Once the batting is around the headboard, staple it in place.
Use a few extra layers of batting to get more cushion if you choose.
Make sure you get enough fabric & batting to more than cover one side of the headboard.
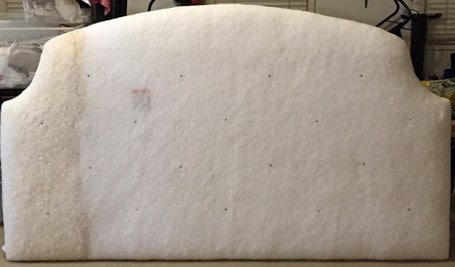 STEP 4: Once the batting is in place mark button position & drill holes for the buttons.
The holes should be just big enough to easily thread a needle through several times.
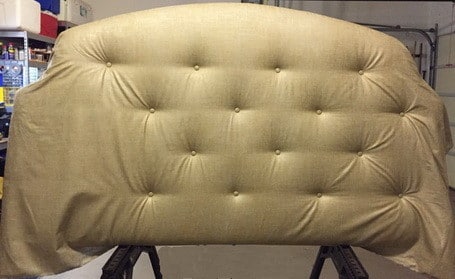 STEP 5: Add the fabric over the batting and staple the top and bottom in place.
The reasoning behind keeping the sides loose is to tighten the fabric as you add the buttons.
Begin to thread the needle from the back, through the drilled holes and come through the fabric.
At this point begin to add your buttons one by one. Once all are in place, stretch and staple the fabric to the side.
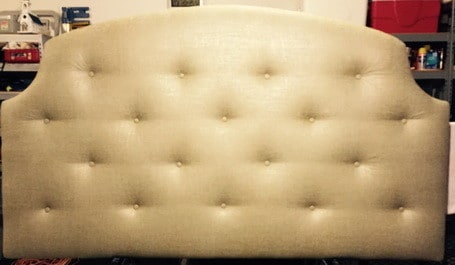 STEP 6: Once fabric is pulled tight and stapled in place, your headboard should have no loose fabric.
If your head board has any loose fabric, remove staples, pull to tighten and re-staple.
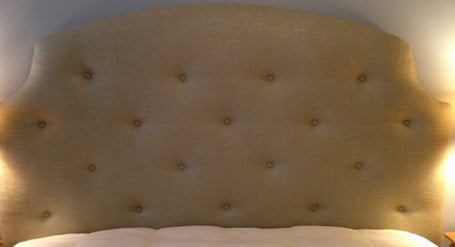 STEP 7: Once headboard is complete, attach it to the wall behind bed using wall anchors.
ENJOY YOUR NEW DIY TUFTED HEADBOARD!
DIY Tufted Headboard Tutorial
HOW TO MAKE A DIY TUFTED HEADBOARD
Here is another excellent tutorial to build your own DIY tufted headboard. The method for that particular DIY tufted headboard is a different method than ours but is explained in a very detailed manner.
If you have an easier faster method of making a DIY tufted headboard, please leave a comment below to help others who want to build a tufted headboard.



Leave a Reply