Setting up your garage door opener from your car is simpler than ever. With a few straightforward steps, you can easily configure your HomeLink system from your vehicle. This guide will assist you with the setup, which includes prepping your car, identifying crucial buttons, and troubleshooting any possible issues.

Key Points
- Clear the memory in your car’s garage door opener system before starting.
- Put your car into accessory mode for seamless setup.
- Locate your car’s garage door opener buttons, typically near the rearview mirror.
- Use the “learn” button on the garage door opener unit to sync with the car’s system.
- Programming typically takes about 20 seconds for each HomeLink button.
- Ensure all devices are within range for a successful connection.
Set Up Garage Door Opener In Car
Steps Before Setting Up Your Opener
Before starting, follow these steps to ensure a smooth setup process and avoid common problems.
Clear Existing Memory in Your Car
Resetting your car’s garage opener system is essential. Set your car to accessory mode, then press and hold the specified transmitter buttons for 20 to 30 seconds to wipe any old settings, giving you a fresh start.
Locate the Garage Door Opener in Your Car
Find the opener in your vehicle, typically on the overhead console, visor, or rearview mirror. Ensure your transmitter has fresh batteries, as weak batteries can hamper performance.
Using the “Learn” Button on Garage Door Opener Unit
The “Learn” button on a garage door opener is crucial for setup. Usually found on the back or side of the unit, it pairs with remotes and accessories. Models like LiftMaster and Chamberlain have distinctive, brightly colored “Learn” buttons.
- Red, orange, green, or purple buttons indicate a 390 megahertz frequency using Security+ Rolling Code technology.
- Green buttons use Billion Code technology at 390 megahertz.
- Purple buttons operate at 315 megahertz using Security+ Rolling Code technology.
- Yellow circular buttons use Security+ 2.0 technology at either 315 or 390 megahertz.
To reach the “Learn” button, you might need a ladder. Pressing the button places it in pairing mode for setup.
Get Old Homelink Working With New In Car
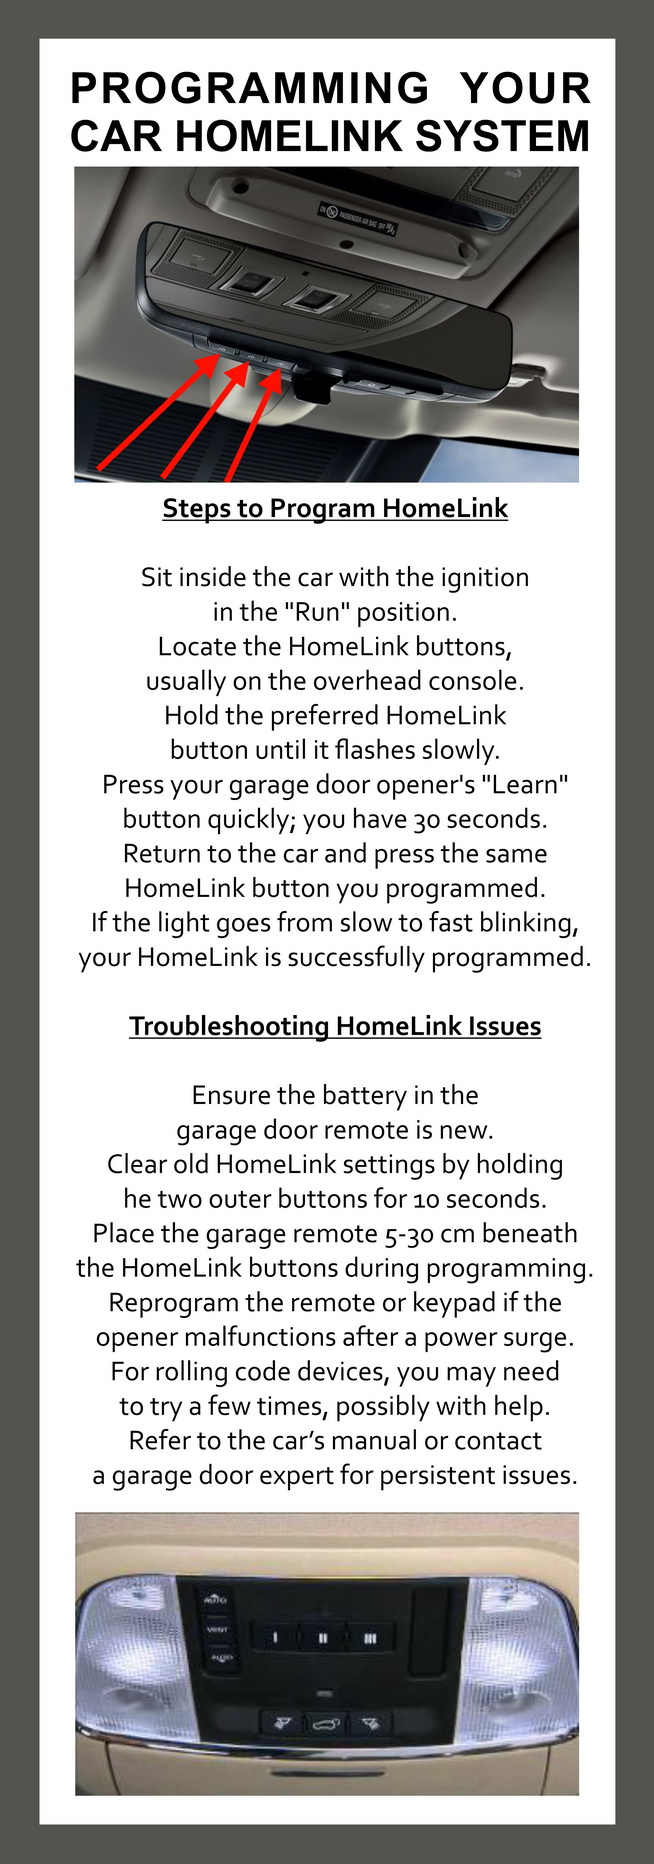
Programming Your Car’s HomeLink System
Steps to Program HomeLink
- Sit inside the car with the ignition in the “Run” position.
- Locate the HomeLink buttons, usually on the overhead console.
- Hold the preferred HomeLink button until it flashes slowly.
- Press your garage door opener’s “Learn” button quickly; you have 30 seconds.
- Return to the car and press the same HomeLink button you programmed.
- If the light goes from slow to fast blinking, your HomeLink is successfully programmed.
Troubleshooting HomeLink Programming Issues
- Ensure the battery in the garage door remote is new.
- Clear old HomeLink settings by holding the two outer buttons for 10 seconds.
- Place the garage remote 5-30 cm beneath the HomeLink buttons during programming.
- Reprogram the remote or keypad if the opener malfunctions after a power surge.
- For rolling code devices, you may need to try a few times, possibly with help.
- Refer to the car’s and opener’s manuals or contact a garage door expert for persistent issues.
Alternative Methods for Older Garage Door Models
Older models might need different approaches. Sync a pre-programmed garage remote by pressing the open button on both the remote and the car simultaneously.
For older systems, consider using a universal remote like the Clicker Universal Remote, which is known for its user-friendly setup and compatibility with various models.
Common Issues You Might Face While Programming
- Newer and more complicated vehicles: Complex system menus and setup requirements can increase the difficulty. Refer to your manual or seek help if needed.
- Older cars with newer garage door openers: Using a repeater device can facilitate communication.
- Remote compatibility issues: Ensure the remote has fresh batteries and is within range. Adjust frequencies as needed.
FAQ
How do I start the process of setting up my garage door opener in my car? Begin by clearing your vehicle’s garage door opener system. Press the designated buttons for 30 seconds in accessory mode to erase old settings.
Where can I find the garage door opener system in my car? The system is usually above the driver’s head or by the rearview mirror.
What is the “Learn” button on the garage door opener unit, and where can I find it? The “Learn” button helps connect your car with your opener. It’s found on the back or side of the unit, near an LED light. You may need to remove a cover to see it.
How can I safely access the “Learn” button on my garage door opener unit? Accessing the “Learn” button might require a ladder. Ensure the ladder is stable and have someone help to prevent accidents.
What are the steps to program my HomeLink system in my car?
- Turn the ignition to the “Run” position.
- Press a HomeLink button until its light blinks.
- Hit the “Learn” button on the garage opener.
- If the HomeLink light blinks fast, the setup is good.
How can I troubleshoot issues with programming my HomeLink system? Check the battery and erase old settings. Refer to your car manual for detailed instructions.
What alternative methods can I use for older garage door models? Try syncing a remote by holding it near your garage opener and pressing the open buttons together.
What issues might I face when programming with newer and more complicated vehicles? Newer cars can be harder to set up. Read the manual or get help if needed.
My car is older; how can I make it compatible with a new garage door opener? Older cars may need a repeater device to facilitate communication.
What if I am experiencing remote compatibility issues? Ensure the remote has fresh batteries and you are close enough. Adjust frequencies as needed.


Leave a Reply