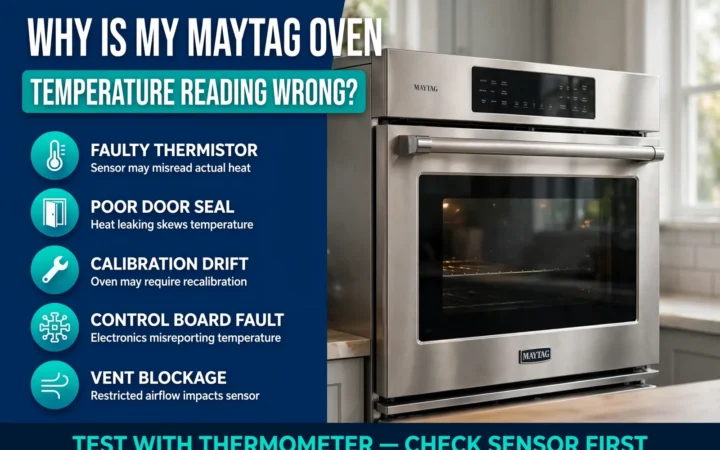
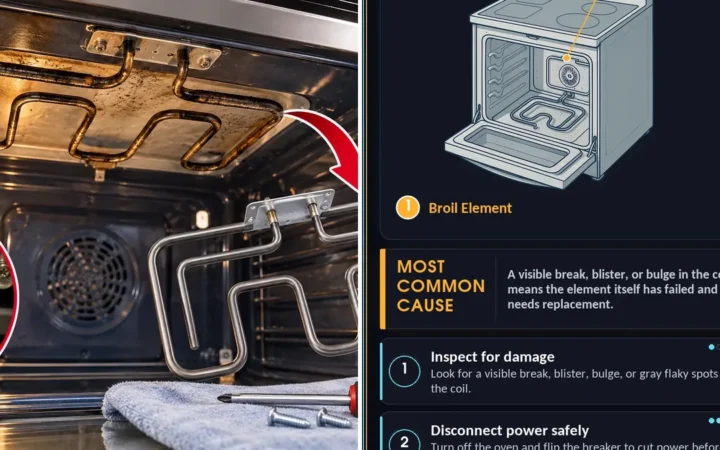
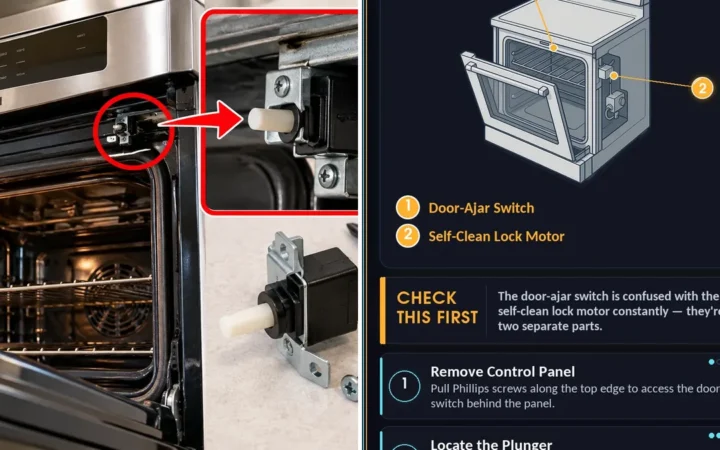
Searching for this problem usually lands you on a long list of parts with no order to check them in. Skip the list and look at three things first: whether the oven display lights up, whether you hear a click when you set the oven to bake, and whether the oven gets warm at all. Those three answers narrow it down faster than guessing at parts.
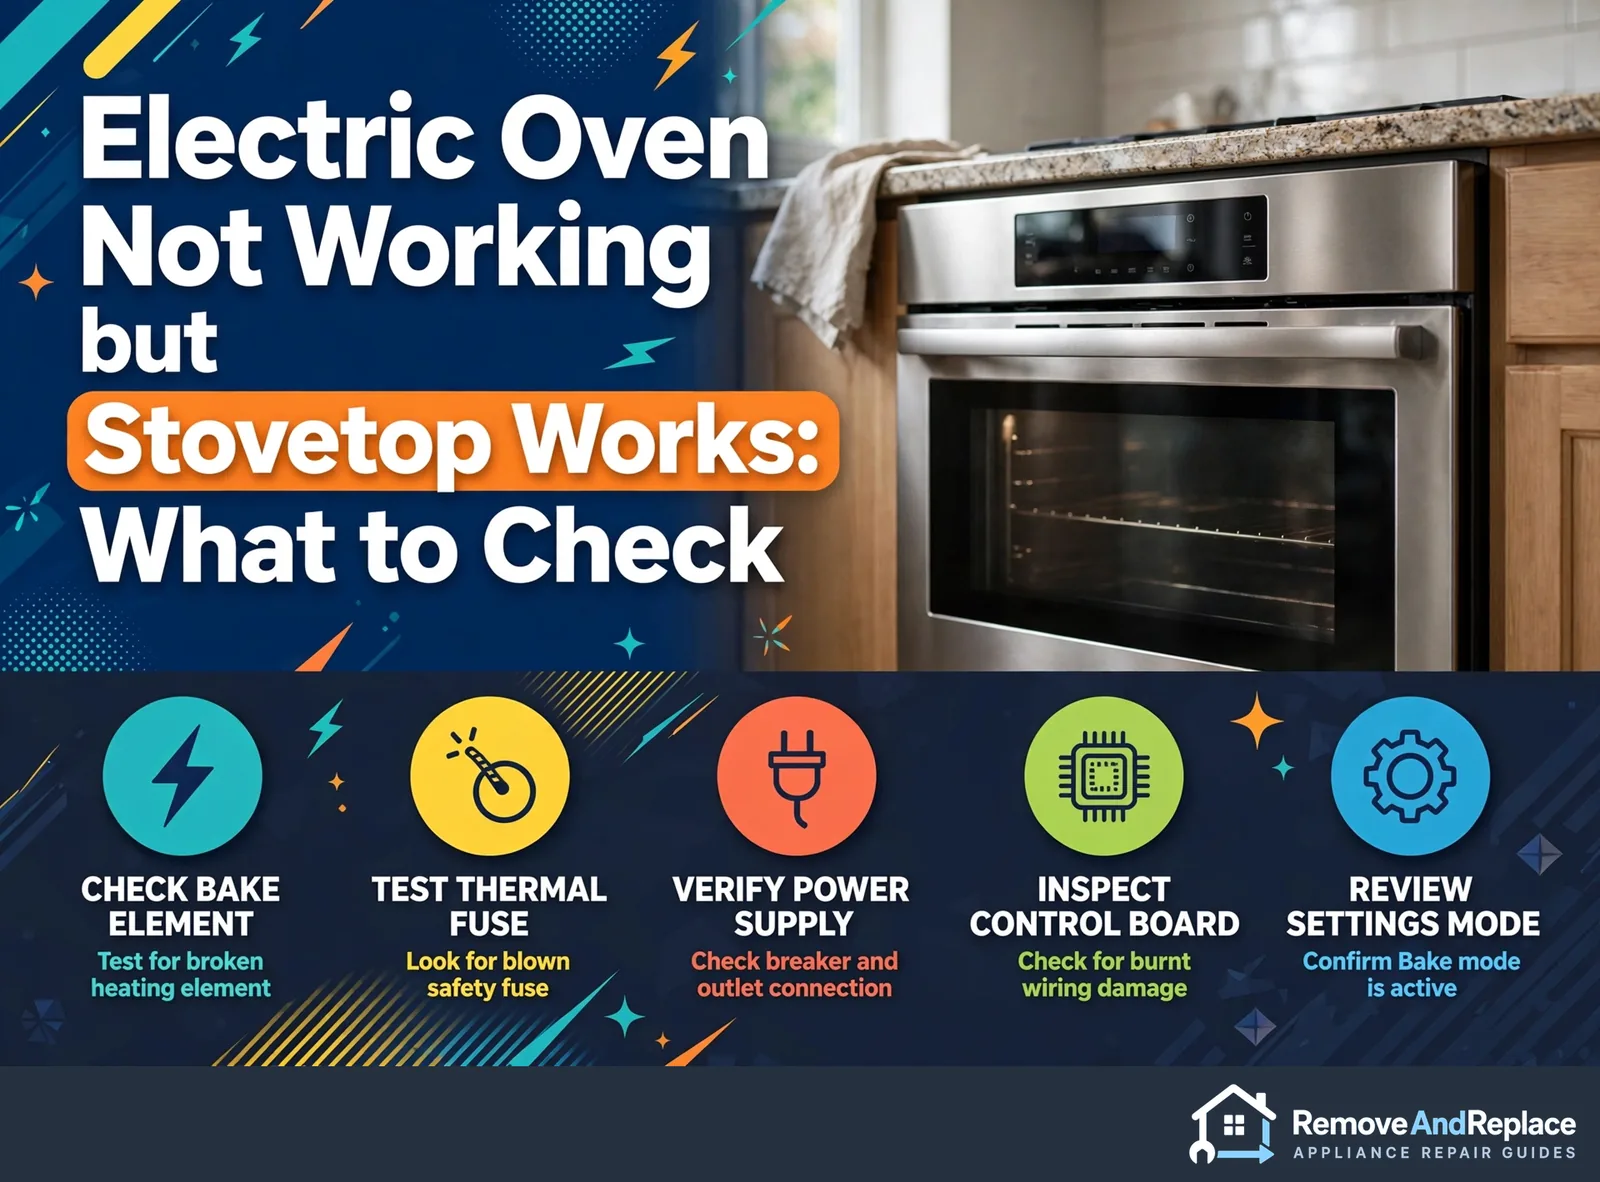
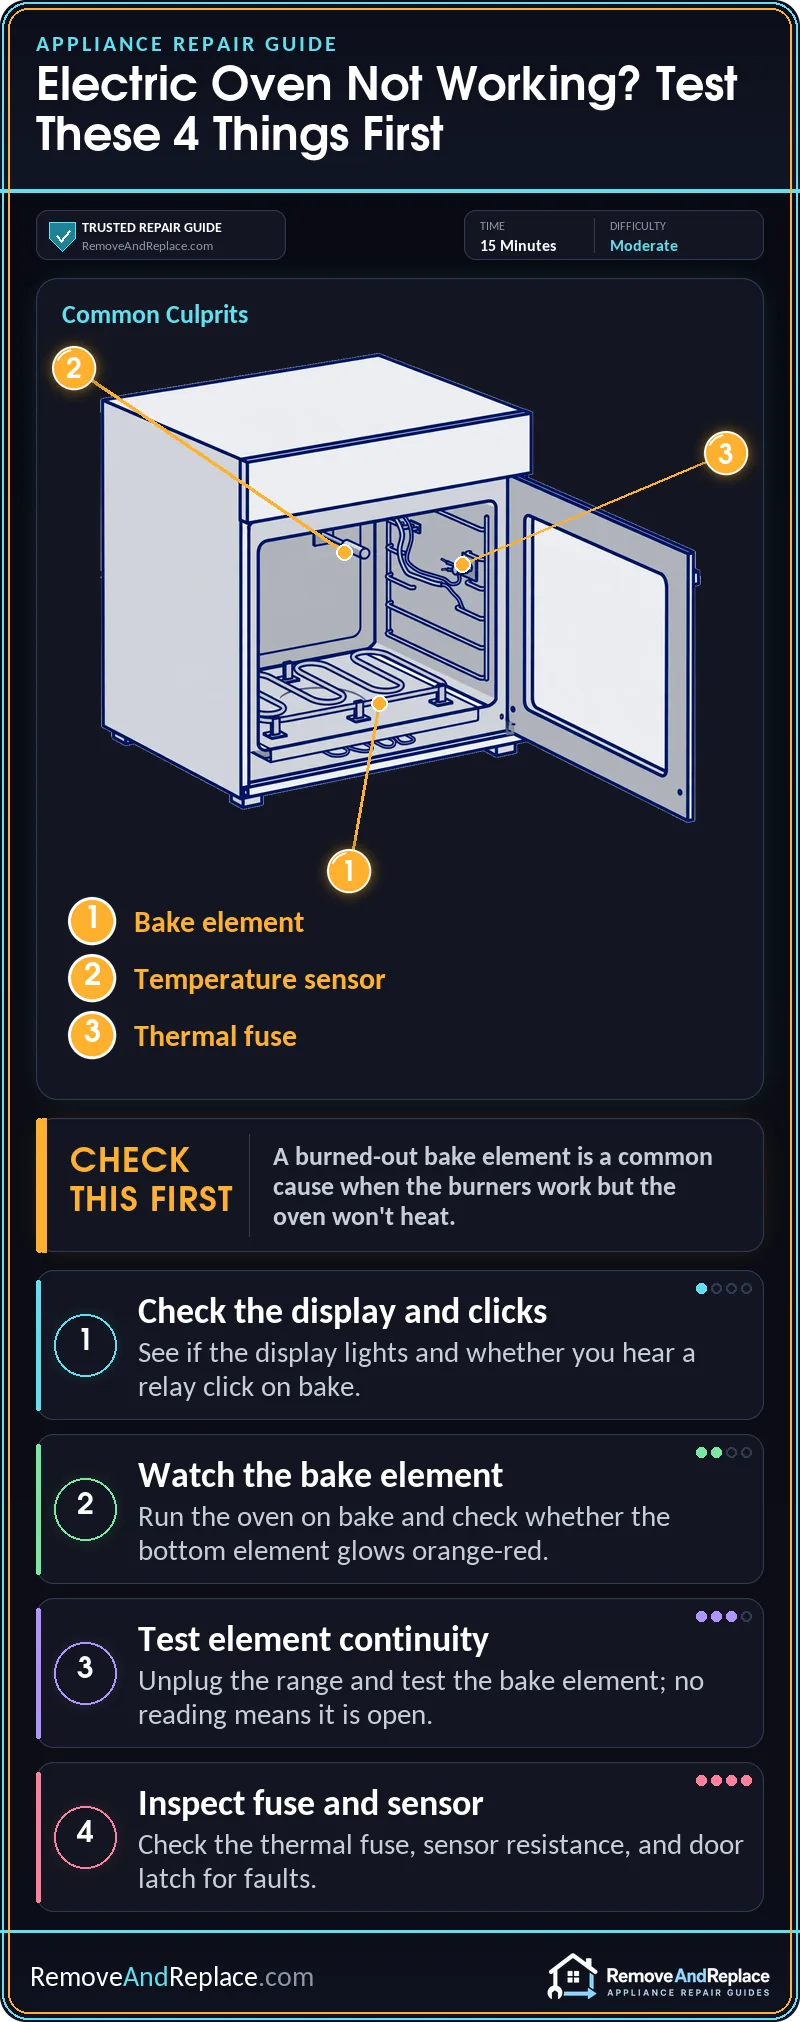
An electric oven not working stovetop works problem often comes down to a burned-out bake element, though a bad sensor or thermal fuse can look identical. Run the oven on bake for several minutes: if the bottom element never glows, unplug the range and test it for continuity, because a continuity reading means the element is good, while no reading means it’s open and needs replacing.
Why Would the Burners Work When the Oven Won’t?
The burners and the oven share the range’s power feed, but they heat through completely different parts. The surface elements run off the infinite switches on the cooktop. The oven depends on a bake element, a broil element, a temperature sensor, a safety thermal fuse and a control that decides when to send power. If any one of those fails, you get an electric oven not working stovetop works situation. GE’s support page for a range whose oven won’t heat while the burners work points you to the oven controls, the door latch, the knob positions, and the bake element (look for cracks or breaks), so it overlaps with this list but isn’t identical to it. The bake element is a common culprit because it does the hardest work, and I’ve traced that failure on plenty of ovens across 11 years of commercial food service equipment repair, but the symptoms below will tell you whether to trust that guess. Work through them in order, and stop when one matches.
One piece of forum advice needs correcting right away: “the oven is on its own circuit, so the breaker can’t be the issue.” A range normally runs on one shared 240V feed. Burners that heat properly show that the full 240V supply is reaching the range, so a dead oven isn’t a supply problem. A working clock, display or light is different, because those run on one 120V leg and can keep working when the other leg is lost. If the burners seem weak or behave oddly, check the breaker and the cord connection before you buy anything.
| Cause | Likelihood | What to do |
|---|---|---|
| Burned-out bake element | Common | Inspect, then test continuity |
| Failed temperature sensor | Common | Measure resistance at room temperature |
| Blown thermal fuse | Common, often after a self-clean or overheating | Test continuity; find out why it blew |
| Control board or relay | Less common | Listen for a click; call a pro if unsure |
| Door switch or latch fault | Recognized cause, especially after a self-clean | Check the latch and switch |
Symptom: The Display Is Lit but the Oven Never Gets Hot
This is the most useful one to start with. Set the oven to bake at a moderate temperature and watch the bottom element. After a few minutes it should glow orange-red. If it stays dark, look closely for a blister, a break, or a burn mark on the coil.
A visibly damaged element is easy to call. A normal-looking one can still be open inside, which is why the test later in this article matters. Don’t judge it by looks alone.
OK, so the element looks fine. Now listen. A relay click when you press start means the control is trying to send power, and the problem is further downstream (element or wiring). Complete silence points more toward the control. The clicking-and-flickering oven troubleshooting guide covers that relay behavior in more depth, along with error codes.
Symptom: The Display Is Dead, but the Burners Work
That narrows it down. Burners don’t depend on the oven’s clock or control, but a dead display doesn’t automatically mean the control board has failed. The display can also go dark from a blown thermal fuse, a bad power supply or transformer, a loose connection, or a failed display board, and the control board is only suspected once power to the board and display board is confirmed. Before you blame the board, check that the range is plugged in fully and that no breaker is half-tripped. A breaker that looks “on” can still be tripped.
If power is fine, a dead control often costs more to fix than anything else on this list. I’d pause and weigh it against the age of the range before ordering one. The decision section near the end covers that.
Symptom: The Oven Only Gets Lukewarm or Reads the Wrong Temperature
Here’s where the temperature sensor comes in. It’s the thin probe poking into the oven cavity from the back wall. When it drifts out of range, the control can cut heat early or hold the oven cooler than the setting. You may also see the element glow briefly, then switch off.
To check it, follow these steps:
- Unplug the range or switch off its breaker.
- Unplug the sensor’s connector at the back of the oven.
- Measure resistance across its two pins at room temperature.
- Compare the reading to your manual’s value. Many ranges use a sensor that reads in the neighborhood of 1,080 ohms when cool, but check your model.
A reading far off from the spec, or no reading at all, means the sensor is bad. The same drift problem is covered for one brand in this Maytag temperature article, and the logic applies broadly.
Symptom: It Quit Right After a Self-Clean Cycle
A self-clean cycle puts the oven through extreme heat and a lot of stress on the electronics, so a failure that begins right after one points at the thermal fuse, the control, or the door latch and switch. Rerunning the cycle won’t help. That’s the common wrong move here, and it just stresses the same parts again.
A thermal fuse is a one-time safety part. A good one shows continuity across its terminals. If it’s open, the oven stays cold, but it blew for a reason, so look for a shorted element or a failing control before you fit a new one.
This video walks through the same troubleshooting order used here: confirming the oven isn’t heating, checking the elements and other heating-circuit parts, and what a technician looks at next. Watch it before you open the range so you know what each part looks like.
Unplug the appliance or switch off its breaker before you touch anything. Pulling the range out and unplugging it is the safest way. Switching the oven off at the control panel does not cut power to the element terminals.
How Do You Test and Replace a Bake Element?
- Cut power. Unplug the range or switch off its breaker, and let the oven cool completely.
- Remove the rack and look at the element’s mounting screws at the back wall.
- Take out the screws and pull the element forward gently, just enough to reach its connection. Don’t let the wires slip back through the hole.
- Test it. Put a multimeter on continuity or low ohms and touch a probe to each terminal. A good element shows continuity. No reading means it’s open and needs replacing.
- Swap in the new element, reconnect the wires, and secure the screws.
- Restore power and run the oven on bake. The new element should glow red within a few minutes.
If the broiler is the one that’s out, the process is similar. See this broil element replacement guide for the layout on one model.
Before You Order a Part
Run the continuity or resistance check first. A pass is a reading in the expected range, and a fail is an open circuit. Find the exact part number on the range’s rating plate, usually inside the door frame or behind the drawer, or in the model’s manual. Parts vary a lot between ranges, so match by model, not by looks.
If the element and sensor test fine, a bad door latch or switch can also stop heating, especially after a self-clean cycle, so don’t dismiss it. The door switch guide shows how to check that.
When to Call a Pro
Call a technician if you’ve confirmed power is reaching the range and the element, sensor and fuse all test fine. That points to the control board, and board work is a judgment call. Small thermal parts are usually cheap, and control boards cost noticeably more, sometimes enough that replacing an older range deserves a hard look. Stop and call right away if you see scorched wiring, a melted terminal block, or burn marks at the plug.
Keeping It from Happening Again
Wipe up spills before you run the oven so they don’t bake onto the element, and don’t use self-clean as a routine habit if the oven is only lightly dirty. For a second opinion on the same checks, RepairClinic’s oven heating guide covers similar ground.
Frequently Asked Questions
Can a tripped breaker make the oven stop while the burners still work?
Yes. It’s less common, but a half-tripped breaker or a loose connection can leave you with odd behavior, so check it before buying anything.
Is it worth fixing an electric oven not working stovetop works that way on an older range?
If the fix is an element, sensor or fuse, yes, those are inexpensive repairs. If it’s the control board, compare the price against the range’s age and replacement cost first.
Could the broil element still work if the bake element is dead?
Yes, they’re separate elements. If broil works and bake doesn’t, that points straight at the bake element or its wiring.
Why did my oven die right after a self-clean?
The thermal fuse or the control is the usual suspect, though a door latch or switch fault can also cause it. I’d test the fuse first, since it’s cheap, but I wouldn’t assume that’s the whole story.
Can I test the sensor without special tools?
You need a basic multimeter that reads ohms. Without one, you can’t confirm it, and guessing wastes money.

Written by Keith Schneerer
Certified Appliance Tech · Founder, RemoveAndReplace.com
Keith has spent 30+ years repairing machines, starting as a military mechanic and later maintaining food processing equipment before moving into appliance repair. He founded RemoveAndReplace.com to share field-tested repair advice.
More about Keith →