You open the lid expecting damp clothes and get a tub half full of gray water instead. After 30-plus years of hands-on repair work, I can tell you the pump is almost never what’s actually wrong when a machine won’t empty, no matter what the internet tells you. Most of the time this is a free fix and a twenty-minute job.
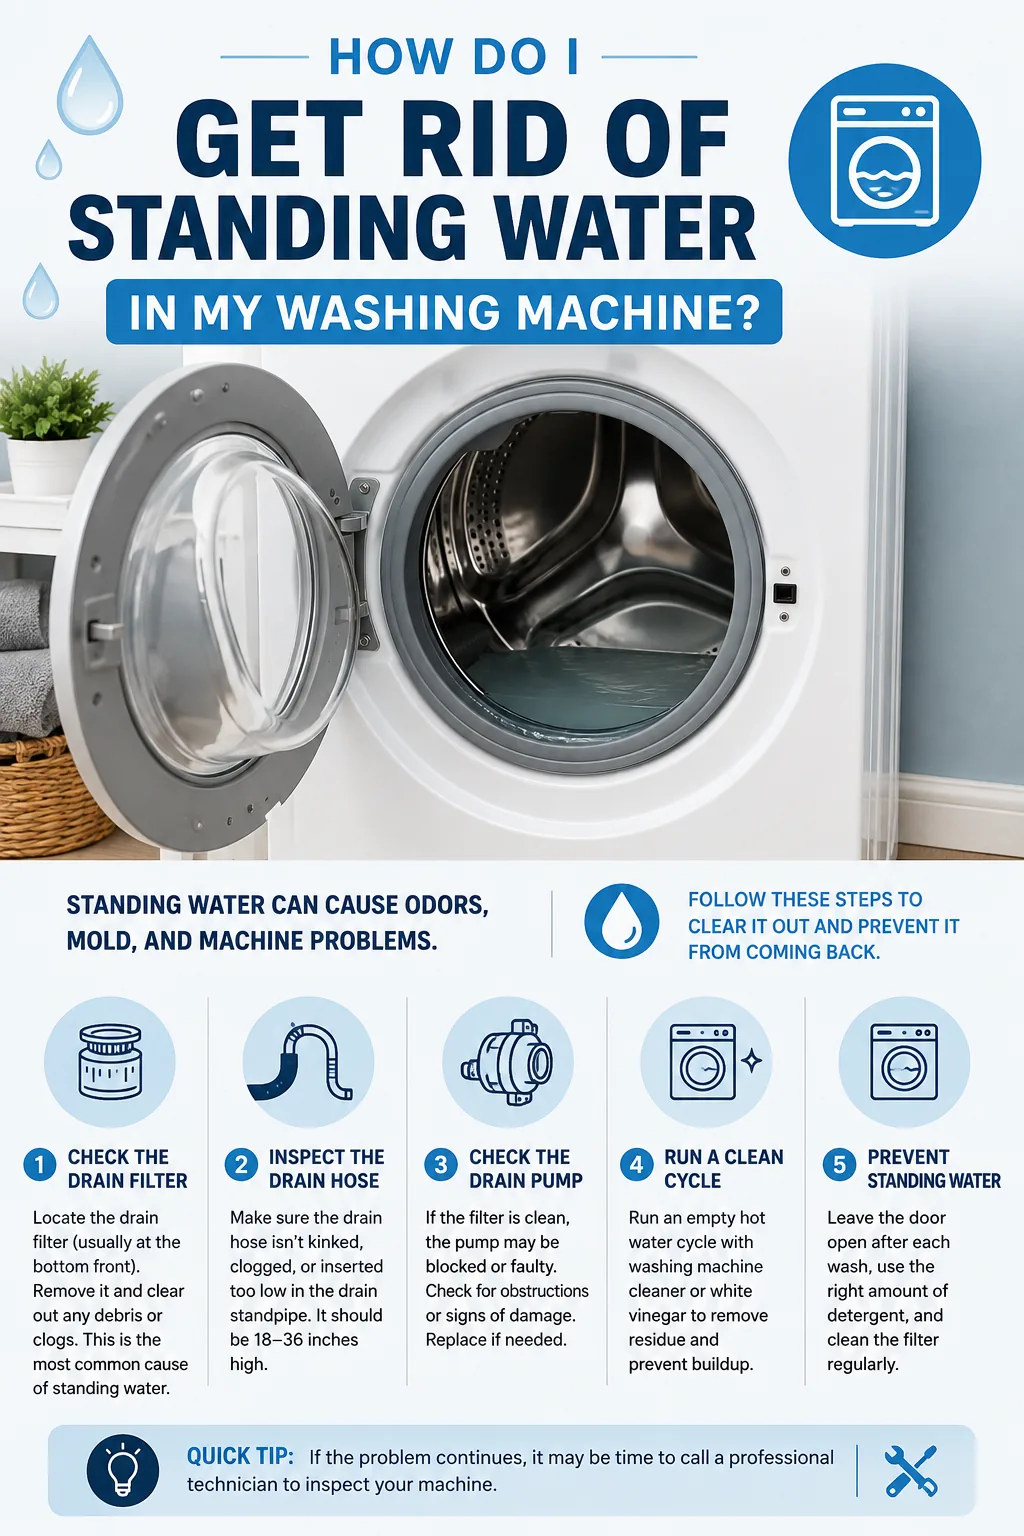
Bail or siphon the tub first, then run a Drain & Spin cycle. There’s water still in washer drums for one of four reasons: a clogged pump filter, a kinked or over-inserted drain hose, an oversudsed load, or a lid switch the control board reads as open. Three of those four cost nothing to fix.
The Short Version
- Siphoning beats bailing — drop the drain hose into a bucket on the floor and gravity empties the tub for you.
- The drain hose should sit 6 to 8 inches into the standpipe. No deeper.
- Too much HE detergent can throw a drain fault on a machine with a completely clear pump.
- A washer that won’t drain and won’t open is often a latch problem wearing a drain problem’s costume.
How Do You Get Standing Water Out of a Washing Machine?
Getting rid of standing water is a plumbing job before it’s a repair job — gravity does the work if you let it. Turn the machine off and unplug it first. I never open a line on any appliance without the power off and a pan underneath it. Then pull the drain hose off the standpipe, keep the open end above the water line in the tub until you’re ready, and walk it down into a five-gallon bucket sitting on the floor. The tub will siphon itself empty. On a top-loader you’ll usually need to scoop the first few gallons out with a pitcher to drop the level below the hose connection. On a front-loader, crack the pump filter cap a quarter turn and let it trickle into a shallow baking pan instead. Budget twenty minutes and two towels, and stage a second bucket before you touch the hose — a full tub is more water than you think.
Once it’s empty, you can actually diagnose the thing. This is how I rank the usual suspects:
| Cause | Likelihood | Fix Cost | DIY Time |
|---|---|---|---|
| Clogged pump filter (sock, coin, lint felt) | Most common | $0 | 20 min |
| Kinked or over-inserted drain hose | Common | $0–$25 | 10 min |
| Oversudsing from too much HE detergent | Common | $0 | 1 hr (mostly waiting) |
| Failed lid switch or door lock | Less common | $25–$60 | 30–45 min |
| Failed drain pump | Least common | $35–$90 | 60–90 min |
Run a Drain and Spin Before You Touch a Screwdriver
Close the lid, select Drain & Spin, and let it go. If the tub empties, you had an interrupted cycle or a one-time suds lock and nothing is broken — I’d call that no repair at all. If there’s water still in washer tubs when that cycle ends, keep reading.
Check the Drain Hose and the Standpipe
I’d pull the machine out about 18 inches and look behind it before assuming anything internal died. That drain hose is corrugated rubber and it kinks right where it leaves the back of the cabinet — shove the washer back against the wall a little too enthusiastically and you crimp it flat. It’s a five-second fix that almost nobody checks, because the failure is hidden behind the appliance, and I look at it first on every no-drain job.
Then look at how deep the hose goes into the standpipe. A washer drain hose should sit 6 to 8 inches into the standpipe and no deeper — go past that and the pipe seals around the hose, the machine siphons its own wash water straight down the drain, and you end up chasing a fill problem instead. If your tub never seems to get enough water in it to begin with, that’s the other end of this same story and it’s worth reading why a washer won’t fill properly before you pull anything apart.
Now the part almost nobody writes about. The standpipe needs to be at least 30 inches off the floor, and it really wants to be 2-inch pipe if you’re running anything high-capacity. Loads of houses built before the mid-90s have a 1.5-inch standpipe that was perfectly adequate for an old 3.2 cubic foot top-loader and gets flat-out overwhelmed by a modern front-loader dumping fifteen gallons in about ninety seconds. What you’ll see is water gurgling and foaming back up out of the standpipe, then a partly drained tub when the cycle gives up. The pump is fine. The drain can’t swallow fast enough. Whirlpool’s own drain troubleshooting page touches on the plumbing side of this, and I’ll be straight with you — that one’s a plumber’s job, not an appliance tech’s.
The Pump Filter Is Where the Sock Ends Up
This is the big one, and it deserves more than a sentence. On most Samsung and LG front-loaders the filter lives behind a small hinged door at the lower right front corner, with a coin-slot cap and a stubby little drain spout beside it. Whirlpool and Maytag front-loaders usually put it lower left behind a snap-off toe panel. What I pull out of there is rarely a dramatic single object — it’s a gray, felted disc of lint about the size of a hockey puck, wrapped around a coin or a bra underwire, sometimes with the toe of a sock knitted into it. It smells sour, like a mop bucket somebody forgot about. That felted mat is what actually kills the flow; the coin is just the seed it grew around.
Most top-loaders — Whirlpool Cabrio and Maytag Bravos from roughly 2009 to 2015 included — have no serviceable filter at all. The trap on those is the pump inlet itself, and you get to it by tipping the machine back and pulling the pump. That’s gonna take a lot longer than the front-loader version, so I check everything else first.
- Unplug the machine and lay two towels along the floor in front of it.
- Open the access door or pop the toe panel. Most toe panels are two Torx T20 screws or a pair of spring clips.
- If there’s a small drain spout hose tucked in there, pull it out, aim it into a shallow baking pan, and pull the plug. Expect a gallon or more, a cup at a time, with a lot of stopping to dump the pan.
- Twist the filter cap counterclockwise and pull the filter straight out. Rinse it, then sweep two fingers around the inside of the housing — there’s usually more junk stuck in there than on the filter itself.
- Reach past it and spin the impeller with a fingertip. It should turn freely with a little resistance. If it’s locked solid, you’ve found your problem.
- Thread the filter back in until it stops, then a firm quarter turn past that. Snug, not gorilla-tight.
And whoever designed the front-loader filters that have no drain spout — just a cap and a hole — should have to mop up after every one of them. I have yet to open one of those without wringing out a towel afterward.
Do not pour drain cleaner into the washer or the standpipe. This is the wrong first move I see people make most often, and it’s expensive. Caustic drain cleaner won’t dissolve a sock, a coin, or a lint mat — it just sits in the pump housing eating the impeller seal and the rubber door bellows, then splashes back at your face when you crack the filter cap. You turn a free fix into a $90 pump and a $150 bellows, plus a chemical burn risk. Also: if you just ran a hot cycle, that standing water is hot enough to scald. Let it cool.
Too Much Detergent Can Fake a Drain Failure
This is the one that fools people, including techs. An HE washer doesn’t measure water with a float — it reads an air column in a small hose running to the bottom of the tub, and the pressure in that column tells the control board how much water is in there. Foam is light and compressible. The sensor reads a tub packed with suds as a tub that still has water in it, so the control keeps re-running the drain, sees no change, and eventually throws a long-drain fault and parks the cycle with foamy water sitting in the drum. Meanwhile the pump impeller is spinning in aerated foam and cavitating, which means it’s moving almost nothing even though you can hear it running.
I used to try to explain the whole air-column thing to homeowners and — nah, forget it. Short version: the machine genuinely cannot tell foam from water, and neither can you by looking at it.
Fix is free. I run two or three Rinse & Spin cycles back to back with zero detergent. Half a cup of white vinegar in the drum on the second one knocks the foam down faster. Then measure your soap going forward: one to two tablespoons of HE liquid for a normal load, not the fill line on the cap. That cap line is marketing. If you’ve also noticed your fabric softener isn’t dispensing right, that’s another symptom of the same overdosing problem gumming up the dispenser tower.
Is Your Lid Switch Lying to the Machine?
A washer will not drain and will not spin if the control board doesn’t see the lid closed or the door locked. That’s a safety interlock, not a fault. The symptom looks exactly like a drain failure: fills fine, agitates fine, then just stops dead with water sitting in it and no error you’d recognize as a latch problem.
My first instinct used to be to condemn the pump whenever a tub wouldn’t empty, and over the years I replaced a few pumps that turned out to be perfectly healthy. In my experience the interlock is the more common culprit of the two, and it costs nothing to rule out: press the lid switch plunger down by hand and see whether the machine starts draining. If it does, the switch has a worn contact or the lid strike isn’t pushing it far enough. I check that second now, right after the hose.
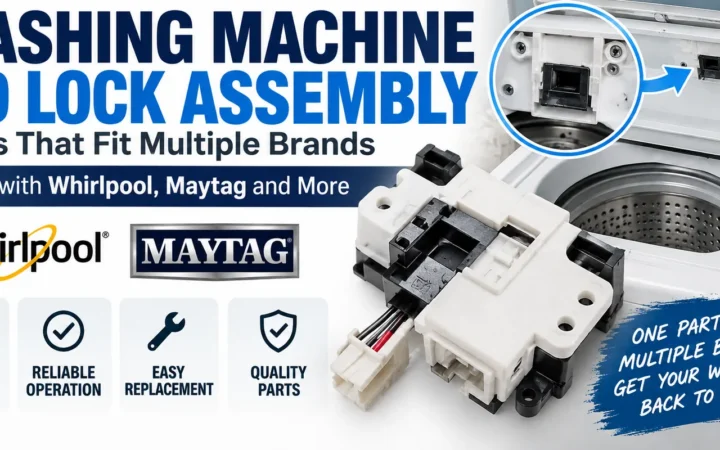
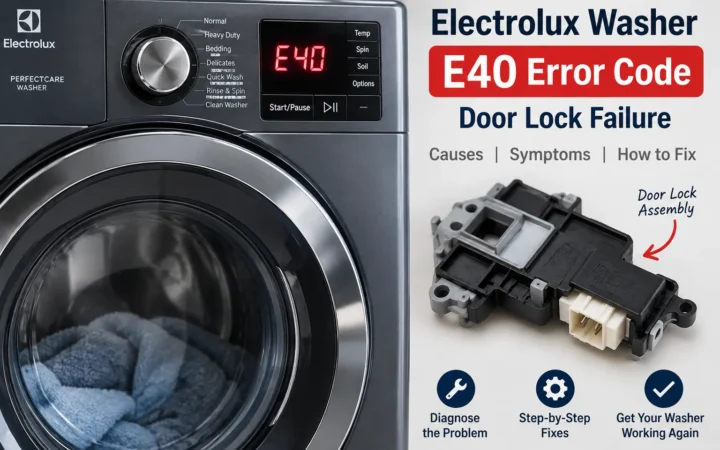
On a top-loader, listen for a crisp mechanical click when you close the lid. Mushy or silent means a worn switch or a broken lid strike. On a front-loader, you’ll usually hear the lock buzz and click three times, then error out. Whirlpool and Maytag top-loaders from 2011 on with a motorized lid lock throw an F5 E2 or just blink the lid indicator. The part runs $25 to $60 depending on brand and it’s a 30-to-45-minute swap on most machines. If your door is locked shut with water behind it, don’t force it — I’d start with how to get an LG door open safely, and the same approach applies to a Whirlpool washer stuck on lock.
When It Really Is the Pump
Pumps do die, they’re just last in line. I diagnose these by ear more often than with a meter, and once you learn what a healthy one sounds like you’ll never guess again. A good drain pump makes a rising whir for about fifteen seconds, then a wet gargle at the end as it pulls air. A seized one gives you a low hum for three to five seconds and then goes quiet, sometimes with a soft click as the thermal overload trips. A truly dead one makes no sound at all. And if you get a hot-plastic or burnt-fish smell near the base of the machine, the motor windings are cooked — that one’s not coming back.
If your Whirlpool is throwing a code rather than just sitting there full of water, I’d read the code before I condemned anything; the E01 F06 error code points at a completely different failure path and is worth ruling out first. One more that gets misdiagnosed as a drain fault: on Cabrio and Bravos top-loaders, a failed shift actuator lets the machine drain fine but never spin, so you open the lid to sopping clothes and a wet tub floor and assume nothing drained. That part’s $45 to $70 and it’s a different repair entirely.
A drain pump runs $35 to $90 on RepairClinic if you search by model number, and the not-draining walkthrough there covers the teardown order. Having someone come out and do it is $200 to $350 all in, and the diagnostic fee alone is $90 to $150 before anybody touches a screwdriver. It’s a 60-to-90-minute job your first time, mostly spent getting the machine tipped over and the hose clamps off.
I’d call somebody if:
- Water is coming from underneath the machine, not out of the filter — that’s a tub seal or bearing, and it’s usually not worth repairing.
- You smell hot electronics rather than hot motor, which points at the control board.
- The standpipe backs up even with the washer unplugged and a garden hose in it — that’s a drain line problem and it needs a plumber.
Keeping Water From Sitting in There Again
I pull and rinse the pump filter every three months. If you wash pet bedding, shop rags, or anything that sheds, make it monthly — you gotta stay ahead of the lint mat, because once it felts up it grabs everything that goes past it. Check pockets, and get in the habit of leaving the door or lid cracked open between loads so the drum dries out.
Once a year, pull the machine out and confirm the drain hose is still sitting 6 to 8 inches into the standpipe and hasn’t crept deeper or kinked. Here in the Phoenix area I’d add one more: our water is hard enough that scale builds up inside that corrugated drain hose and slowly narrows it, so a hot wash with a washer cleaner or citric acid once a month is worth the four dollars. That’s a genuine regional thing, not a national maintenance rule.
Questions I Get Asked About This
Why is there water still in washer drums after the cycle ends?
Because the machine either couldn’t move the water or didn’t think it was allowed to. Blocked pump filter and kinked hose cover the “couldn’t” side; a lid switch or door lock the board reads as open covers the “wasn’t allowed to” side. I’d run a Drain & Spin first — it separates the two in about six minutes.
Can I just leave the water in the drum overnight?
No — I’ve never seen that end well. Give it a day and you’re gonna be fighting a mildew smell that outlasts the actual repair.
How do I drain a washing machine with no power?
Gravity, same as always. I pull the drain hose off the standpipe, hold the end high until my bucket’s in position, then drop it below the tub level and let it siphon. No power required for any of it, which is exactly why I unplug the machine before I start anyway.
Will a wet/dry vacuum work?
For the last inch in the bottom of the tub, absolutely — I keep one in the garage for exactly that. For fifteen gallons, you’ll spend more time emptying the canister than you would have spent siphoning. Use the hose for the bulk and the vac for the dregs.
Does standing water mean the washer is done for?
Almost never. Out of everything on the list above, only a seized pump and a leaking tub seal cost real money, and the seal is the only one I’d call a machine-killer on an older unit. If yours is under about eight years old, I’d fix it — a pump and a lid switch together still come in under a hundred bucks.
One last thing that’ll save you a headache: before you drag the machine out from the wall, take a photo of the back of it with your phone. Hose routing, where the strap clip sits, how deep the drain hose was in the standpipe. Ten seconds now beats guessing at reassembly with a wet floor and a bucket in the way (I’ve made that particular mess more than once).

Written by Keith Schneerer
Certified Appliance Tech · Founder, RemoveAndReplace.com
Keith has spent 30+ years repairing machines, starting as a military mechanic and later maintaining food processing equipment before moving into appliance repair. He founded RemoveAndReplace.com to share field-tested repair advice.
More about Keith →