We are going to show you how to create a stylish yet simple DIY patio lounge chair made from wood. This fun and easy project will cost you around $50 dollars and should take you approximately 3 hours from start to finish. See below for complete step by step instructions with a materials list and total cost of project included.
Materials needed to create a DIY Outdoor Patio Lounge Chair + Cost:
Quantity of 6 – 1 x 4 x 8 Wood / Cost = $22.00
Quantity of 2 – 1 x 2 x 8 Wood / Cost = $2.00
Quantity of 1 – 2 x 2 x 8 Wood / Cost = $2.00
Quantity of 1 – Box of 2 Inch Screws / Cost = $9.00
Quantity of 1 – Box of 1 1/4 Inch Screws / Cost = $9.00
Total Cost = $44.00
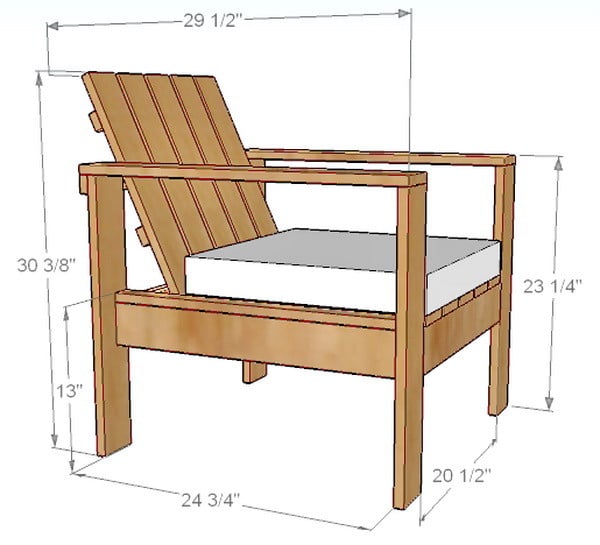 CHAIR DIMENSIONS: The above image contains the DIY Lounge Chair Dimensions in inches.
Here is a list of the wood cuts you need to make to complete this chair:
2 – 1×2 @ 24 3/4″ (Seat Side Trim Pieces)
5 – 1×4 @ 20″ (Seat Boards)
2 – 1×2 @ 19 1/2″ (Seat Back Back Supports)
1 – 2×2 @ 22″ (Seat Back Bottom Support)
5 – 1×4 @ 21 1/2″ (Boards For Seat Back)
4 – 1×4 @ 22 1/2″ (Legs)
2 – 1×4 @ 27″ (Arms)
1 – 1×2 @ 27 1/2″ (Back Tie In)
3 – 1×4 @ 22″ (Seat Frame Supports)
2 – 1×4 @ 24 3/4″ (Seat Frame Sides)
2 – 1×4 @ 20 1/2″ (Front & Back Seat Aprons)
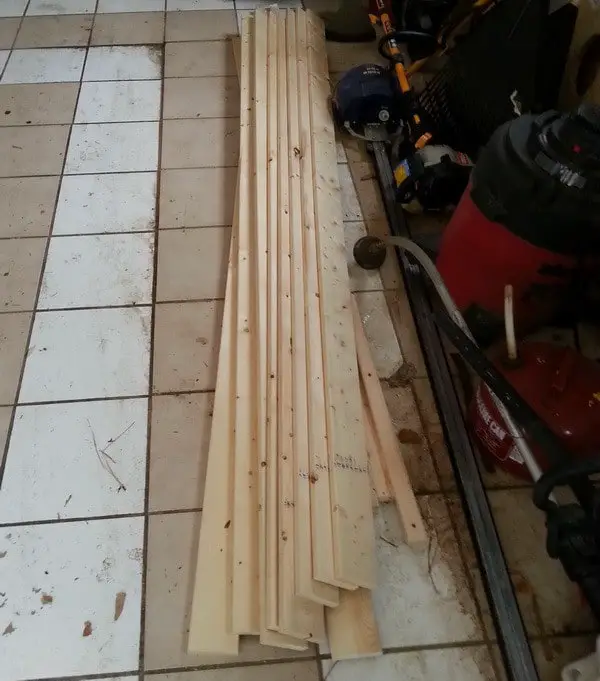 Here is a picture of our wood before we began our chair project.
We purchased our wood at Home Depot for approx $25.00 total cost.
The quantity of wood needed for this project is listed below:
6 – 1 x 4 x 8 Wood
2 – 1 x 2 x 8 Wood
1 – 2 x 2 x 8 Wood
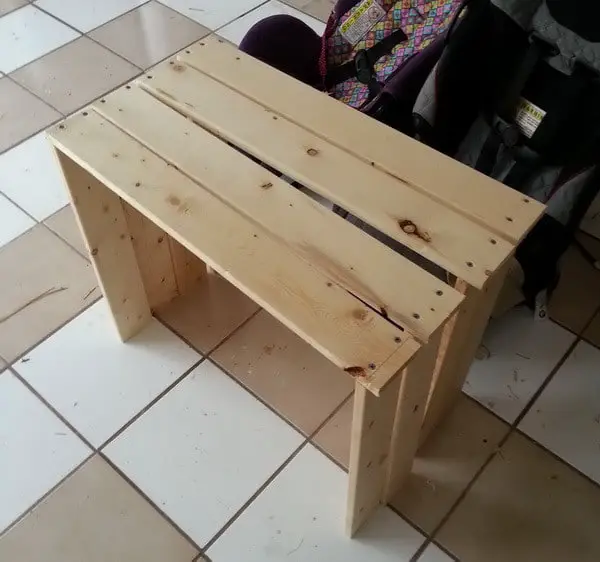 Once we measured and cut all of our wood, we assembled the arm rests and the legs together.
We used 2 wood screws on each side and also applied wood glue to hold it together.
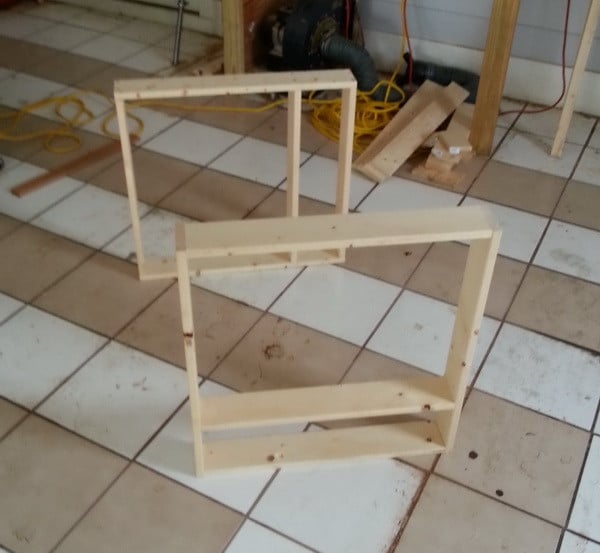 Next we attached the wood to create the seat support boxes.
This is the part of the chair that will be used for the seat.
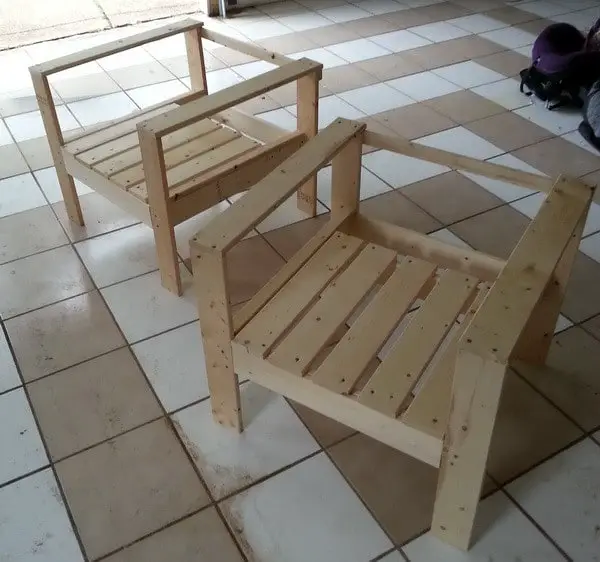 Then we attached the 2 previous steps, the arm rests / legs are attached to the seat support boxes.
We then attached the 5 seat boards to the seat support boxes.
Note: Make sure the wood is sanded smooth in the sitting area to avoid injury when sitting.
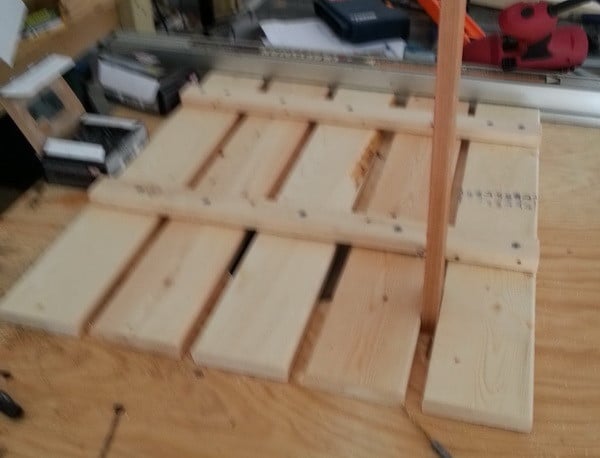 Next we put the backs of the chairs together.
It is recommended to add a 1/2 inch space in between each piece of wood.
In the picture you can see we simply used a piece of wood to measure the 1/2″ gap.
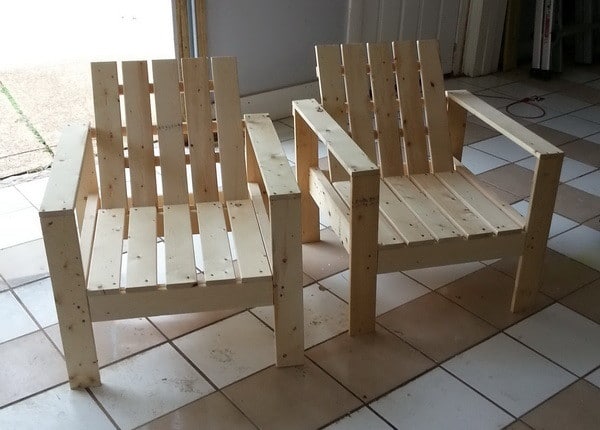 We then attached the back part of the chairs to the bottom assembly of the chairs.
The DIY Outdoor Lounge Chairs are complete! Finished Product!
Once finished you can stain the wood with your choice of stain or paint the chair in the color you choose.


Ryan,
Plans are for one chair, double everything for 2.
-RR
Are these plans for two chairs or do we need to purchase two of everything to make two chairs?
getting ready to build these as well. Did you ever have any luck finishing these, Shannon?
There are a few steps that seem to be a little confusing for me.
– Attaching the chair back to the seat is the main one.
We are in the process of making these chairs. They seemed like a fun and manageable task for a first-timer project with practical usefulness and reasonably priced. I am trying to figure out exactly how the 2×2 piece is installed. I do not see it mentioned anywhere in the instructions. I am guessing that it goes on the seat box somehow for the back to rest on/in? Any guidance someone can offer me?