Looking for a nice easy solution for keeping the clothes off the floor? Here is a simple DIY project that will cost under $40 and take a few hours. This neat little DIY Ladder is a simple rack that you can lean against the wall and hang your clothes on that would usually be thrown onto the floor. It is also a nice way to have your clothes out and ready in the morning by being off the floor and out of the closet. So have a look below and we will show you the method, supplies and materials needed to build this DIY woodworking project.
FUN AND EASY – DIY WOODEN CLOTHING LADDER:
HOW TO BUILD IT YOURSELF – STEP BY STEP PHOTO GUIDE
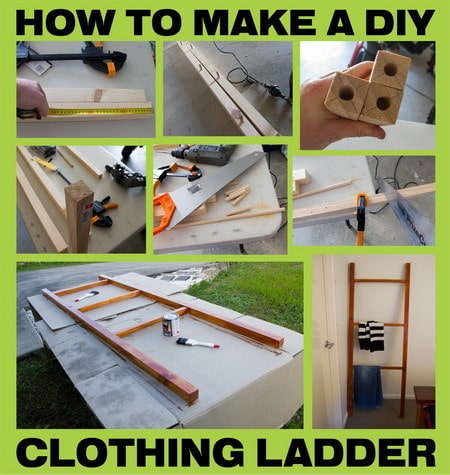 Tools Needed For DIY Clothing Ladder Rack:
1. Paint brush
2. Measuring tape
3. Vice or clamps
4. Handsaw
5. Drill
6. Drill bit of the same diameter for dowel
7. Sand paper
8. Workbench
Supplies Needed For DIY Clothing Ladder Rack:
1. 2 – 1″ x 1″ x 46″ wood (for the rungs – horizontal)
2. 2 – 2″ x 2″ x 70″ wood (for the uprights – vertical)
3. 1 – 1/2″ x 46″ dowel (for the joints)
4. Wood glue
5. Combination stain and varnish
6. Felt pads
 Here is a picture of all of the supplies we purchased for this clothing ladder project.
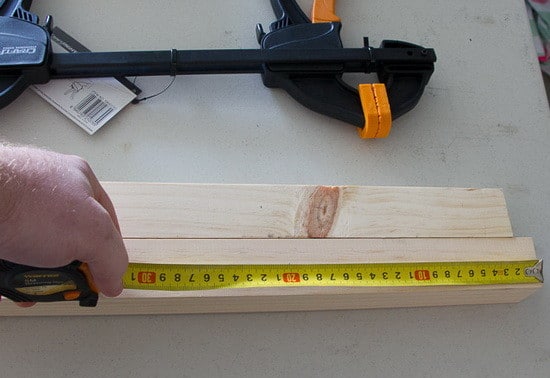 The first thing we did was measure out the wood to find where we needed to make our cuts.
NOTE: The length and width of this ladder is up to you according to your specifications.
We have given the length of wood needed above as you can make this ladder longer or shorter.
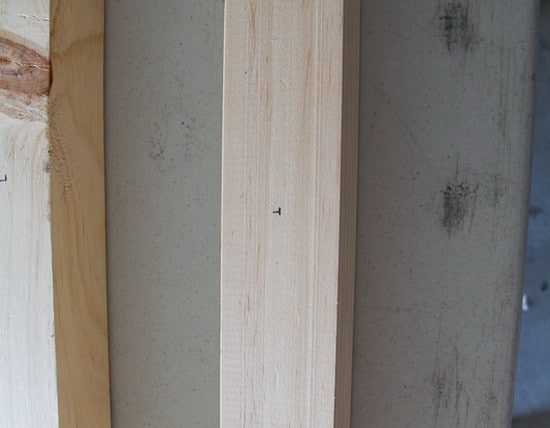 We measured the center areas on our vertical wood to see where we needed to drill the hole for the wooden dowel.
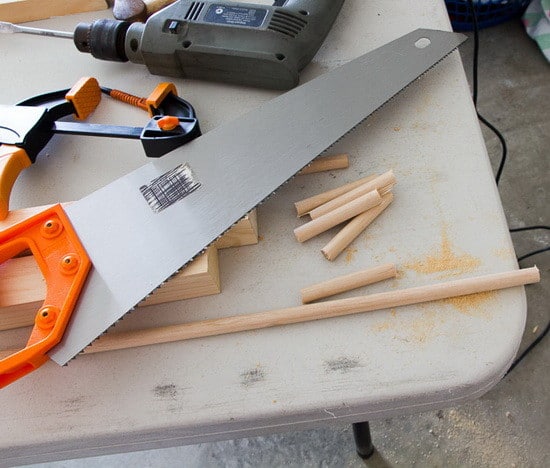 We needed 6 wooden dowels for the joints so we cut out 6 pieces from our 46″ circular piece measuring 2″ each.
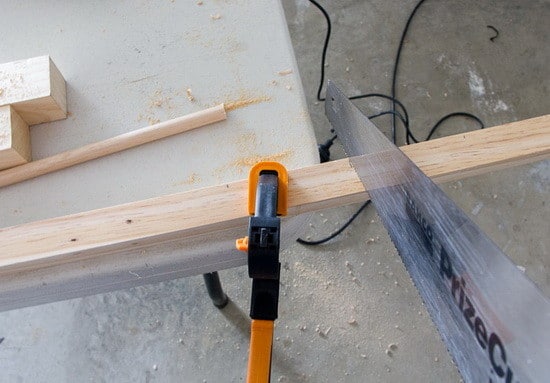 We then measured, marked and cut our rungs for the horizontal pieces.
We needed 3 of these at 20″ each. NOTE: This is the part that the clothes hang on.
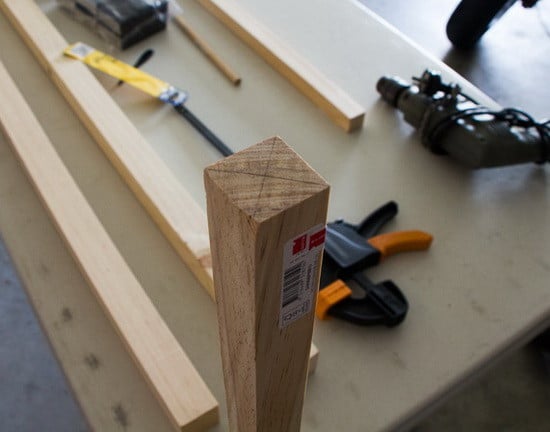 We marked the center of each rung using a pencil and made sure we were center.
This is where the 2″ wooden dowel will be inserted.
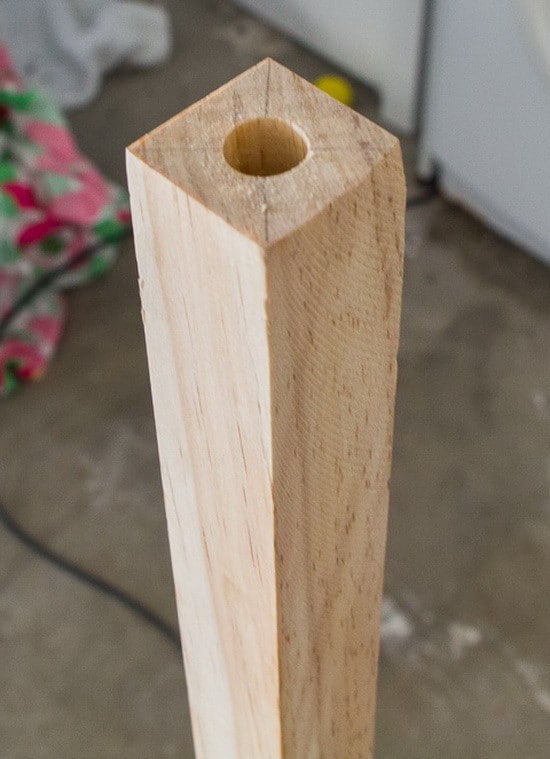 Using our drill and drill bit, we drilled the hole where we made the mark.
Drill the hole 1″ deep and make sure you are holding the drill center so the hole is evenly spaced on the sides.
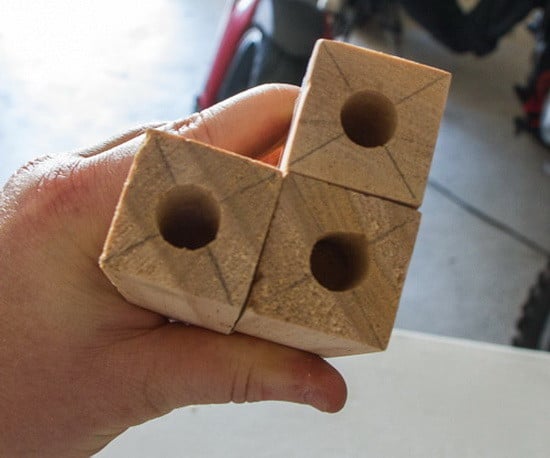 Here are the 3 rung (horizontal) pieces after we drilled the holes in the sides.
Be sure to do the other sides too, there will be a total of 6 holes drilled in the rung pieces.
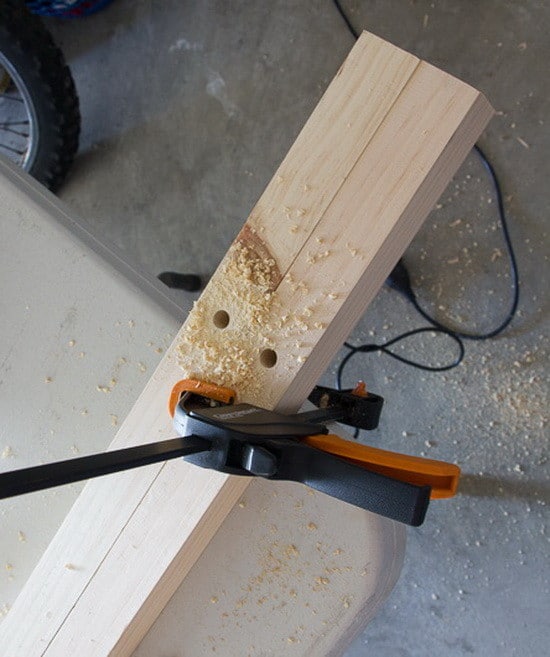 Here we drilled the holes for the wooden dowels in our 2 vertical uprights.
Each upright piece of wood will need 3 holes evenly spaced for the rungs to attach.
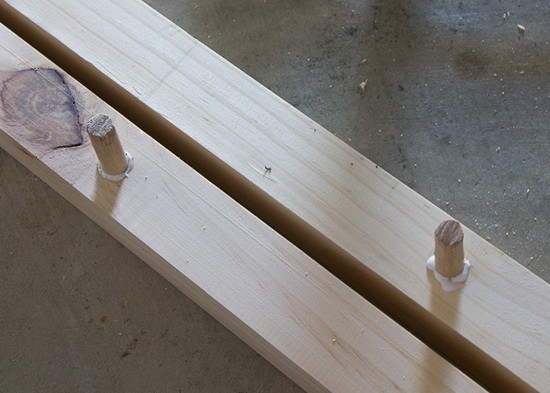 Once we had everything drilled, we used our wood glue and glued the wooden dowels in place.
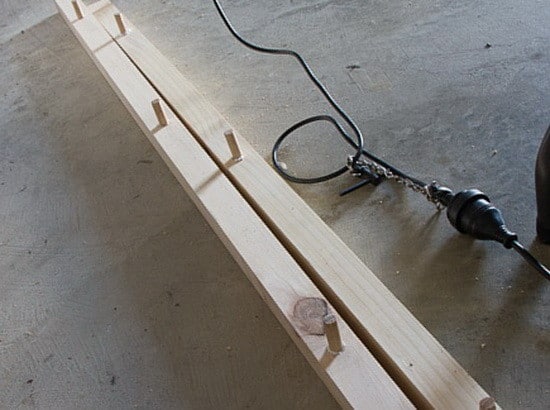 All the wooden dowels are in place and our ladder is ready to be assembled.
At this point you will apply glue into the rung holes and assemble… see below.
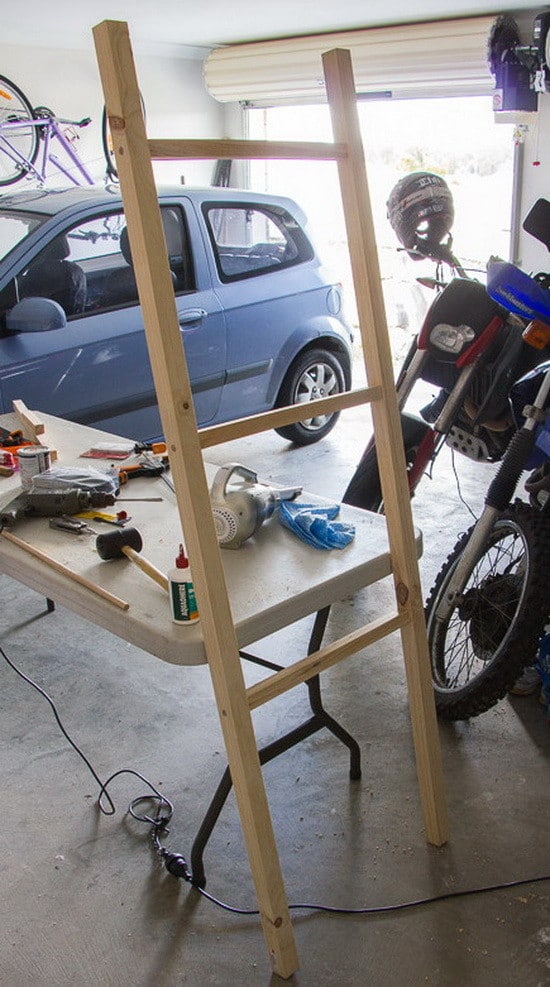 After we applied glue on our dowels, we assembled the complete ladder rack together.
You may need to wipe any excess glue off of the wood before it dries.
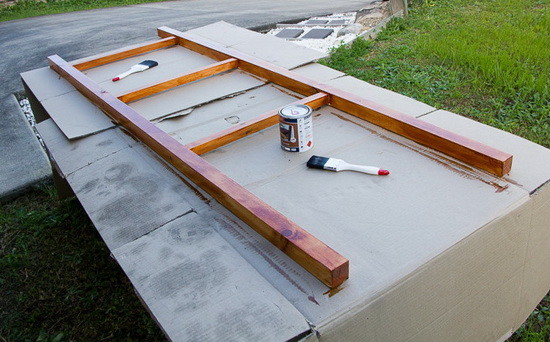 We then put the ladder on some old cardboard and stained it using our wood stain.
Once you apply your wood stain, let it fully dry overnight before putting your clothes on it.
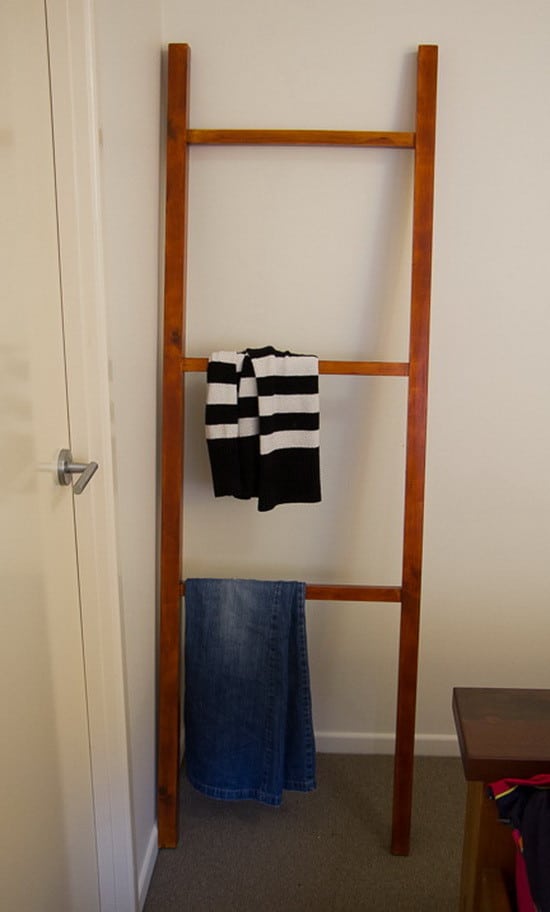 Here is our DIY Clothing Ladder Rack completely finished and in our bedroom.
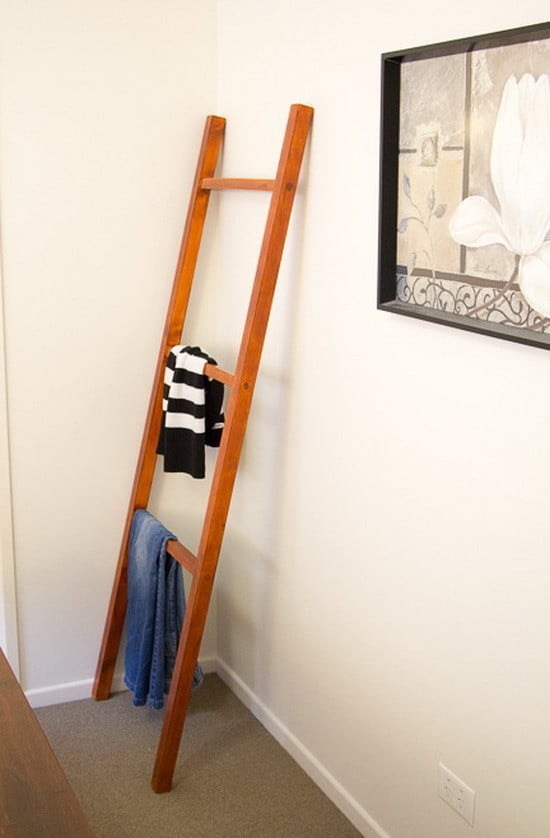 This is a very simple and inexpensive project to do yourself.
It is a great way to use any extra wood from a previous project and will keep clothes off the floor!!


Leave a Reply