Make big reminder notes on your refrigerator! This DIY refrigerator chalkboard project is fun and inexpensive! The supplies needed can easily be found at your local home improvement store. This DIY chalkboard can be applied to your refrigerator within one day not including drying time. This is a great way to give members of your family simple reminders. Those tiny notes you would leave on the fridge in the past never got seen anyway! Why not turn the front of that fridge into a huge cool chalkboard!
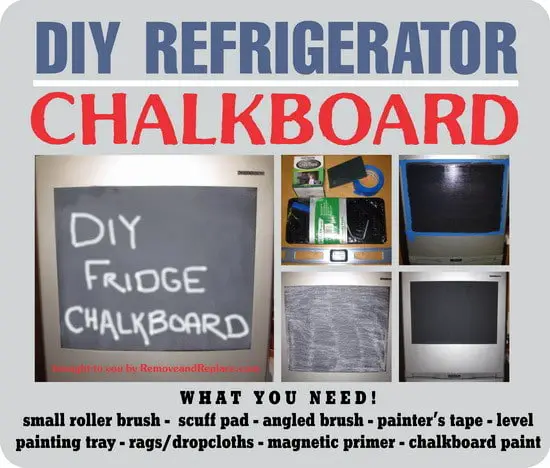
Here are the supplies needed to turn the front of your refrigerator into a chalkboard:
- small roller brush paint tray kit
- small angled paint brush
- wide blue painter’s tape
- rags and floor protector (drop cloth or similar)
- magnetic primer
- chalkboard paint
- horizontal level
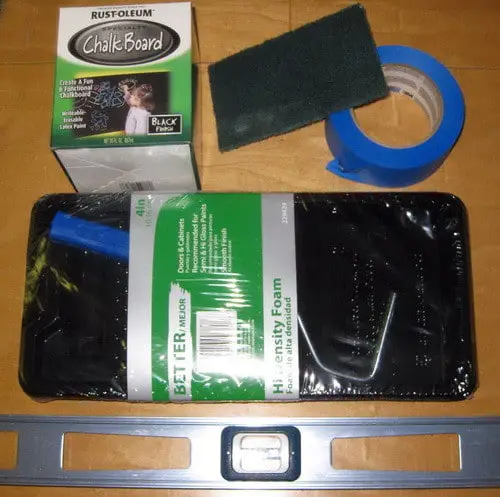 Step 1 – Get the supplies needed to complete the DIY fridge chalkboard.
(Black Rust-Oleum chalkboard paint is the BEST! It will produce the greatest results.)
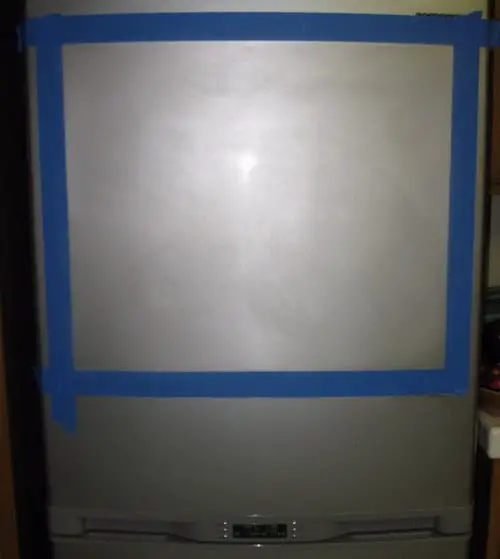 Step 2 – Clean the front of the fridge, measure out the space, apply tape (level it), and scuff the surface.
(Scuff within the boundaries of the painters tape to allow the paint to stick better.)
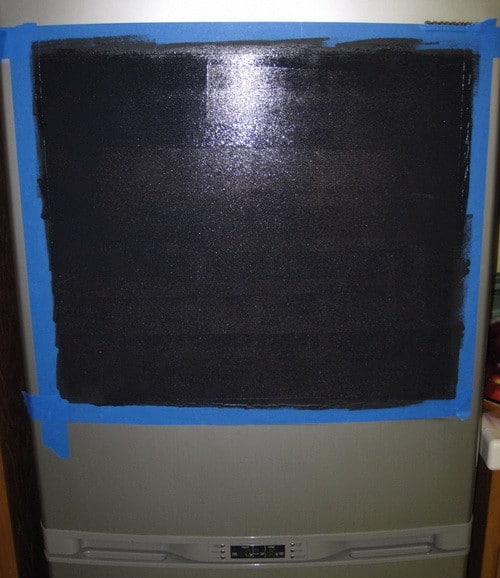 Step 3 – After reading the directions on the paint box, apply the paint evenly and in multiple layers (4).
(We used a magnetic primer on our fridge first but it is not required.)
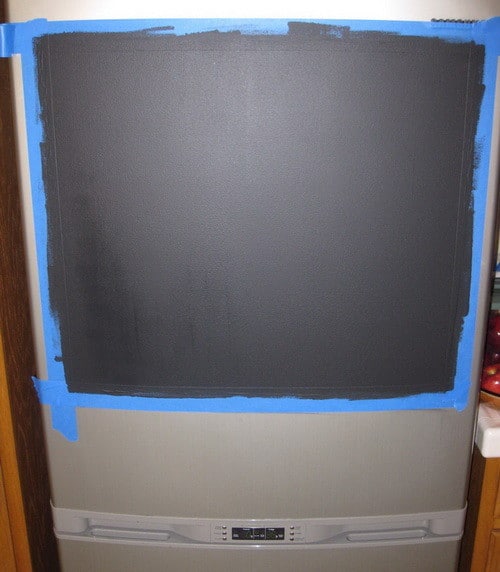 Step 4 – After each coat of paint, give it time to dry before applying the next layer.
(The key here is to allow time to dry between the coats of paint to make a nice even and strong surface!)
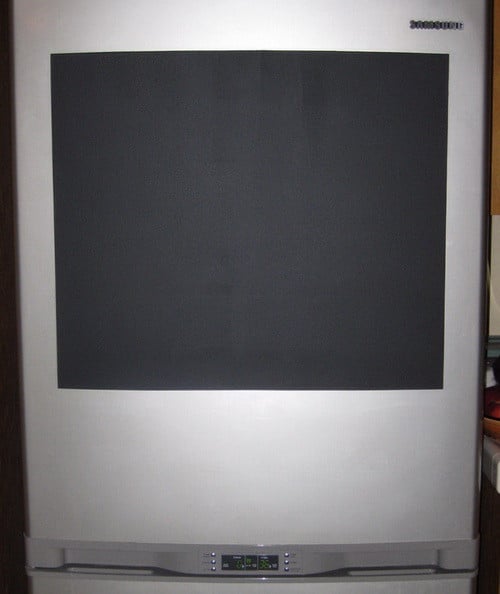 Step 5 – Remove the tape and let the paint dry according to the directions on the can or box.
(Some chalkboard paint may take from 1 to 7 days to fully cure before use so have patience!)
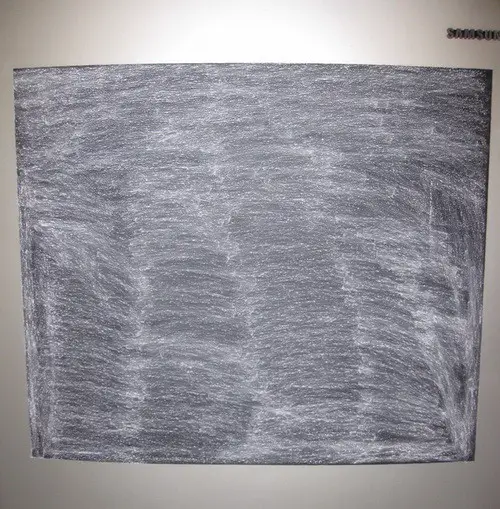 Step 6 – Once the paint is fully dry and cured properly, you need to condition the surface.
(Conditioning will vary by paint type but running a piece of chalk sideways across the full surface does it.)
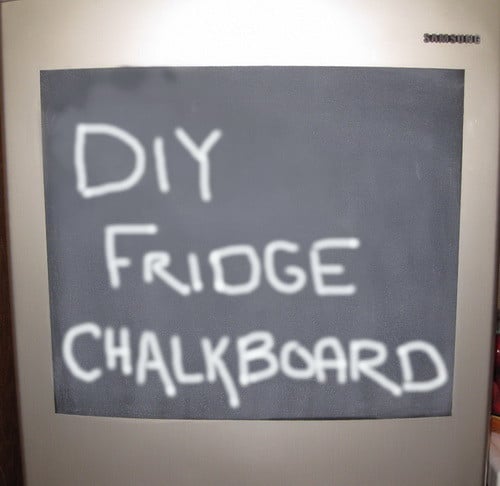 Step 7 – Your DIY fridge chalkboard is now ready for use!
(ENJOY IT AND WRITE SOMETHING NEW EVERYDAY!)



Leave a Reply