Growing your own vegetables in your own garden can be fun and also save you money. If you have room in your backyard you can build your own DIY raised vegetable garden for around $50 dollars! This type of garden is also referred to as a “Square foot garden” and can be built the exact same way. Whatever type you choose, a raised vegetable garden can be an easy way to grow vegetables. You will need retaining bricks, soil, plastic soil liner, a shovel, a pick, tape measure, a roll of string, and a level. Below we will show you how to build a raised vegetable garden the easiest way step-by-step.
Did you know there are some big advantages with a raised garden versus a standard garden on level ground?
Here are some advantages of why you SHOULD have a RAISED vegetable garden:
- Grow food in almost any location as soil conditions are not an issue.
- Soil does not compact as much thus making it easier to work with.
- Soil drains better so your plants are not submerged.
- The soil warms up faster than the ground in spring.
- Weeds are easier to remove.
- Eliminates gophers and moles.
- Water can be concentrated in a specific area saving you money.
- More food productivity per square foot.
- Less bending down.
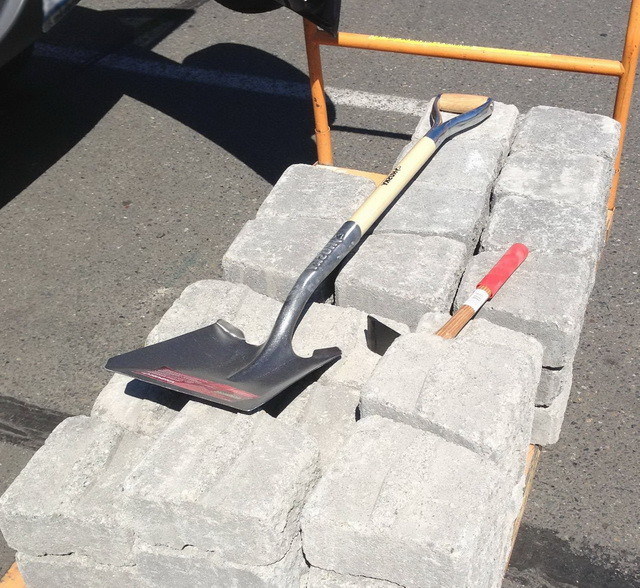 1. You will first need to measure the area in your yard and decide how big your raised garden will be.
Then purchase the bricks you will need and any other supplies needed to complete your garden.
You can also use wood as your retaining walls but it may not last many seasons as it can decay.
Our sample garden is 9ft x 6ft so we purchased the appropriate amount of retaining bricks (about 90).
NOTE: You will also need garden soil, plastic soil liner, shovel, pick, tape measure, string, and a level.
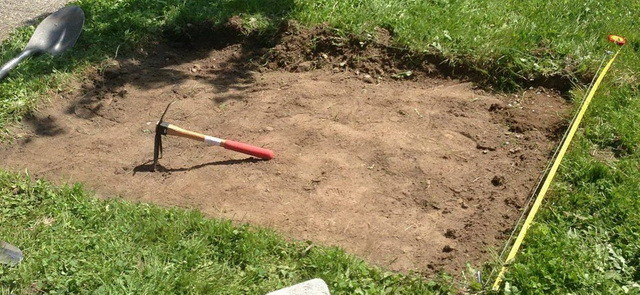 2. Once we knew the size of our garden we used our garden tools to clear away the grass.
NOTE: Use the tape measure to find the exact area and then lay string in place to know where to dig.
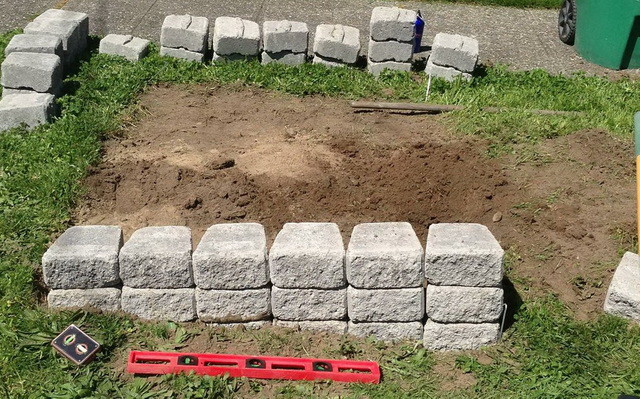 3. Once the grass is cleared away make sure the dirt area is flat and level and then begin placing the bricks.
NOTE: You may need to move some of the dirt around to get a level surface so the bricks sit flat.
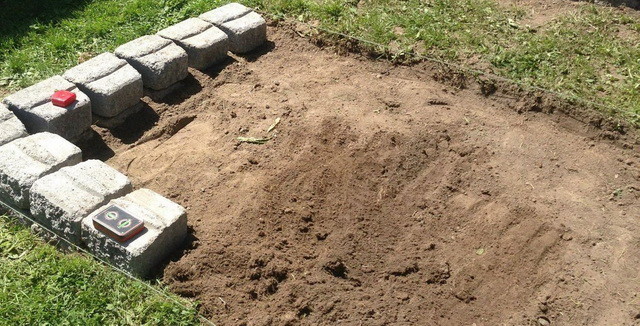 4. When laying the brick, pay attention to keep them in a straight line to keep the garden square.
NOTE: Use a roll of string and mark the outline of the garden to assist you in laying the brick straight.
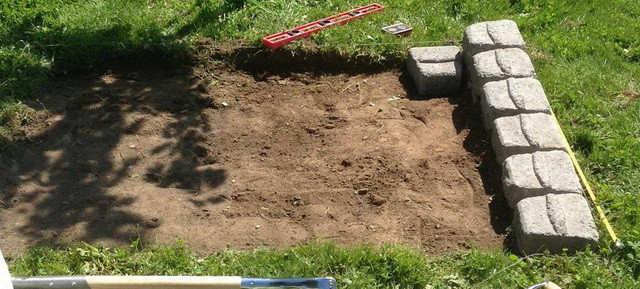 5. As you place the bricks around the garden area, lay the level on top to make sure they are straight and level.
NOTE: This will be the most time consuming thing as getting everything level is sometimes challenging.
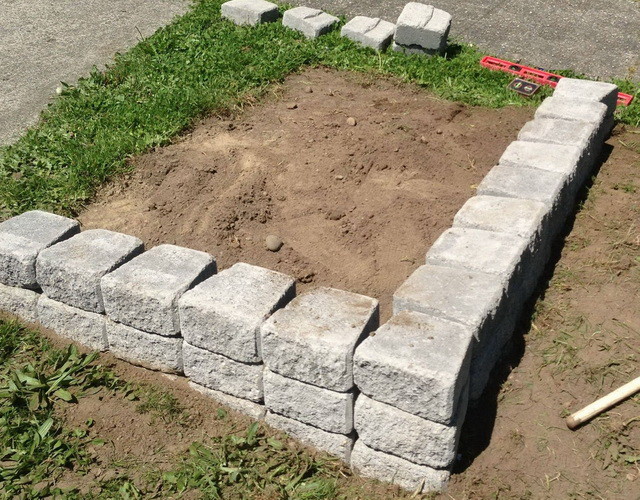 6. Assuming everything is straight and level, continue laying the bricks until the garden area is enclosed.
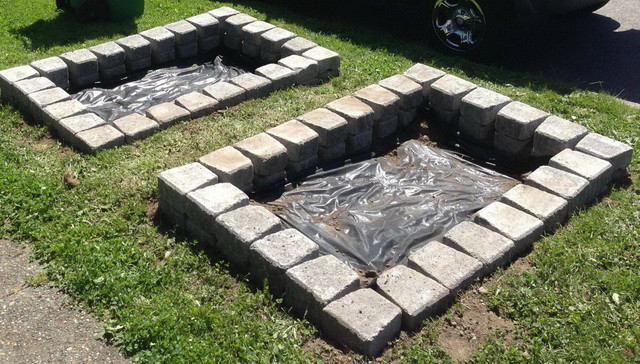 7. When finished laying the bricks, you should have nice looking square or rectangles like above.
Next, position the plastic soil liner into the bottom of the garden to cover the below dirt.
NOTE: Make sure the plastic covers all of the dirt below to prevent weeds from growing.
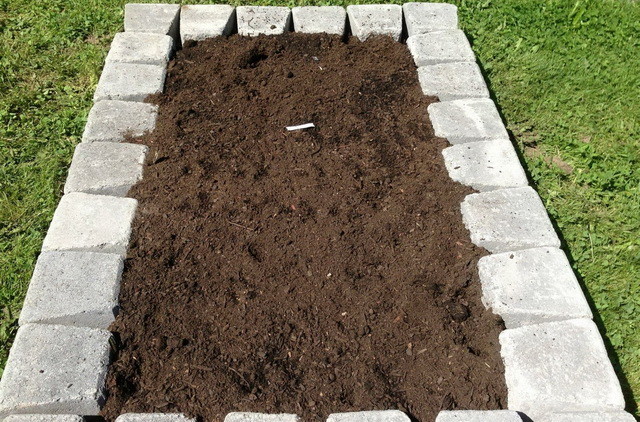 8. Next, add the high quality garden soil and use your shovel to spread in around evenly.
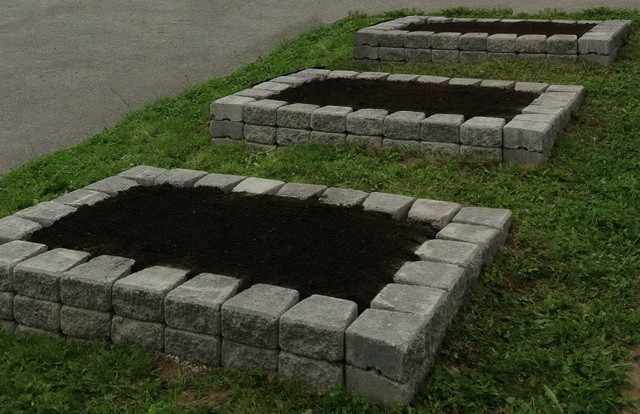 9. Once filled with the garden soil, soak the soil with water and liquid vitamins and let sit overnight.
Next, plant all of your vegetable seeds and flag the soil so you know what you planted in that area.
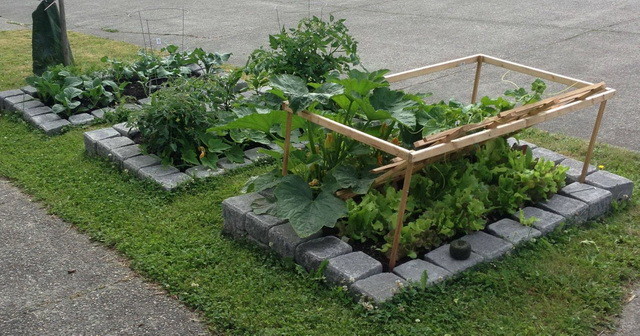 10. After much time, care, and attention, your raised bed vegetable garden will be filled with vegetables!
Remember… the quality of the soil you plant your vegetables in will make all the difference in the world.
USE THE BEST QUALITY ORGANIC GARDEN SOIL.
Organically rich soil will encourage the growth of healthy roots that are able to reach more nutrients and water.
This will result in extra-lush, extra-productive growth and result in fast growing and large vegetables.
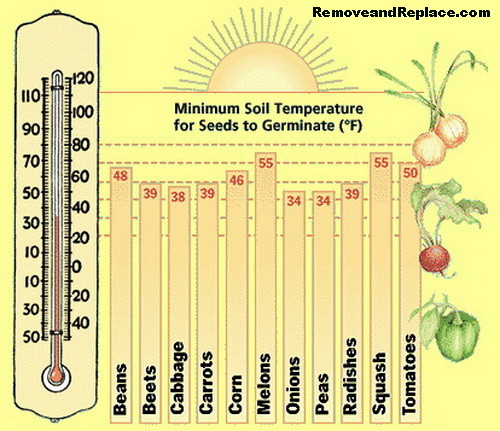 Here is a chart for the minimum soil temperature for seeds to germinate in Fahrenheit.
This chart shows minimum soil temp for Beans, Beets, Cabbage, Carrots, Corn,
Melons, Onions, Peas, Radishes, Squash, and Tomatoes.



Leave a Reply