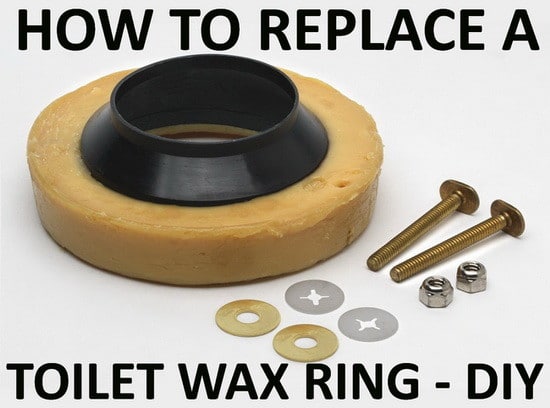
If your toilet is leaking from the base it is most likely the wax ring that will need to be replaced. If your toilet leaks when it is flushed, or if the septic smell is escaping from the base of the toilet, you should replace the ring. This is a fairly easy straight forward job that will take approx 30 minutes. It involves unbolting the toilet from its base and removing and replacing the old wax ring and securing the toilet back to the floor. A wax ring for a toilet is about $3 dollars. A wax ring replacement with a flange (aka: funnel or bell) is about $5 dollars at Home Depot and Lowe’s, so go with the one that includes the flange. As stated before, this should take you about 30 minutes from start to finish.

Things needed for toilet wax ring replacement:
- 2 pairs of plastic gloves
- 1 wide flat screwdriver or disposable plastic scraper
- 1 wrench to remove nuts
- 1 roll paper towels
- 1 piece of plastic or garbage bag to lay toilet on
- 1 bucket to catch excess water
- 1 roll of plumbers tape
First turn off the water to the toilet. Flush the toilet and remove as much water as possible before removing it. Get a bucket and place it behind the toilet underneath the water line. Remove the water line going to the back of the toilet and let all water drain into bucket to avoid getting water everywhere. Remove the 2 screw caps over the nuts. Loosen the 2 nuts and remove them from the bolts. Lift the toilet straight up from its base and set it on its side on a piece of plastic sheeting. Completely remove all traces of the old wax ring which will be on the floor and underneath the toilet itself. You must be sure the old wax is 100% removed before you put the new wax ring in place or leaks and bad smells may occur. Follow the directions to install the new wax ring on the package. We have found that it is easier to put the new ring on the bottom of the toilet instead of on the floor for alignment purposes. Once you have the new ring in place and the toilet is ready to be reinstalled, align the screws into the holes and put the toilet back into place. Make sure the toilet is seated properly and reinstall the nuts, caps, and water line. Turn on water and test for leakage.
Follow these simple steps to replace a toilet wax ring:
- Turn off the water supply to the toilet.
- Flush the toilet and remove water from the toilet and toilet tank.
- Remove water line from back of toilet.
- Remove the screw caps and remove the nuts.
- Remove the old wax ring and flange.
- Remove all traces of the wax ring from the floor, the drain and the toilet with scraper.
- Install the new wax ring under toilet or on drain hole (depending on instructions on package).
- Reinstall toilet by aligning the holes over the bolts.
- Tighten the nuts and be careful not to over tighten them.
- Attach the water line to toilet.
- Turn on water and test toilet.
Congrats you have successfully replaced the wax ring on your toilet.


Leave a Reply