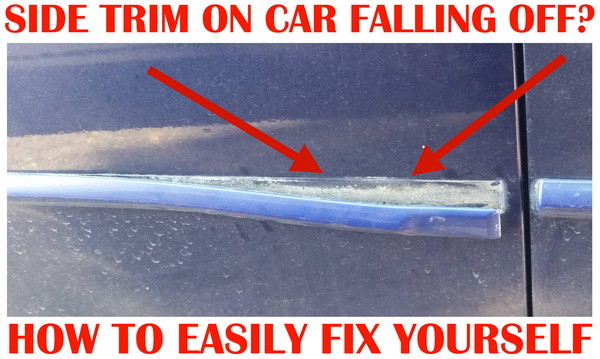
If you car has the molding falling off or just coming loose, here is an easy way to repair the trim. You can either reattach the trim that is hanging off or remove the molding and replace it with new. Either way you will need a few different tools and supplies. You will need… Painters tape, Hair dryer, Scraper tool, Pry tool, Goo Gone, and Trim tape.
To remove and reattach loose car molding:
- Tape off the area around the molding to protect it from scratches.
- Use a hair dryer to heat up molding so it becomes easier to remove.
- Use a plastic prying tool to begin to get under the molding.
- Slowly keep heating and prying on the molding until it is all the way off and removed.
- Heat up the area still on the car where the adhesive is still present.
- With a plastic scraping tool, begin to slowly and carefully remove the excess adhesive from car.
- Once most is removed, use an adhesive remover such as Goo Gone or WD-40 to remove the last remaining traces from the car.
- Also clean off the molding of any excess adhesive. (If you are reusing the old molding).
- Apply the new Trim Tape to the clean and dry molding. (Make sure the car is clean and dry before you begin to apply it to the side of the car.)
- Begin to carefully apply the mold trim to the car making sure it is level and straight.
- Once the molding is perfectly level on the side of the car, press firmly on every inch of the molding to make sure it is attached.
- Remove the protective tape.
- FINISHED!
Reattach Car Molding
If you happen to know an easier reattach method, please leave a comment below to help out our other readers. Thanks!


Leave a Reply