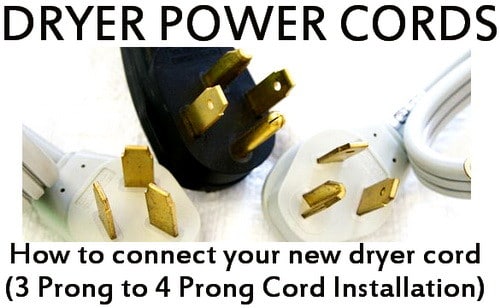
You recently bought a new dryer and the 3 prong power cord does not match the 4 prong power outlet in your wall. How do I change the cord?
Today’s modern homes will usually have a newer 4 prong power outlet on the wall for your dryer to plug into. This is now the standard in the United States and is safer than the older 3 prong. So, if you buy a slightly older dryer that still uses the 3 prong power cord, you may run into this predicament. What do you do? You have 2 options…
Option 1 – You can hire a professional electrician to install a brand new 4 prong power cord on your dryer. An electrician will usually charge around $80 dollars to install a new power cord on your dryer. Professional installation does not usually include the cost of a new 4 prong dryer cord. A 4 prong 30amp 250v dryer power cord will usually cost around $15 to $25 dollars if you buy it yourself. If you will be calling an electrician to install the cord, it may be cheaper for you to buy the 4 prong dryer cord beforehand. This may save you around $40 dollars depending on what the electrician will charge for a new power cord.
Option 2 – The other solution is to buy a new 4 prong dryer power cord and install it yourself. If you have electrical experience this job should take around 30 minutes. However we recommend to hire an electrician when dealing with a situation like this. If using a professional electrician is not possible then read on. If you have to install the new dryer power cord yourself, make sure to use a UL Listed 4 prong replacement dryer power supply cord with flanged spade terminals for easy and quick connections.
To change the power cord yourself, first watch this video to get an idea of what is involved. Always disconnect power when doing any type of repairs on an appliance!
- Purchase the correct dryer power cord.
- FOR SAFETY: Go to the dryer manufacturer’s website and find the wiring diagram on how to attach the cord correctly. The replacement cord you purchased may also have a “How To Wire” diagram on it also. The dryer may also say on the back what color and where the wires connect.
- Turn off the breaker to the dryer.
- Unplug the dryer cord from power.
- Gain access to the dryer by sliding it out carefully.
- Get behind the dryer and remove the terminal block access panel (small panel with usually one screw securing it).
- Loosen the screws holding the cord wires on the terminal block.
- Detach the old cord wires.
- Loosen the screws on the cord strain relief.
- Slide the old power cord out and remove completely.
- Slide the new power cord into place.
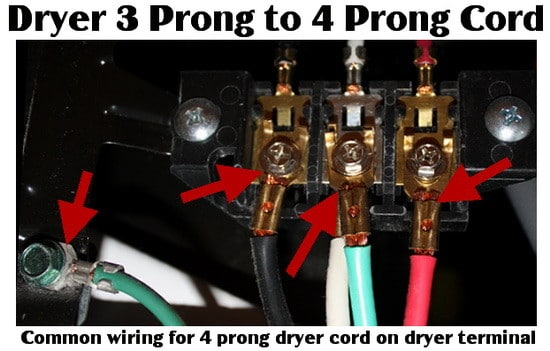
- Connect and tighten the new power cord wires on the terminal block correctly and according to the manufacturer’s suggestions.
- Tighten the screws on the cord strain relief (if the new cord has a newer strain relief, use that one instead of the old one).
- Reinstall the terminal block access panel.
- Plug dryer cord into the wall outlet for the dryer.
- Turn on the breaker to the dryer.
- Test the dryer to be sure it runs and gets heat.
3 to 4 prong power cord installation on an electric dryer


We have a Kenmore front load dryer model no. 417.83042300 and we just switched over from the 3 prong hook up (while we were in rental) and in new house switched back to 4 prong.
The dryer worked perfect at rental and now we are having issues of the top of the dryer getting hot…it does work but I am concerned with the overheating and possible fire hazard?