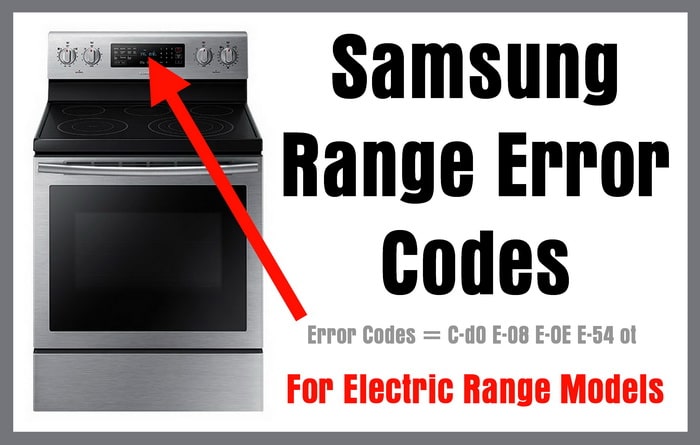
Samsung range error codes point to one specific failed component, which — after nine years repairing commercial food service equipment — I’ve found makes them faster to fix than they look. Cut power at the breaker for three minutes first — that clears soft faults. If the code returns, the most common culprits are the oven temperature sensor, a bake or broil element, or a stuck key on the touch panel.

Before You Pull The Range Out
- A three-minute power-down at the breaker resets both control boards and clears codes that were only a glitch.
- The oven temperature sensor is behind more codes than any other single part, and it’s a two-wire, two-screw job.
- Do not press CLEAR/OFF before you write the code down — that erases the one clue you had.
- Control boards are the last suspect, not the first, no matter where the code shows up.
Start Here — What The Display Is Actually Telling You
A code on the display isn’t the range telling you it’s broken — it’s the control board telling you which circuit stopped behaving. I work an oven in the same order every single time, and I still do it: verify power, verify connections, then verify the component. Almost every Samsung range fault code traces back to one of four things: the oven temperature sensor, a heating element, a wiring connector that’s loosened up, or a control board. Before you buy anything, kill power at the breaker for three full minutes and restore it. That resets both control boards and clears any soft fault. If the code comes right back, I treat it as a real hardware failure, and the code tells me where to look. Skip that cheap-to-expensive order and you’ll buy a control board to fix a loose two-wire plug — I’ve watched that bill land on people more than once.
Jump straight to your code:
- Oven runs but never gets hot, code showing → E-08 — The Oven Isn’t Heating
- Code appeared out of nowhere, oven temp seems off → E27 And E28 — Oven Temperature Sensor Codes
- Food burning, oven running hotter than set → E-OA — Oven Is Overheating
- A button won’t respond, or beeps on its own → C-d0 And SE — Stuck Or Dead Keys
- Door won’t open up after self-clean → E-OE And FL — Oven Door Lock Error
- Display flickers, panel goes half-dead, random codes → LE, E-54, E-55 And cE56 — Voltage And Communication Faults
- Code is on the cooktop side, oven is fine → Cooktop Codes: to, ts, ot, bo, bs And 0
| Code | Most Likely Cause | How Common | Cost Level | DIY Time |
|---|---|---|---|---|
| E-08 | Bake or broil element, or the temp sensor | Most common | Low to moderate | 30–60 min |
| E27 / E28 | Oven temperature sensor out of spec | Very common | Low | 30 min |
| C-d0 / SE | Stuck or failed key on the membrane panel | Common | Free to moderate | 5 min to 1 hr |
| E-OA | Sensor reading wrong, or oven control board | Less common | Low to high | 30–90 min |
| E-OE / FL | Oven door lock assembly or its use | Less common | Moderate | 45 min |
| LE / E-54 / E-55 / cE56 | Loose use, low-voltage transformer, or a board | Less common | Free to high | 20–60 min |
| to / ts / ot / bo / bs / 0 | Cooktop sensors, inverter board, or wrong cookware | Least common | Free to high | 10–60 min |
Read this before the back panel comes off. An electric range runs on 240 volts. Turning the range off at the control panel does not de-energize the element terminals behind it. Unplug the range or shut the breaker off — and verify it’s dead, don’t assume. If you smell hot plastic or see scorching around a terminal block, stop and get a tech out. That’s an arcing connection, not a parts-swap job, and it’s one of the few things I won’t work on myself without pulling the whole circuit apart first.
How Do You Reset A Samsung Oven Error Code?
This is the free fix, so it goes first — I start here on every one of these. Shut the breaker off (or pull the plug) for three full minutes, then restore power. Three minutes, not thirty seconds — the boards hold a charge and a quick flick doesn’t dump it. That’s the same principle as when you reset a Samsung dryer after an error code: drop power long enough for the logic to actually clear, then see if the fault was real or just a hiccup.
The wrong first move — and almost everybody makes it. The instinct when a code pops up is to mash CLEAR/OFF and keep cooking. Don’t. Powering off the range clears the error codes from the display, and now you’re troubleshooting a range with no code and a problem that still exists. You gotta write the code down before you touch anything else — I do it every time. If you already wiped it, Samsung stores the last several in memory and you can pull them back:
- Restore power to the Samsung range.
- Press the Clock AM/PM button 2 times, then press AM.
- Press 1, 2, 3, 4 on the keypad.
- Press SET/START.
- Press and hold CUSTOM COOK and 0 at the same time for 2 or 3 seconds. The most recent error code appears.
- Press 0 to scroll through the previous 4 error codes, or press CLEAR/OFF to leave the code display mode.
I lean on that self-diagnostic mode constantly on intermittent problems — the oven that only faults on the third bake cycle of a holiday. The code history tells you whether you’re chasing one failure or two, and I’d rather read four stored codes than guess at one.
E-08 — The Oven Isn’t Heating
E-08 means the oven called for heat and never got it. Parts involved: bake element, broil element, oven temperature sensor, wiring use. Kill power, then look at both elements with your eyes before you reach for a meter — I’ve found a failed element usually shows itself. Swap whichever element is damaged, and if both look clean, I move on to the sensor and the use. This is the code where a visual inspection solves it more often than a test does.
Let me describe what a dead element actually looks like, because “check for damage” is too vague to be useful. A bake element that’s given up almost always fails at a bend, not in the middle of a straight run — you’ll see a blister, a split in the sheath, or a bright silvery pit where it arced and blew a hole through itself. Sometimes the coil sags out of shape near the failure. Run a fingertip along it (power off, obviously) and a failed section often feels rough or flaked where the good sections are smooth. The broil element up top hides its damage better because you’re looking up at it — I get a flashlight in there and check the whole loop, including the section that tucks back toward the rear wall. And if either element scorched the porcelain behind it, I call that confirmation and stop testing.
- Remove power to the range.
- Check the bake and broil heating elements for damage or burns. If an element is damaged, replace it.
- Disconnect the oven temperature sensor and check its resistance with a meter. It should read around 1080 ohms at room temperature. If it’s off by more than 200 ohms, replace the sensor.
- Check the wiring between the oven electronic control board and the elements for damage, and replace any damaged wiring use.
Sensory tell worth knowing: an element that’s on its way out sometimes sizzles or snaps for a few seconds during preheat before it dies for good. I ask about that noise on every no-heat call, because if you heard it in the week before the code showed up, you already know which part to order.
E27 And E28 — Oven Temperature Sensor Codes
Both codes mean the same part: the oven temperature sensor, that thin metal probe sticking into the upper left of the oven cavity. E27 means the sensor is reading too high in resistance, E28 means too low. Either way you’re replacing the same part, and it’s two screws inside the cavity plus a plug you reach from the back. I test it before I buy, because a chafed use can throw the same code as a bad sensor.
The oven temperature sensor should measure around 1080 ohms at room temperature — more than 200 ohms off in either direction and the sensor is bad. Samsung sets specific trip points for each code:
- Remove power to the range and disconnect the oven temperature sensor.
- Check the resistance with a meter. Around 1080 ohms at room temperature is normal.
- E27: if the resistance is more than 2950 ohms, replace the sensor.
- E28: if the resistance is less than 930 ohms, replace the sensor.
I always measure at the plug with the sensor disconnected from the board — never in circuit. You’re gonna get a meaningless number if the board is still in the loop, and I’ve watched people condemn a perfectly good sensor that way. One more thing: if the reading is wildly open (no continuity at all), I check where the use passes through the cavity wall before I blame the probe. Heat cycling embrittles that insulation over years, and a broken conductor there reads exactly like a dead sensor.
E-OA — Oven Is Overheating
E-OA is the oven running hotter than commanded. Two suspects: the temperature sensor lying to the board, or the board itself sticking a relay closed and feeding an element it should have shut off. I check the cheap part first.
- Remove power to the range, disconnect the sensor and check resistance — around 1080 ohms at room temperature, and if it’s off by more than 200 ohms, replace it.
- Inspect the oven electronic control board for burns or melted wires. If it’s damaged, replace it.
Pull the rear panel and get your nose near the board. A relay that’s been welding itself shut leaves a distinct smell — hot varnish and scorched phenolic, sharper than dust burning off. Combine that smell with a brown halo on the board around a relay and you’ve found it. (I’d replace a board that smells like that even if it’s still working. It’s not going to keep working.) If your board is trashed, I take the part number off the board’s own label, not off the range’s model tag — Samsung revised these mid-production and the wrong revision won’t play nice with the panel.
C-d0 And SE — Stuck Or Dead Keys On The Touch Panel
C-d0 = stuck key. The part is the membrane switch panel, but I try freeing it first — this one’s genuinely free about as often as not:
- Press down directly on top of every key on the membrane switch panel, one at a time.
- If that doesn’t free it, press down slightly off center on all the keys.
- If the key still won’t release, replace the membrane switch panel.
SE = a defective key on the control panel. Parts involved are the control panel and the oven electronic control board. Remove power, open the control console, and confirm the wire use is fully seated in the oven electronic control board — I’ve found these plugs back out a hair over years of heat cycling. Inspect that use for damage. If the use is good, replace the control panel. If the code comes back afterward, replace the electronic control board.
A word on Samsung touch panels. Samsung’s freestanding electric ranges, the slide-in models, and the induction units all use the same style of membrane touch panel above the door, and it sits directly in the path of the vent that dumps oven heat out the front. That’s the design compromise: sleek panel, brutal environment. A panel that’s been cooked for years starts feeling mushy or slightly tacky under your finger before it fails outright, and once it beeps on its own or lights a key you didn’t press, the membrane is done. If yours feels different than it did two years ago, that’s not your imagination — I hear that exact description constantly, and I’ve replaced plenty of panels that failed for no reason other than heat. Meanwhile the old-school knob-and-dial ranges from the ’90s are still out there running, which tells you something about where the failure points moved.
E-OE And FL — Oven Door Lock Error
Both codes mean the door lock assembly isn’t reporting back correctly, and it usually shows up right after a self-clean cycle. Remove power to the range, make sure the wiring use connections on the oven door lock assembly are tight, and check the assembly itself for damage. Replace the door lock assembly if it’s damaged. That’s the whole repair — though I check those two connections before I order anything, because that half of the job costs nothing.
LE, E-54, E-55 And cE56 — Voltage And Communication Faults
These four are the “the parts are fine, the conversation between them broke” family. Every one of them starts with the same move: I remove power and reseat every connector I can reach. I’ve cleared more of these with a firm push on a plug than with a part.
- LE — low DC voltage fault under 9 volts DC. Parts: low voltage transformer, electronic control board, wiring use. Remove power and reconnect any loose wires between the low voltage transformer and the electronic control board. Replace the use if damaged. If the wiring is good, replace the transformer. If the problem comes back, replace the electronic control board.
- E-54 — oven control board communication fault. Parts: oven electronic control board, main cooktop control board, wiring use. Remove power and secure any loose connections between the two boards. Replace the use if damaged. If the use is good, replace the oven electronic control board. If it returns, replace the main cooktop control board.
- E-55 — oven control board communication error with the touch panel display. Parts: control panel, oven electronic control board. Remove power and secure the connections between the oven board and the control panel. If the connections are already secure, replace the control panel and wire use assembly. If the problem comes back, replace the oven electronic control board.
- cE56 — internal oven control board fault. Remove power to the range for 3 minutes to reset the oven electronic control board. If the code returns after you plug the range back in, remove power and secure any loose wiring connections. Replace any damaged wire uses. If it still comes back, replace the oven electronic control board.
Notice the pattern in all four: use, then the cheaper board, then the expensive board. That order exists because Samsung’s own troubleshooting flow assumes the connectors are the weak link, and in my experience that assumption is right more often than not — so I work the list in exactly that order and I don’t skip ahead to the board. Samsung publishes their own range and wall oven error code list if you want to cross-check a code against your exact model, and Sears PartsDirect keeps a Samsung electric range code list that’s worth a second look on the odd ones.
Cooktop Codes: to, ts, ot, bo, bs And 0
If the oven bakes fine but the cooktop is throwing a code, you’re on the other control board entirely. E-56 is the oven’s way of saying “the cooktop has an error” — I check the cooktop display for its own code, and once the cooktop is repaired, the E-56 clears itself.
to and ts — cooktop top temperature sensor error/fault. Parts: cooktop top temperature sensor, main cooktop control board. Remove power and make sure the wire connections between the top temperature sensor and the main cooktop control board are secure. Replace the sensor if the wire use is damaged. If the use connection is good, replace the top temperature sensor. If the problem comes back, replace the main cooktop control board.
ot — cooktop over temperature fault. Let the cooktop cool, then remove power to the range to reset the electronic control boards. I let it cool all the way down before I judge this one — a hot glass top will re-trip immediately and send you chasing a part you don’t need. If the cooktop continues to overheat, replace the main cooktop control board.
0 — pan detection issue. This one isn’t a failure at all. On induction cooktops the pan or cookware is the wrong size, or it isn’t magnetic enough for the coil to see it. New, correctly sized induction-rated cookware is the fix. I keep a magnet in the tool bag for exactly this — stick it to the bottom of the pan, and if it doesn’t grab hard, the cooktop can’t heat it.
bo and bs — cooktop element inverter control board fault. This is the corner of the code list almost nobody covers, and it only exists on induction models. Those inverter control boards convert AC voltage to DC voltage to drive the induction elements, and each one has a sensor watching it — a bo or bs means that sensor is reporting a problem, not necessarily that the inverter is dead. I could go down a whole rabbit hole about switching frequencies and how the coil couples to the pan — actually, forget the theory, you don’t need it to fix this. Remove power and secure the wire use connection for the inverter control board sensor. If that wiring is chafed or broken, repair the wiring before you touch the sensor; if the wiring is clean and the connection is tight, replace the sensor. If the problem comes back after that, replace the inverter control board for that element. Because each element has its own inverter, what I look for is whether the code follows one burner — if it does, it’s board-side, and a code that jumps between burners points at a shared supply or use instead.
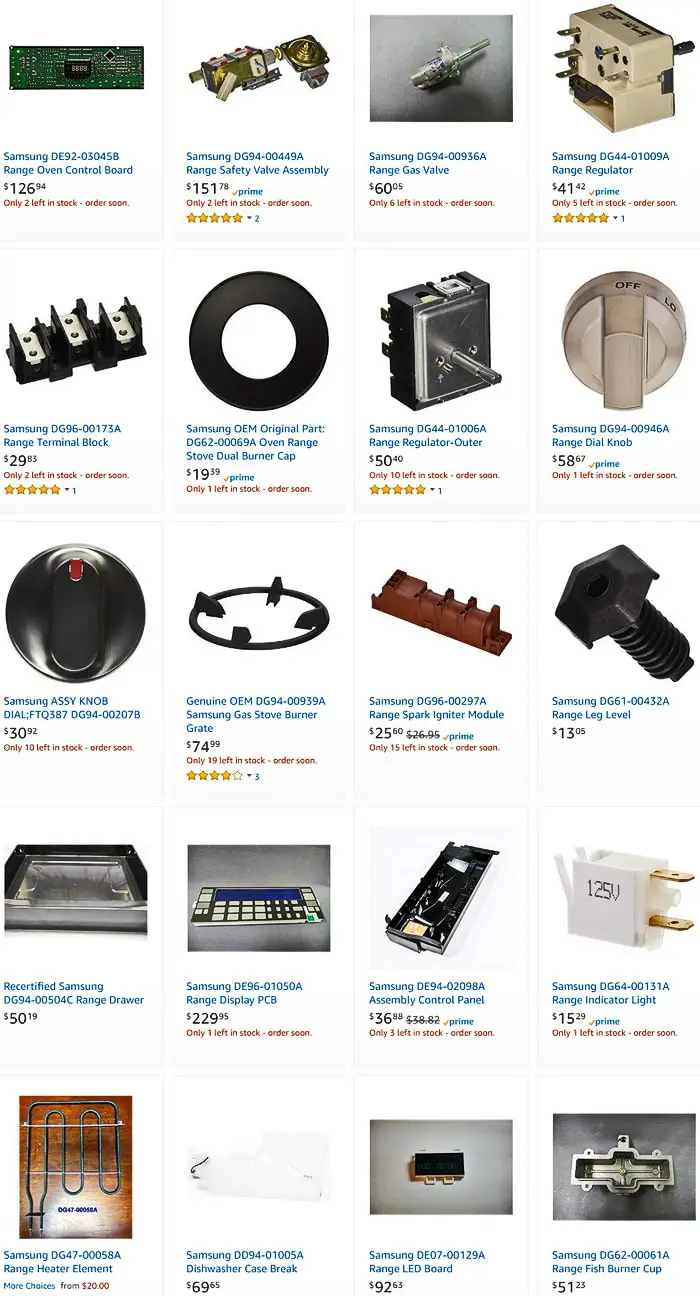
When I’d hand this one off. Elements, temperature sensors, door lock assemblies and membrane panels are all fair DIY jobs with a screwdriver and a meter — that covers most of the code list. Where I’d stop: any code that comes back after you’ve replaced the indicated part, anything involving scorching at the terminal block, and induction inverter boards. On the money side, I price the part before I commit to anything — the oven electronic control board is typically the most expensive single component in the range, and a tech’s diagnostic fee lands on top of the part either way. If the board price makes you wince and the range is well over a decade old, that’s the moment I’d price a new range instead of a repair. I’ve told people that plenty of times and never regretted it.
Keeping The Codes From Coming Back
Most repeat codes on these ranges are heat-and-vibration failures, so prevention is mostly about not cooking the electronics. Two habits handle most of it. First, skip the self-clean cycle unless you truly need it — I almost never run it, because it drives the cavity to its absolute limit and that heat goes straight past the door lock assembly, the sensor use and the membrane panel on its way out the front vent. Wipe spills out manually and you’ll spare all three parts. Second, once a year pull the rear panel with the power off and look at the use plugs on both control boards. Push each one home. That five-minute check is the single habit I’d hand every owner, because it heads off the entire LE / E-54 / E-55 family before it starts.
Also keep the vent above the door clear. If you park a cutting board or a stack of dish towels against it, oven heat backs up into the control panel every single bake cycle. And write your model number somewhere you can find it — parts for these are model-specific and the label hides on the frame behind the storage drawer or on the door jamb. (If you’ve ever had to hunt for one, the same tag-hunting logic applies to microwaves.) Samsung uses similar code logic across the whole lineup — a washer throwing a tE code is the same messenger-not-culprit pattern on a different machine — and if the fridge is next in line there’s a full refrigerator fault code list by brand as well.
One Last Thing Before You Order Parts
The single biggest mistake I see with Samsung range error codes is treating the code as a verdict on the control board just because that’s where the number showed up. The board is the messenger. Most of the time it’s the sensor, an element, or a connector — the three cheapest things in the machine. Write the code down, do the three-minute reset, then work the list from cheap to expensive in the order above. I’ve fixed far more of these with a sensor and a screwdriver than with a control board, and that’s exactly how I’d approach yours: a Saturday-morning job with a meter, not a service call.
Frequently Asked Questions About Samsung Range Error Codes
What does E-08 mean on a Samsung oven?
E-08 means the oven isn’t heating — the board called for heat and the temperature never climbed. Check the bake and broil elements for visible damage first, then the temperature sensor at around 1080 ohms, then the use between the board and the elements. I check the elements with my eyes before I touch a meter on this code, because a blown element usually announces itself with a blister or a burn mark.
Can I keep using the oven with an error code on the display?
No, and I don’t run an oven with an active code even for one more dish. Especially not E-OA, which means the oven is overheating — that one I’d shut off at the breaker until it’s fixed.
What should a Samsung oven temperature sensor read on a meter?
Around 1080 ohms at room temperature. Off by more than 200 ohms means replace it. Specifically, over 2950 ohms throws E27 and under 930 ohms throws E28. I measure it unplugged from the control board, never in circuit, or the number means nothing.
Why did the same code come back after I replaced the part?
Usually the use, not the part. A conductor broken inside its insulation reads dead exactly like a dead sensor, and a plug that’s backed out a hair looks perfectly seated until you push on it. The other possibility is that you fixed a symptom of a failing board — when I see a code return after a correct parts swap, the board becomes my next suspect, in that order and not before.
Do these codes clear themselves once the problem is fixed?
Some do — E-56 clears on its own once the cooktop side is repaired, and a cE56 often clears with a three-minute power-down. Others need power cycled before the display lets go of them. I cycle the breaker after every repair and watch whether the code returns; that’s my confirmation the fix actually took.

Written by Keith Schneerer
Certified Appliance Tech · Founder, RemoveAndReplace.com
Keith has spent 30+ years repairing machines, starting as a military mechanic and later maintaining food processing equipment before moving into appliance repair. He founded RemoveAndReplace.com to share field-tested repair advice.
More about Keith →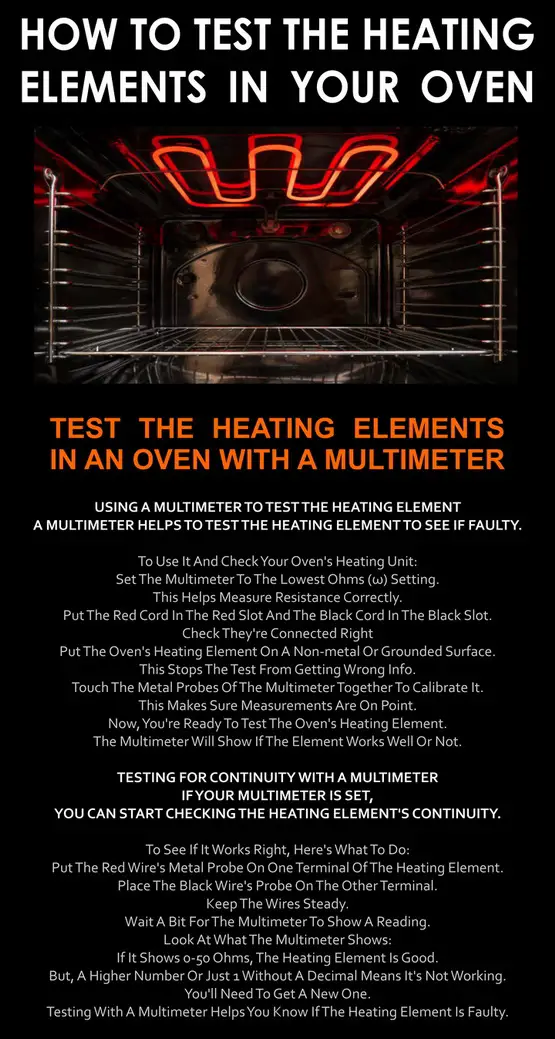
Samsung Electric Range Model NE59M6850SS
I have two error codes showing 2-dC and 1-C-F2
What do they mean?
We’re having trouble with the timer on our range.
What does it mean when it reads e -24? I can’t Figure it out