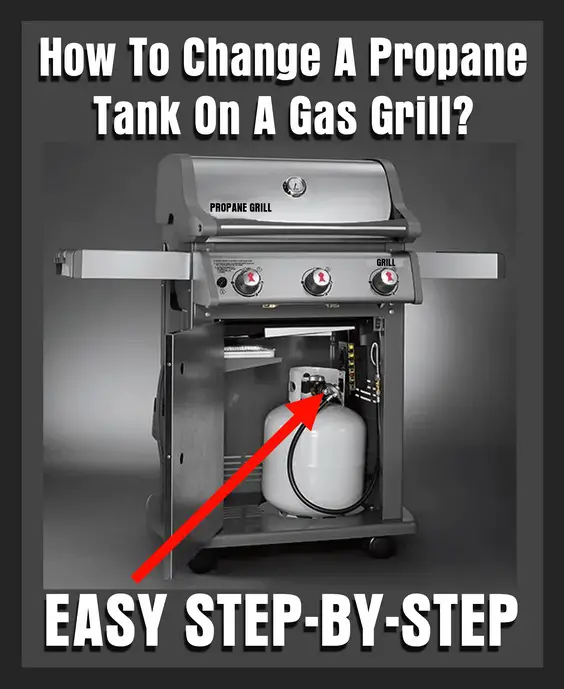
The gas grill stopped heating and the propane tank is empty. Need to change the propane tank on your gas grill? This is a very common occurrence. Changing your propane tank is necessary for a variety of reasons, but also easier than you might expect. This will explain how to easily remove and attach a propane tank to your gas grill. See here for Propane tank will not ignite
 How To Change A Propane Tank On A Gas Grill
Assuming your old propane tank is either completely empty or possibly faulty, it may be time to swap your old empty propane tank for a full one or buy a new full tank and install it. Whatever the reason may be, here are instructions on how to remove and replace a propane tank safely.
How to safely remove and replace a propane tank
You are having a BBQ and all of a sudden the grill stops producing fire/heat. This means your propane tank is most likely empty. Check if there is a gas quantity gauge attached to the tank. If empty, you will need to either refill it or buy a new full tank.
Connect, Remove, Change, Gas Grill Propane Tank
1) Turn the knobs on your grill to OFF and if you have a safety shut off valve, turn that off too. Make sure the gas flow to the grill is OFF.
2) Locate the (usually white) propane tank under the grill.
3) Close the propane tanks main valve by turning the valve clockwise until it stops. Be sure the valve is tightened securely as you do not want any gas escaping.
4) Disconnect the gas hose from the propane tank cautiously as some gas may escape.
5) Remove the propane tank from the grill.
6) Secure the propane tank in your vehicle securely with bungee cords or rope to keep it secure in your vehicle.
7) Go to a gas station or a home improvement store and have the propane tank swapped or buy a new one. (About $20 to swap an empty tank for a full one or $50 for a full brand new tank.) See here for where to buy more propane near you
8) Again, secure the propane tank in your vehicle securely with bungee cords or rope to keep it secure in your vehicle.
9) Once home, set the propane tank into place under the grill in the metal circle where it was before.
10) Attach the gas hose to the side of the propane tank and secure it tightly so no leaks occur.
11) Next, turn on the main valve ON (turning counter-clockwise) the propane tank to let gas flow to the grill.
12) Test your grill out by turning the gas control knobs on the front to ON and ignite the grill using the “ignite” button. (Keep your face away from the grill when doing this as gas may have built up)
13) Your grill should now be working perfectly as the tank is full and the empty one has been changed.
HINT: Buy another propane tank so the next time you are barbecuing you do not run out of propane.
If you get tired of replacing your propane tank, you can convert your propane grill to natural gas, see here for more info for converting a propane grill to natural gas.
If you need to change your gas grill’s propane tank, this article will show you how. You should be able to do this yourself in about 10 minutes or less. This page will show the steps for changing a propane tank including removing the old tank and connecting the new one correctly so it will not leak.
We also explain ways to fill up with more propane if needed and reconnecting the tank properly. We hope these instructions show you how to do it yourself. If you need more help you can ask a question below or see here for more help with removing and replacing propane tanks.


Leave a Reply