A chest freezer is a sealed cold box, and frost is just the moisture that sneaks in with warm air and freezes onto the first cold surface it touches. Every time the lid opens or the seal leaks, more of that moisture gets in, and the walls collect it.
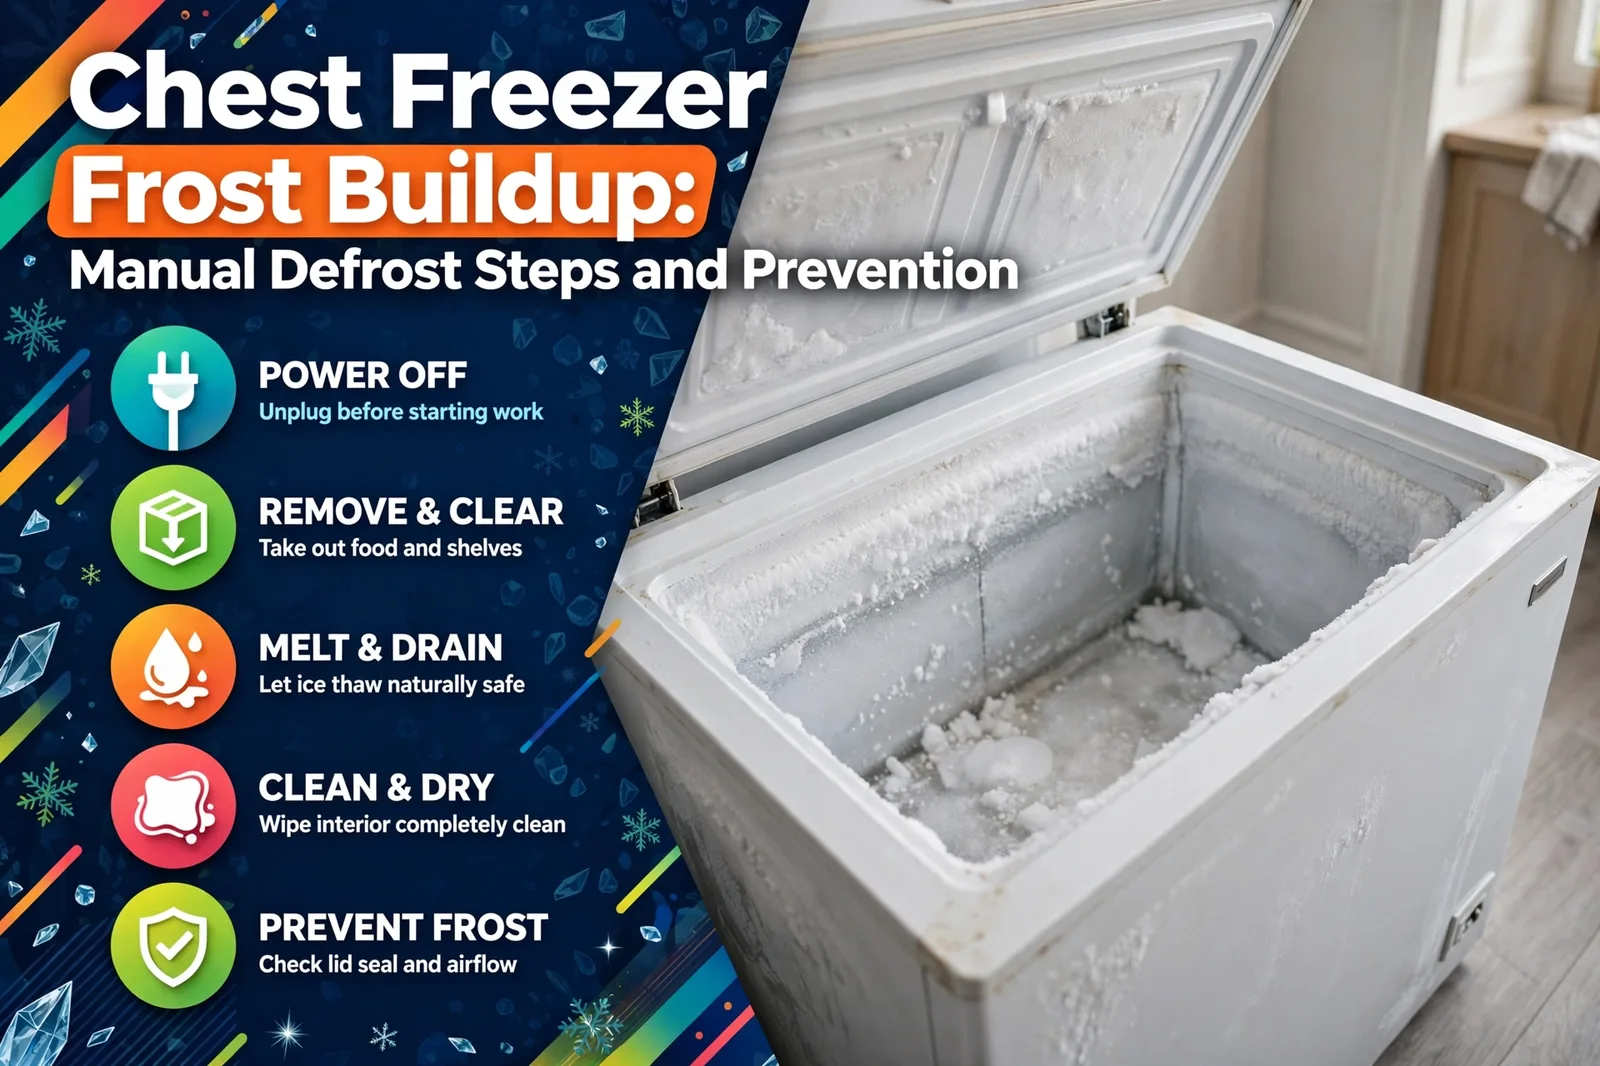
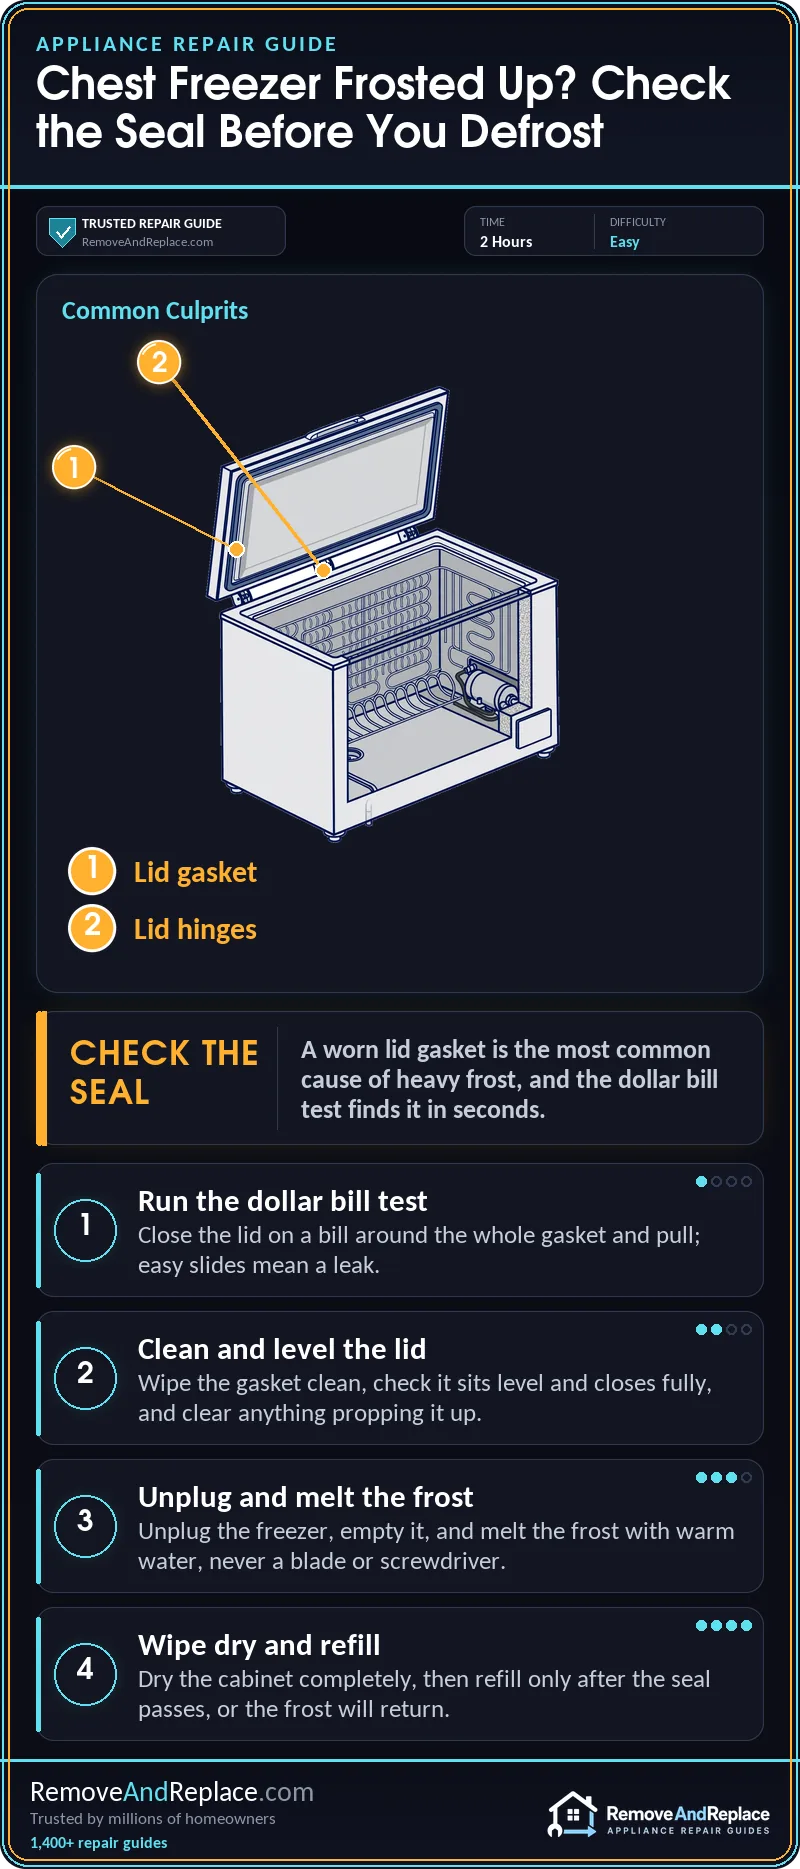
Chest freezer frost buildup is usually a gasket or lid-seal problem letting humid air in. Close the lid on a dollar bill: if it slides out easily, the seal needs work; if it grips, look at lid habits and location.
Before You Unplug
- A thin, slow layer of frost is normal. Thick frost that returns fast is a leak somewhere.
- Melt the frost and wipe it out. Never chip it off with a blade or screwdriver.
- Fix the seal, lid level or location before you refill, or the frost just comes back.
Why Is There So Much Frost in My Chest Freezer?
Some frost is normal, and a light coating that builds slowly over many months is just the cost of opening the lid. Heavy, ridged frost that thickens quickly is different. It means warm, humid air is getting in faster than it should, and a common route is a worn, flattened or dirty lid gasket. The rule carries over from commercial coolers to home units, and I learned it over 11 years repairing commercial food service equipment: frost is moisture that got in somewhere, so find the entry point instead of just scraping the result. Once the layer is around a quarter inch thick, many manufacturers say it’s time to defrost, because the frost starts insulating the walls and the compressor works harder to hold temperature.
The wrong assumption I see most is that heavy frost means the freezer is failing. It’s better read as a warning sign than as proof of failure. Heavy frost signals moisture getting in, through a leaking door seal or a failed defrost system, and it should be traced to its cause. Frost can even build up while the cooling still works fine. If your food is actually thawing, that’s a separate problem, and I cover it in how to fix a chest freezer that isn’t freezing.
| Cause | Likelihood | What to do |
|---|---|---|
| Worn or dirty lid gasket | Common | Clean it, then do the dollar bill test; replace if it fails |
| Lid not sitting level or closing fully | Common | Level the freezer, check hinges, clear anything holding the lid up |
| Frequent opening or warm, humid location | Common | Move it, limit lid time, pack tighter |
| Warm or wet items going in | Less common | Cool and dry food, seal it in bags or containers |
What Normal Frost and Problem Frost Look Like
What you’ll see: Normal frost is a fine, even, fuzzy coat that grows over a long stretch. Problem frost is thick and lumpy, and it often piles up along the lid edge, near the hinges, or in one corner of the cabinet.
What’s happening: Frost concentrates where the air comes in. A heavy line along the front edge points to the gasket. Frost thicker on the hinge side points to a lid that isn’t pulling down evenly. If a freshly defrosted freezer is visibly coating itself again within a few weeks instead of building slowly, treat that as a leak problem, not normal wear.
What to do: Run your fingers along the gasket for flat spots, cracks, or sticky residue. Then do the dollar bill test at several points around the lid. Any spot where the bill pulls out with no drag is a leak.
Bad Advice That Keeps Getting Repeated
A lot of forum advice says to grab an ice scraper, a knife, or a screwdriver and chip the frost off while the freezer is still running. Don’t. The liner and the cooling lines run right behind those walls, and a slip can puncture a line, which turns a free chore into a dead freezer. Melting is slower but costs little and is low-risk when done carefully. It isn’t risk-free, though: water that’s too hot can damage the liner, and any tool-based chipping risks puncturing the refrigerant tubing.
This video walks through manually defrosting a freezer from start to finish. It shows how to empty the cabinet, let the frost release, and clean up the meltwater. Watch it before you start so the order of the steps is clear.
Unplug the appliance or switch off its breaker before you touch anything. Keep the power cord and plug out of the meltwater, and don’t use a heat gun or open flame inside the cabinet.
How Do You Manually Defrost a Chest Freezer?
Plan on a few hours, and longer if the frost is thick. GE’s manual defrosting instructions and KitchenAid’s defrost guide share a broadly similar sequence (unplug, move the food into coolers, drain if the model has a drain, melt with warm water, clean, dry, restart), though the exact order differs in places, so check your own model’s manual. Here is how I do it.
- Unplug the freezer. Pull the plug or switch off the breaker, and leave the lid open.
- Move the food out. Pack it into coolers, tightly, with ice packs on top if you have them. Keep the lid shut on the coolers.
- Open the drain plug if your model has one. Many chest freezers have a drain on the inside bottom or the outside. Set a shallow pan or bucket under it. If there’s no drain, a wet-vac with a hose attachment saves you from hauling out a tub of meltwater.
- Line the bottom with towels. They soak up meltwater that the drain misses. Swap them out as they get heavy.
- Let the frost loosen. A pan of hot water set inside with the lid propped open speeds it up. Once the sheets of frost release, lift them out by hand. Don’t pry or chip.
- Wipe it down. Dry the liner and the gasket thoroughly, because leftover moisture refreezes into frost within days.
- Close the drain plug, plug the freezer in, and let it run before reloading. Give it time to get cold again before the food goes back in.
Before You Refill: Fix the Entry Point
What you’ll see: A clean, empty cabinet is the best time to inspect the seal, because nothing is hiding the gasket or the frost pattern.
What’s happening: If the gasket is flattened or stiff, it can leave a gap that stops it pressing tight against the cabinet. Gentle warm air can sometimes reshape it, or you can replace it, but defrosting is a separate task and won’t fix the seal by itself. Wash the gasket with warm soapy water and dry it. If a clean gasket still fails the dollar bill test, it needs to be replaced. Look up the exact gasket on your model’s rating plate or manual.
What to do:
- Check that the freezer sits level.
- Confirm the lid closes under its own weight with nothing blocking it.
- Check the hinges for sag. A lid that sits slightly cocked can leave a gap at one end even with a good gasket.
- Repeat the dollar bill test at several spots around the lid before you reload.
Common mistake: Putting the food back in warm. Items that went through a long thaw in the coolers, or packages with wet surfaces, bring moisture straight back into the freezer. Dry the packages and let the freezer get properly cold first.
Garage, Basement and Summer Humidity
Where the freezer sits matters more than most people expect. A garage in summer heat makes the compressor work harder, and humid air gets in with every lid opening. In the Phoenix area, monsoon season brings humidity that the rest of the year doesn’t have, and I’d expect more frost then. Basements have a similar issue with damp air. If you can, keep the freezer away from a door that opens to outside air, and leave a bit of breathing room around the cabinet so it can shed heat.
What About the Food That Partly Thawed?
If food still has ice crystals or is still cold to the touch, it’s generally safe to refreeze, though texture and quality may suffer. If it felt warm or sat thawed for a long time, throw it out. When you’re unsure, toss it.
Keeping Frost From Coming Back
Pack the freezer fairly full, because empty space holds air, and air carries moisture. If it’s half empty, fill the gaps with containers of water or ice. Seal food in bags and containers, and open the lid only as long as you need to. For a few more ideas, PartSelect’s guide on preventing freezer ice buildup is worth a read. A gasket you wipe down a few times a year lasts longer, and a neglected seal is one of the cheapest causes of chest freezer frost buildup to head off.
If a clean, level freezer with a good seal still frosts up heavily, or if the food won’t stay frozen, the problem may be the thermostat or the cooling system. Start with these steps for troubleshooting a chest freezer that isn’t freezing. A sealed system or refrigerant issue needs a licensed, EPA-certified technician.
FAQ
How often should I defrost a chest freezer?
Defrost it when the frost reaches roughly a quarter inch, not on a fixed date. In a well-sealed freezer that might be once a year or less. If you’re doing it more often, look for a leak.
Can I use a hair dryer to speed things up?
I’d stay away from one inside a wet cabinet, since water and electricity are a bad mix. Hot water in a pan and a couple of towels do the job without that risk. It takes longer, but it’s safe.
Does an upright freezer or a fridge-freezer frost the same way?
Not exactly. Many of those have auto-defrost systems, and a freezer that stops cooling there is a different problem. I wrote about one in LG refrigerator working but freezer not freezing. A chest freezer is manual defrost, so the frost is yours to deal with.
Is the dollar bill test reliable?
It’s a good quick check, not a lab test. I run it at several spots around the lid, and a bill that pulls out with no drag anywhere tells me that spot leaks. If it grips everywhere, I look at lid habits and location instead.

Written by Keith Schneerer
Certified Appliance Tech · Founder, RemoveAndReplace.com
Keith has spent 30+ years repairing machines, starting as a military mechanic and later maintaining food processing equipment before moving into appliance repair. He founded RemoveAndReplace.com to share field-tested repair advice.
More about Keith →