Painting a room in your house can be fun if done correctly and if you take the steps to do the proper painting preparations. A bedroom or a living room can be painted within a few hours following some of the tips and painting tricks we will show you here. Painting a room involves using a common paint roller and a paint roller tray used to get the paint on the roller. Another common way is using a simple paint brush and a can of paint that can easily be moved from one area to another. These common painting techniques are the traditional ways but we will give you some great and easy diy painting tricks and tips with links to painting supplies that will make painting your bedroom, bathroom, living room, hallways or kitchen so much easier and faster.
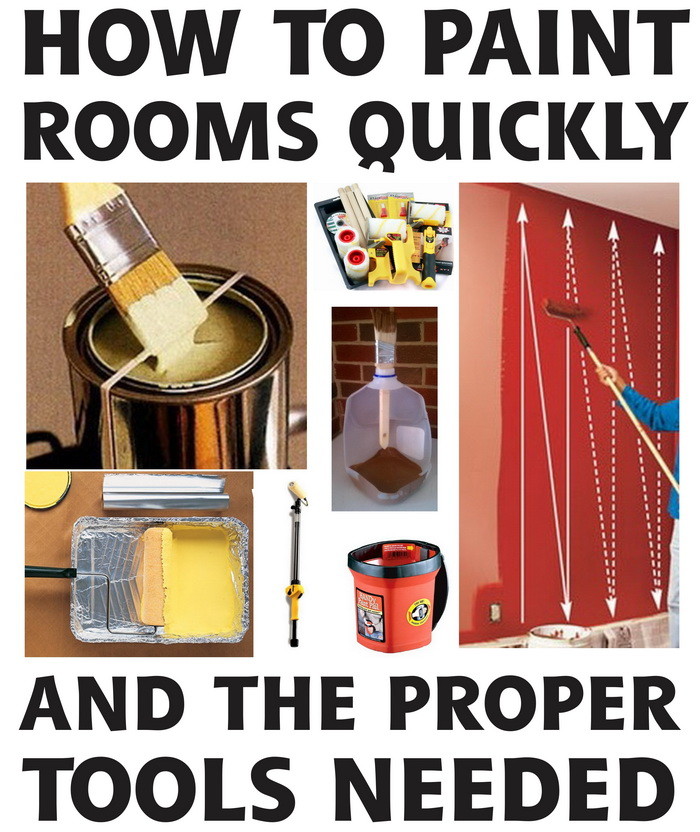
Here are thousands of Painting Supplies that will help you to paint any room fast!
Step 1 PREPARATION – Figure out how much paint you will need for the area to be painted. Remember it is better to have too much paint than not enough!
Step 2 ORGANIZATION – Get all of your painting supplies organized and make sure you have everything you will need during the painting process such as a ladder, a bright portable light, painters tape, drop cloths, paint mixing sticks, etc.
Step 3 SURFACE PREP – Prepare the surfaces of your walls to be painted by applying painters tape and to the room itself by removing furniture, rugs, picture frames, outlet covers, light fixture covers, etc.
Step 4 CLEANING – Clean the walls if needed. All the dust on your walls will get mixed into the paint when painting your walls. Clean the walls with a mild solution containing TSP or Trisodium Phosphate and let the walls fully dry.
Step 5 PROTECT YOURSELF – This may seem strange but wearing a painters hat or an old baseball style hat can save you having to remove dried paint out of your hair for when you make a mistake and paint drips from the roller or ceiling!
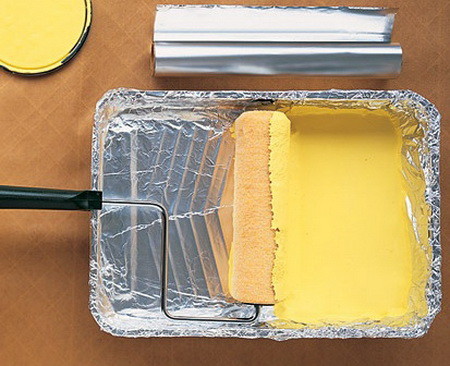
Step 6 PREPARE PAINT ROLLER – If using a paint roller and paint roller tray container, put a layer of aluminum foil in the paint roller tray to make for easier disposal and so your paint tray will not have dried paint in it.
Step 7 STARTING TO PAINT – Choose a wall to start painting. Resist the temptation to paint more than one wall at a time. Painting one wall at a time will reduce the chances of having visible lines in the paint once dried.
Step 8 EDGES AND CORNERS – When the wall is completely painted with the roller, it is now time to get the edges that you previously taped off with your painters tape with your paintbrush. The tops of the walls and the bottom edging should be painted next.
Step 9 REMOVE ALL THE TAPE – While the paint is STILL WET, remove all of the tape that you applied for the top and bottom edges. Removing the tape while the paint is still wet will make it easier to remove and will not take the fresh paint off the walls when you peel it off.
Step 10 DRYING THE PAINT FASTER – Once all the walls have been painted you can put a fan in the middle of the room and point it upwards toward the center of the ceiling to get the paint to dry faster. Put the fan on low so you just push a small amount of air down the walls to assist in drying. DO NOT put the fan on high as this may push a large amount of dust into the air and will get dust on your fresh paint.
Step 11 PAINT TOUCH UP – Once the walls are dry, check to make sure that your walls have even amounts of paint. Also check to make sure the corners and edges have the sufficient amount of paint. If you see some areas that need more paint, carefully paint over these areas evenly and make sure to use low pressure strokes or rolls to leave the paint looking uniform and layered.
Step 12 CLEAN UP – Once the room is painted and you are happy with your paint job, you can begin the cleanup process. Start by removing the drop cloth, paint trays, portable lights, any more tape, ladders, etc.
Step 13 FINAL STEP – Put back your furniture, picture frames, light fixtures, outlet covers, etc. Then vacuum the room of any debris and you are finished!
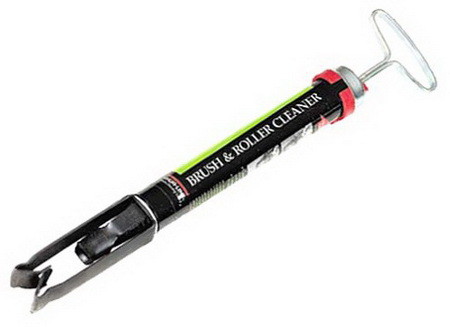
This Brush and Roller cleaning tool solves the problem of needing new rollers and paint brush replacements
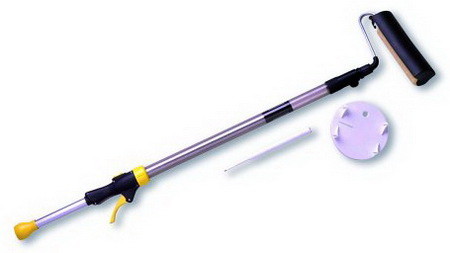
The All-In-One Paint Roller with Paint in the Handle can help speed up the painting process
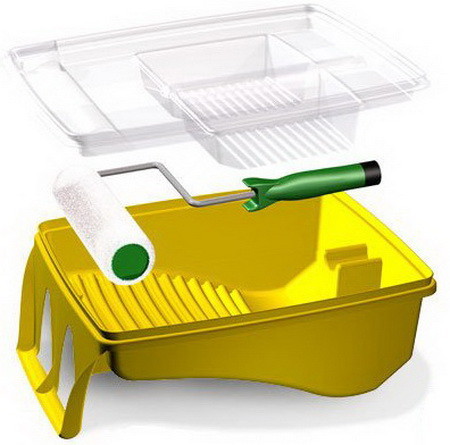
This resealable paint roller tray can make your job easier by having a cover to help the paint not dry
Adding a sheet of aluminum foil to the bottom of your paint tray will keep your paint tray clean
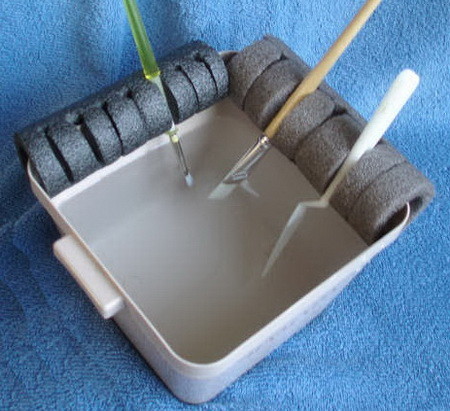
Using rolls of plumbing pipe insulation tubing can make your painting tray more user friendly
Cordless all in one paint roller with the paint in the handle make the job easier
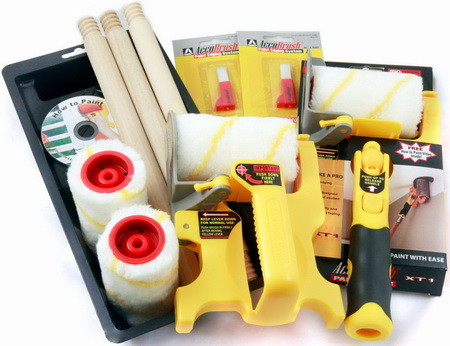
A complete painting and edging kit can make the process of painting a room so much easier
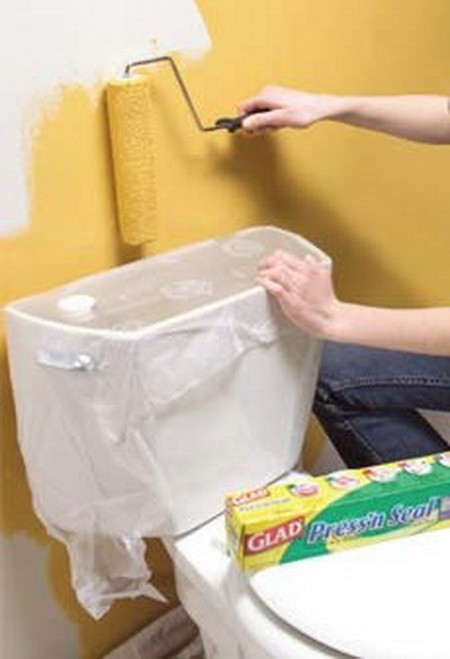
Putting a plastic sealing material around fixtures instead of tape and paper can save prep time
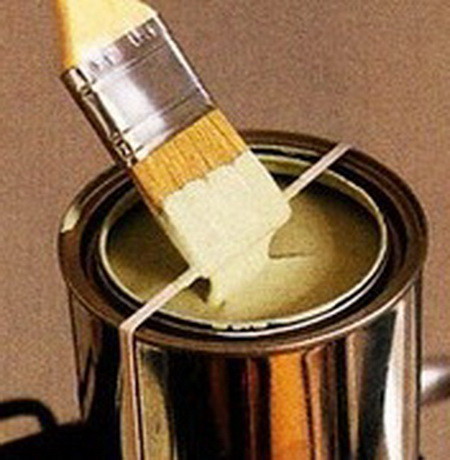
When painting with a paint brush and bucket use the rubber band method to keep your brush clean
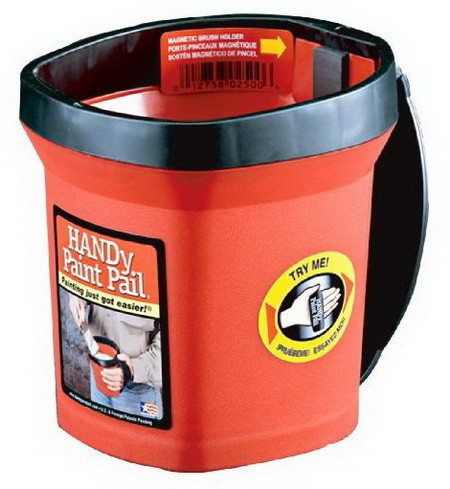
A modern paint pail can be a great way to keep things clean and organized
Even has a hand holder to grasp easier
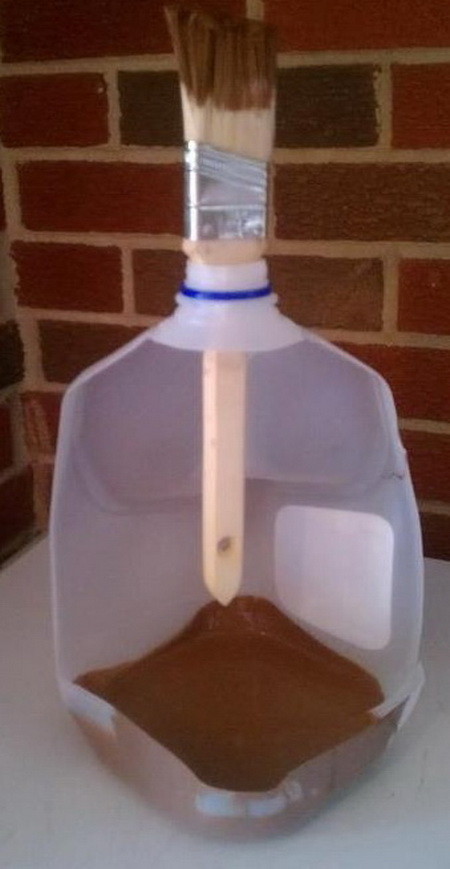
Make a simple paint and brush holder out of a plastic milk carton




When you first open a can of paint, before pouring, take a nail and hammer and gently hammer the nail through the deepest groove where the can lid sits. Put about 4 to 6 holes evenly spaced around the top of the can, this way the excess paint after pouring will drain back into the paint can and you won’t have a mess when you hammer the lid back down.
This is great, thanks for sharing! I seriously need a step by step instruction book to make this happen. I love learning new things but I make big messes and mistakes. I need to know what I’m doing when I start my painting with contractors thank goodness, this is going to help! Wish me luck!