If you are going to be spending a lot of time in your garden this year planting vegetables and more, then we have a great project here to help you start planting right way. An easy diy project called a Raised Planter Bed that will fit in just about any sized yard. The wood cost $50 dollars at our local home improvement store and this gardening project did not take long at all, only about 3 hours.
Make sure to measure your garden area or area you will be placing the planter bed and write down the measurements so you know what size and quantity of wood you will need to purchase. We have not included the exact measurements of our diy Planter bed as everyone’s gardening area is different. This step by step is meant to give you ideas and inspire you. Also, you can use any type of wood that suites you or is cheaper, just make sure to use a wood stain and finish on the wood to protect and seal the wood when you are finished building it. See below for the step by step photos. You may also be interested in our Vertical Garden Pyramid Planter.
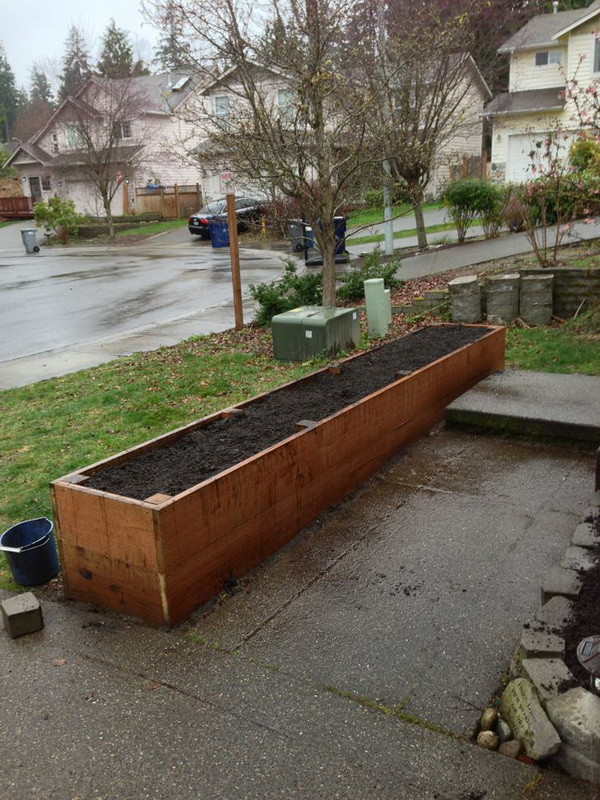
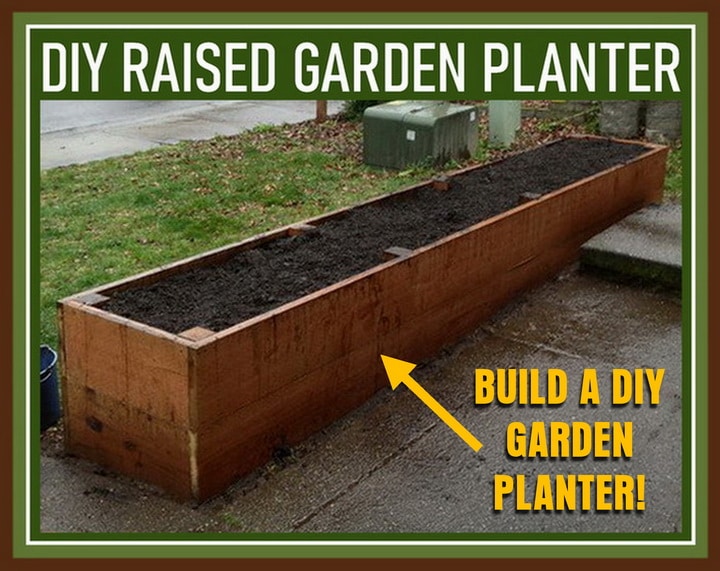 Finished Raised Garden Planter Bed
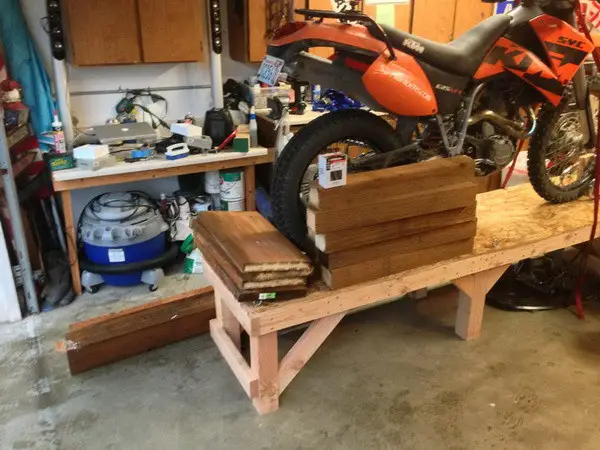
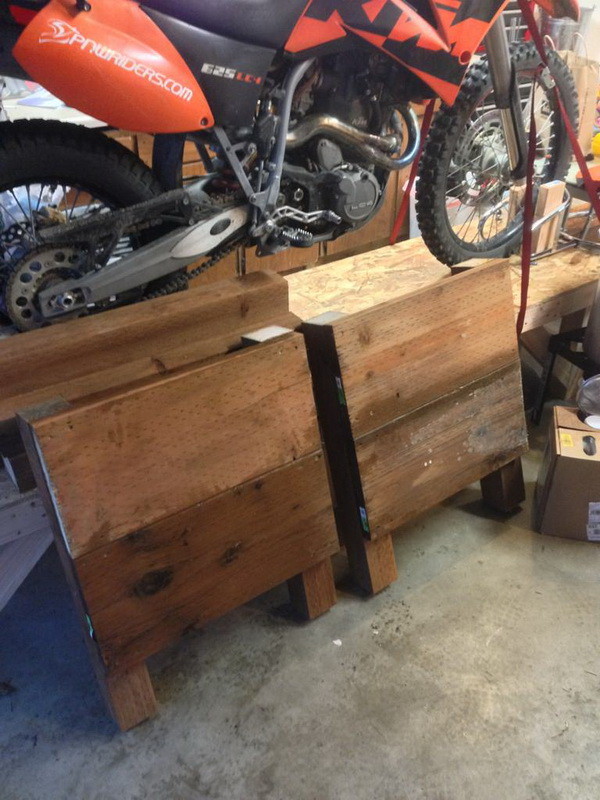
Step 1 – All of our wood pieces cut. Now time to start assembling our Raised Planter Bed.
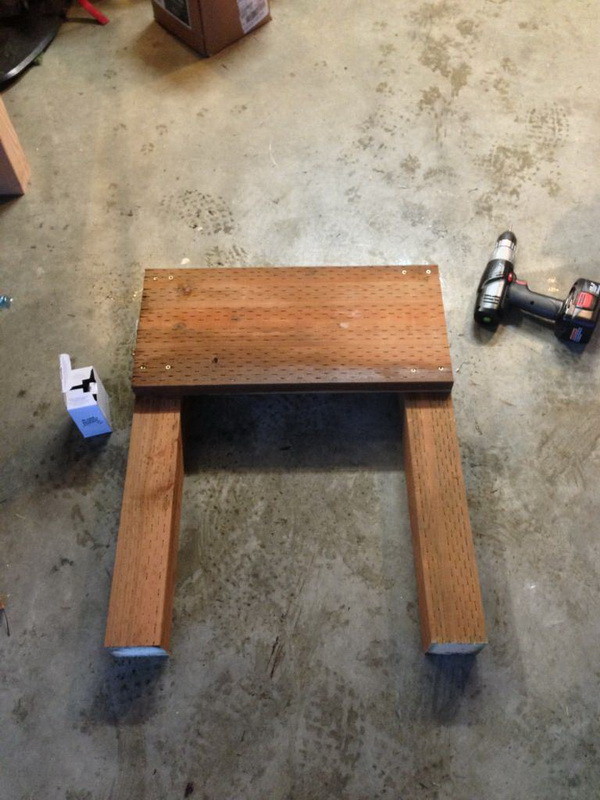
Step 2 – First screws are in. This will be one of the end pieces of our planter.
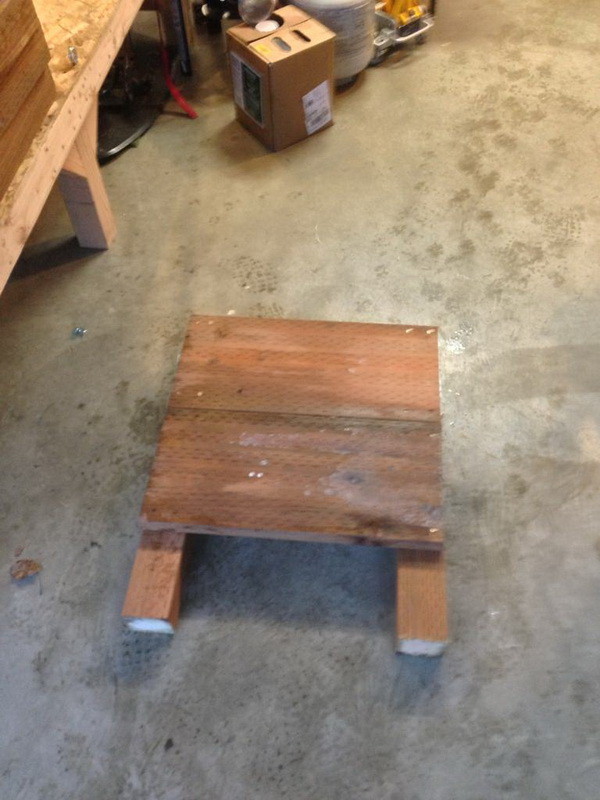
Step 3 – More end pieces being put together.
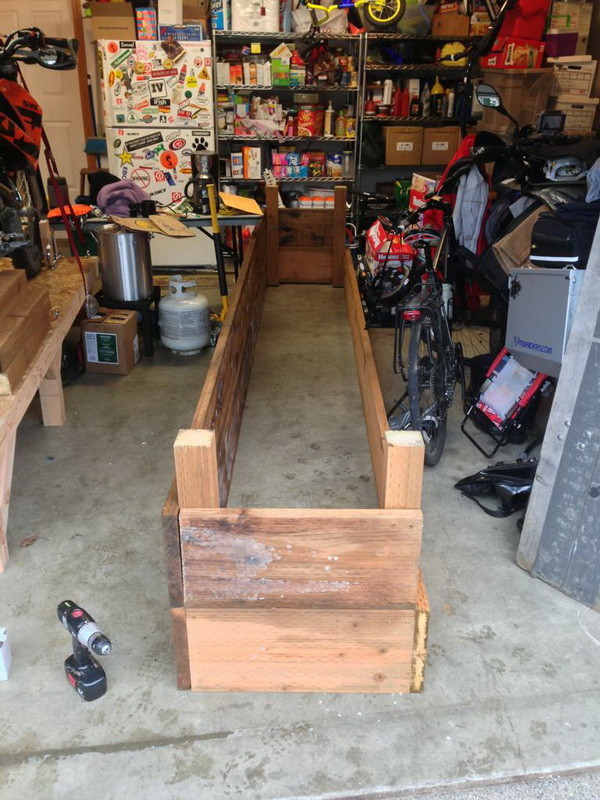
Step 4 – Both end pieces ready for the sides to be attached.
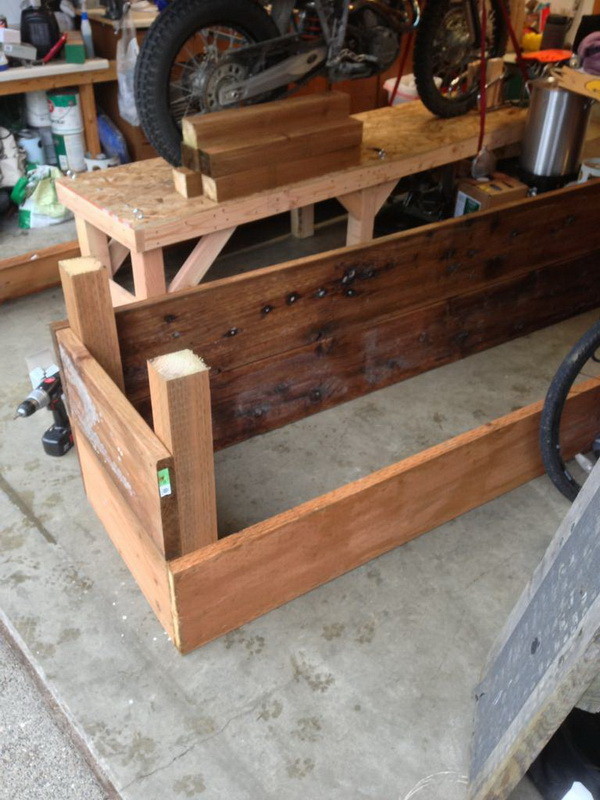
Step 5 – Sides are being screwed together.
Step 6 – Sides are screwed together on our diy planter bed.
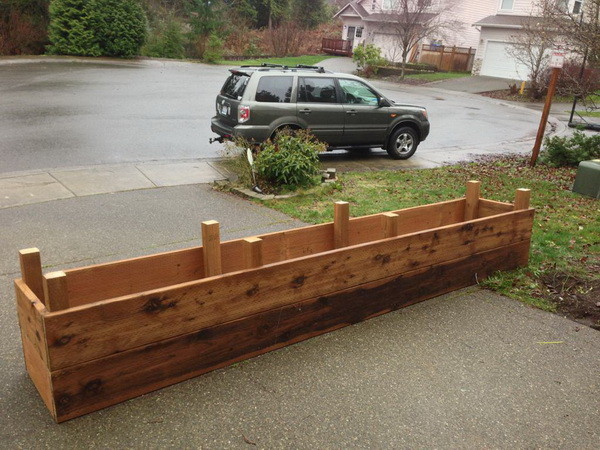
Step 7 – Fully assembled and placed upside down waiting for the holes to be dug for the posts to fit into.
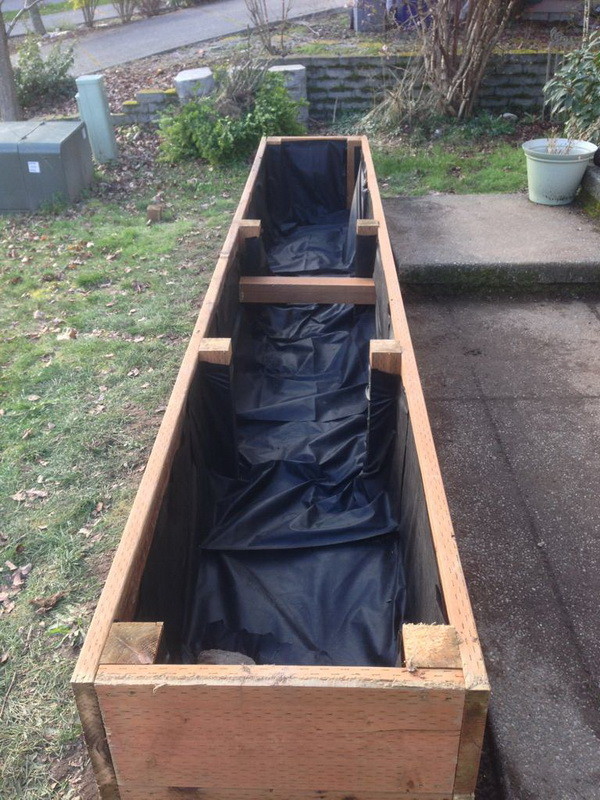
Step 8 – Added some black liner to the bottom of planter for weed control.
Step 9 – Finished planter and filled with gardening dirt – Ready to plant our Garden!!
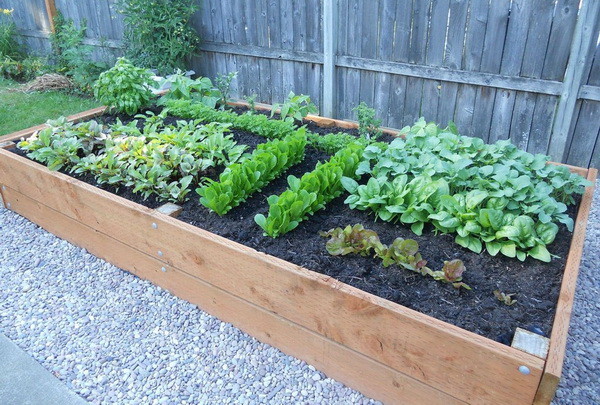
Update: Here is another Large Raised Garden Planter we made with our Garden growing in it!
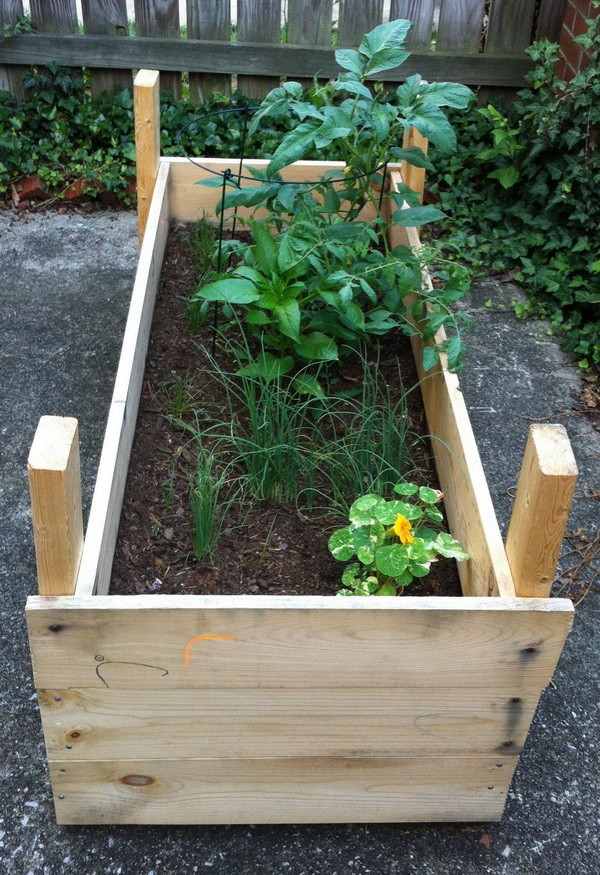
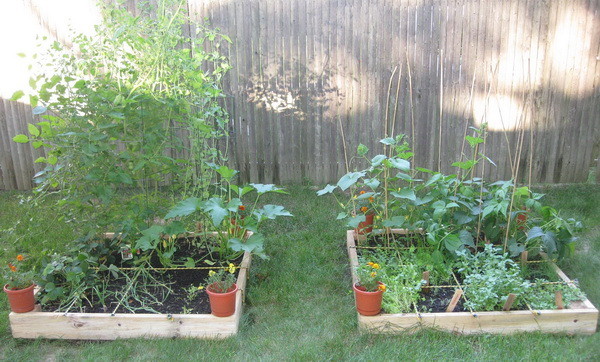
Update: Here is another Mini Raised Garden Planter we created with our little garden growing.
Another very simple smaller raised garden planter for a medium sized garden area.
We used pressure treated 2×6’s for the sides and 4×4’s for the corners with some treated deck screws.
The 4×4’s hang a few inches below the sides to keep the boxes from moving.
We got all of the lumber for our small garden planters from Home Depot and it cost around $30.
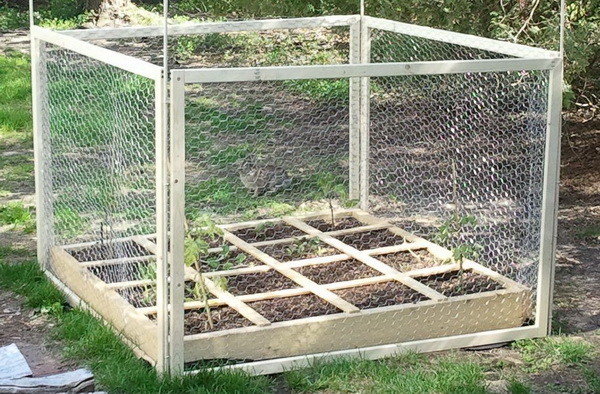
Square foot gardening raised planter with wooden chicken wire fence.
 Time Lapse Square Foot Gardening of 42 Days!
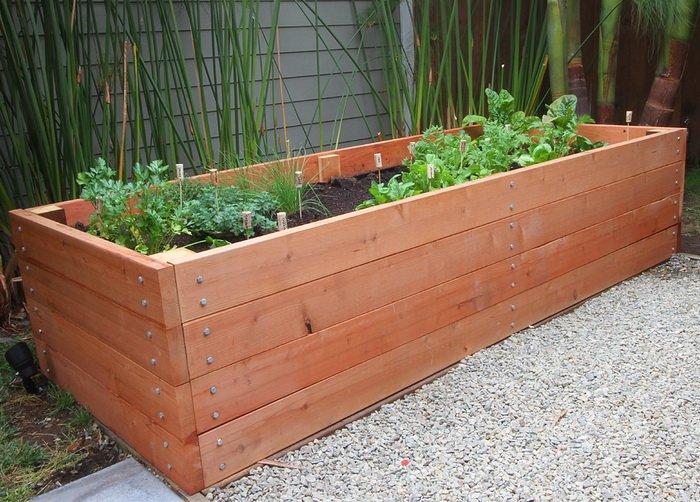
Sent in by a reader: Huge Garden Planter Box made of Redwood and 8′ feet long by 3′ feet wide.
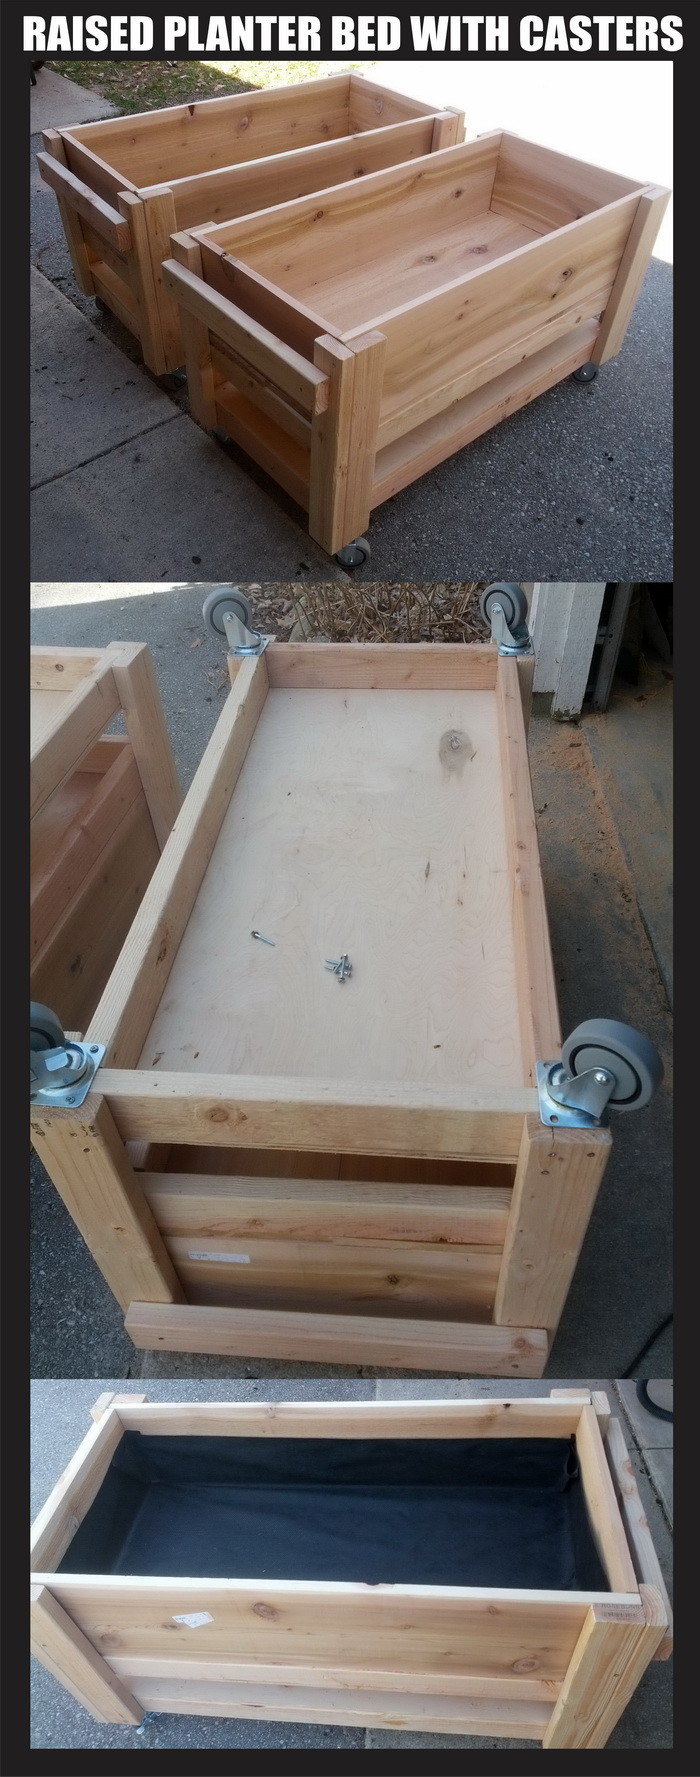
Raised planter boxes on wheels / casters.
Size is 2′ x 4′ each, just over 2’ft 4″ tall with the casters installed on the bottom.
Soil depth container is 12″ and the bottom shelf has about 3″ of clearance to hold drain water trays.



If I use a galvanized steel stock tank for a planter, with a solid bottom, do I need to drill holes in the bottom of the stock tank for drainage? Do I need to line it with anything?
Can you please show a pic or explain how you supported the center? I see one crossbeam but do the 2 extra vertical supports have cross bottom support? Hoping to do a 1×24 planter 2 ft high and wondering how often to place support. ASsumed every 3 feet.
I am building my planters this fall, laying about 3″ cardboard, then laying yard clippings and cut grass with soil repeatedly. This will reduce the amount of top soil that I need in the spring. Cardboard encourages worms, plastic liners discourage worms.
These are super attractive beds. There is a concern, however, in using pressure treated wood for anything to do with food. One should not combine the two, no matter the cost savings. And while I’m being ecological in concern I’d mention that Home Depot is a poor option for plant purchase. Their use of neo-cotinoids on plants is harmful to bees, an essential pollinator. Give your money to someone who cares about our planet and your health. And enjoy the heck out of those beautiful gardens my lovelies!
N. E.,
Reclaimed wood and left over wood from Home Depot that was previously cut and deeply discounted.
-RR
I really wonder how you made this huge planter box for under $50. I went to my home improvement store yesterday and the cheapest price I could get for materials to make a similar box (8x2x3 ft) was $250. About $180 for the wood and the rest for hardware.
Stan Haff,
Here is a page explaining all about… Can strawberries grow in snowy climates?
-RR
When using raised beds, will the plants such as strawberries survive the winter? We’re in North central IL and are considering garden options.
Cardboard is actually far superior an option it holds water well and is a wood product that naturally breaks down and feeds your soil……plastic will actually cause your soil to suffer after a few years cardboard will help it thrive.
Carol,
It is OK but not recommended. Use a plastic barrier type material and that should work best.
-RR
Is it safe to line the bed with cardboard?
Alice,
If you drill holes for drainage it should be just fine no matter the depth.
-RR
I obtained a homemade shelf made out of plywood, not stained, painted or varnished. With the removable shelves out and repositioning it with back as bottom it’s approx 3′ deep, 4′ wide. I plan to use this as veg planter box. I will drill holes on bottom for drainage but is this too deep? I read about putting packing peanuts in before soil. I’d like to use and end section for potatoes. Any suggestions?
Just love these ideas Found it on Pinterest. Great tutorial! We recently purchased a home and I’m getting ready to do a post about our backyard dreams early next week and I’d like to include a photo of the Raised Planted Bed with a link back to this post.
Susie,
The plastic at the bottom is to prevent weeds. Yes without some sort of barrier at the bottom, you would get unwanted growth such as weeds and other. If this type of gardening system is not for you, maybe consider a square foot garden that will have more dirt to provide more nutrients.
-RR
My parents always had vegetable gardens so I know a little bit. But am very interested in a raised garden. I am not good with a container garden because it seems that the veggies get more nutrients from the ground. If I put black plastic in the bottom of the box I would be defeating that purpose. Would the weeds come up from the bottom and grow up if I did not put the plastic down. Sounds like a silly question.
Thank you! I am so happy I came across your sight on Pinterest, I have been looking for a DIY Raised Planter Bed to do with my son this spring, and yours is just perfect!!
I think it is best to NOT used Pressure treated wood, particularly in a food garden. The chemicals in the wood could leach into your veggies and make them toxic. However! I LOVE the designs! I AM going to incorporate them into my garden!
Andrew,
The wood we used is NOT pressure treated (PT). But concerning your question, if someone was to use a pressure treated wood to make a garden planter…… you can isolate pressure treated wood by lining the inside of the bed with heavy plastic to prevent leaching of chemicals from the wood into the soil. However…. A pressure treated wood does in fact last much longer then untreated wood, so using it might mean fewer trees would be cut. So….. It is always going to be based on availability and personal preference with what type of wood will be used.
-RR
It looks like you are using pressure-treated wood on some of the sides. Shouldn’t you avoid using that type of wood in projects where the toxins from the pressure-treating process may end up in your food?
Hi Jeanette,
The sides of our Raised Garden Planter is 12 inches in total. We used 2 2×6″ boards. You can of course use any size of wood that will suit your garden area. Hope this helps!
Thanks – RR
Could you include a materials list? How wide were your boards for instance?
Great photos!
Image coming soon!
There is just one final and most important picture missing and that’s the one where you planted please included that picture for us to see. thank you truly yours Patricia.