It all started with a wooden log. We needed a dessert stand to hold our cupcakes for a birthday party. It was a garden theme party so we built this. Yes we did this for the kids and took pictures while we were at it. The pictures below show our step by step build.
Material Needed:
1 – Piece of plywood 3ft X 3ft
1 – Wooden log (bark removed) 3ft to 4ft long
4 – Wooden dowels with grooves cut
1 – Can of green spray paint
1 – Bottle wood glue
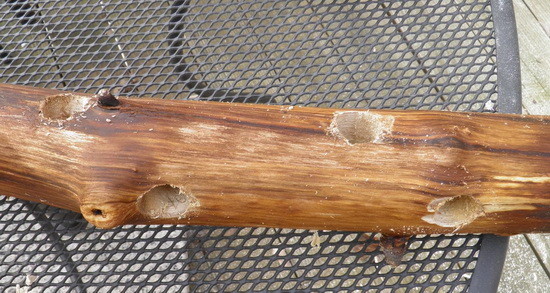
We got a perfect sized log (about 3 feet long) and drilled holes in it.
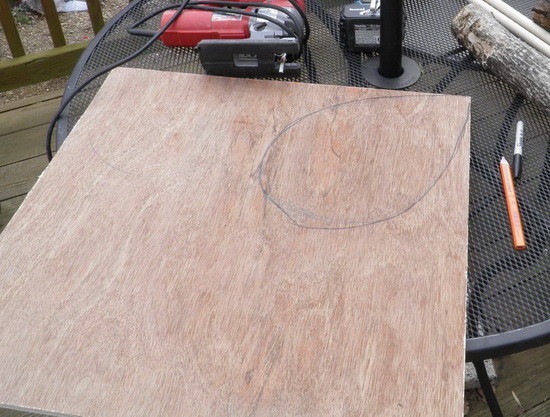
We got our plywood and outlined a leaf shape for the dessert holders.
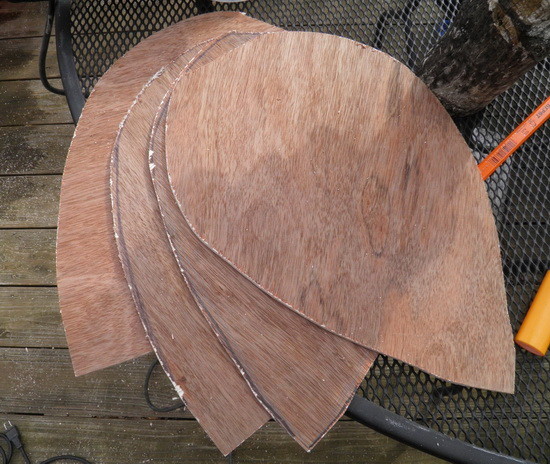
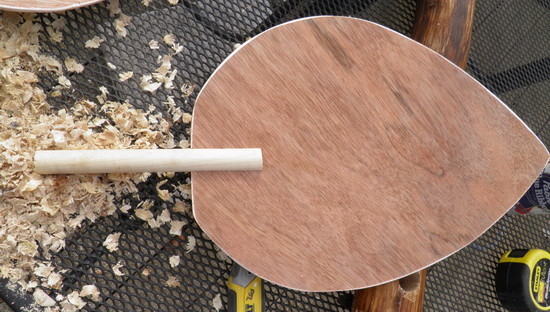
Here are our leaf holders after we used our saw and cut them out of the plywood.
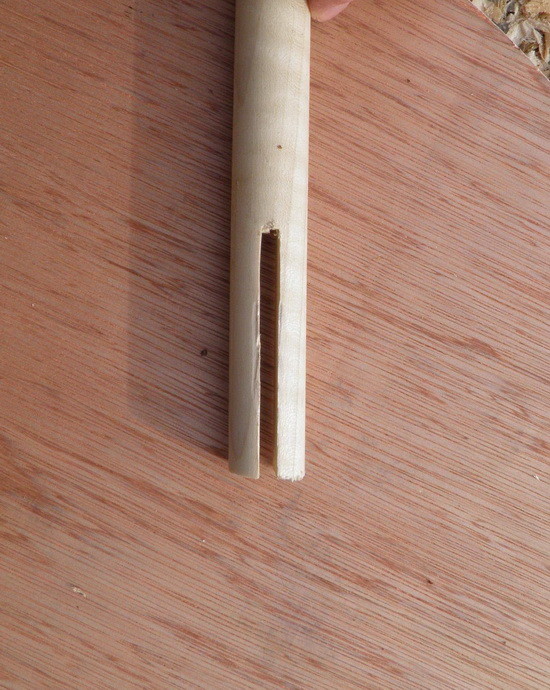
We bought 4 wooden dowels and grooved each one to hold our leaves on.
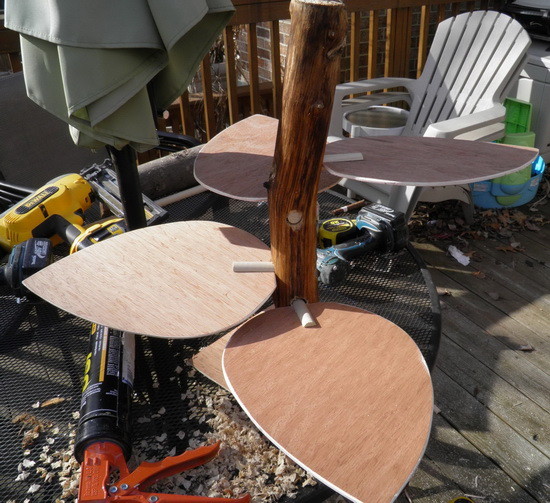
We slid our leaves into the wooden dowels to be sure they fit snugly.
The dowels and leaves fit perfectly into our log stand.
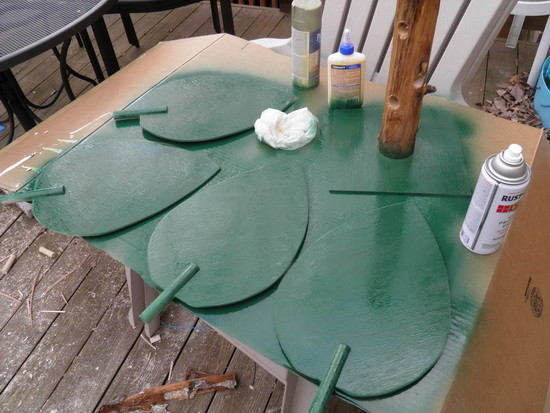
We spray painted our wooden holders green to resemble tree leaves.
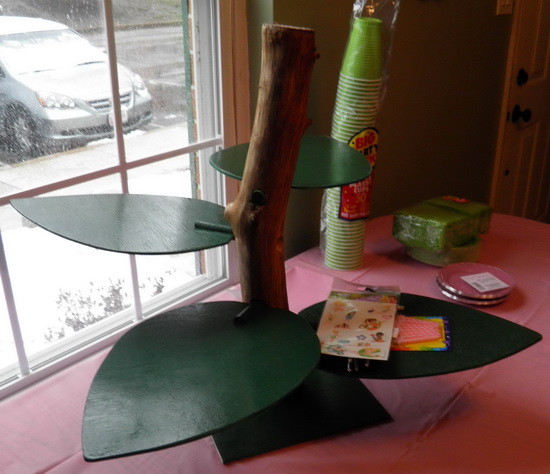
After the paint dried we assembled everything together and placed it on our serving table.
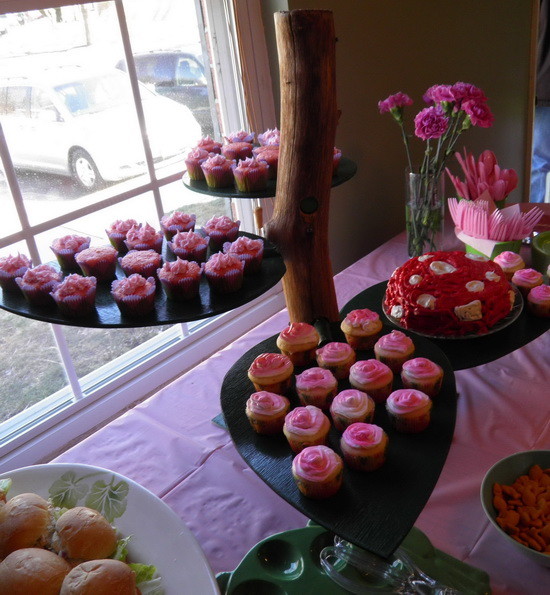
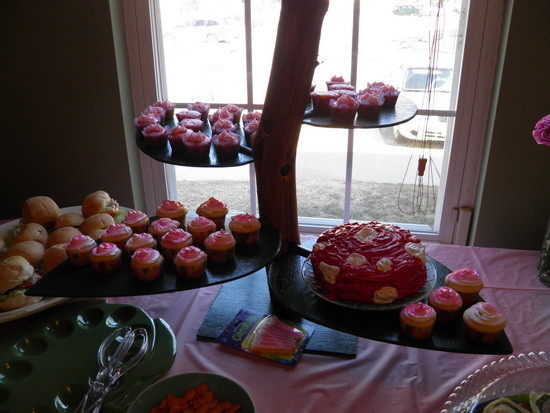
Here is our diy Cupcake Dessert Stand completed with the cupcakes placed on each leaf.
Here is another angle of our Dessert Stand ready for our guests to arrive.



Ashley-
We used a Birch hardwood plywood and the thickness is 3/4 inch. Birch plywood has excellent surface hardness, and damage and wear resistance.
– RR
What thickness plywood did you use?
Hi Susan,
We used a square piece of plywood for the base and simply screwed it into the bottom of our log using 5 wood screws that were 1 1/2 inches long. It is also a good idea to put an all purpose carpentry adhesive on the bottom base stand along with the wood screws. This will assure it won’t be coming apart or tip over. Hope this helps!
-RR
This looks so cool. I’m just curious, as I have not done any carpentry projects in years, how did you attach the branch/log to the wooden stand at the bottom?