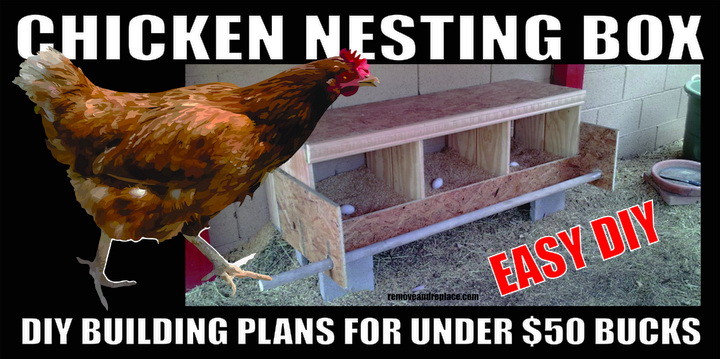
Here is a diy step by step process of building a Chicken Coop Nesting Box (Egg Laying Box). The size, variety and the location of a chicken nesting box will vary depending on your needs. The general idea is to have a clean and dry area where your chickens can lay eggs where they feel safe and secure. You can purchase a fully built “Triplex” chicken nesting box here or a “6 hole” nesting box here. You may also be interested in How To Build a Chicken Coop.
Chicken Nesting Box diy Plans and Dimensions
Here are some general tips for building the best nesting box:
– You will usually need one nesting box for every 2 to 3 chickens or hens.
– A good nesting box should be large enough for your chicken to stand up in without hitting the ceiling of the box. Usually a perfect nesting box size will be 16 x 16 x 16 inches.
– For nesting material it is good to use either soft straw or wood shavings. We use natural RICE HULLS.
– Adding a roost “stepper bar” or a “roost bar” on the front of the box gives the chickens a place to step before entering the nesting box.
– To make sure the nesting material does not fall out and also to give the chicken some security, it is best to add a lip to each nesting box. (see photos below)
– It is best practice to raise the nesting box up and off of the ground.
Chicken Nesting Box with Roost Bar Dimensions: (We will give you dimensions to make 3 nesting boxes in 1 unit with dimension of wood that needs to be cut – Use any type of wood you choose)
1 – Top of nesting box – 50″ x 16″
1 – Bottom of nesting box – 50″ x 16″
1 – Back of nesting box – 50″ x 16″
4 – Sides and inside dividers of nesting box – 16″ x 16″
6 – Side and divider support – 2″ x 8″
1 – Front lip of nesting box – 50″ x 5″
1 – Front top trim of nesting box – 50″ x 3″
2 – Sides to put roost bar through – 14″ x 5″ – with holes at 1 1/2 inches diameter cut with a hole saw
1 – Front roost bar – 60″ long with 5″ hanging out on each side
Below we have the step by step pictures of building our chicken nesting box…….
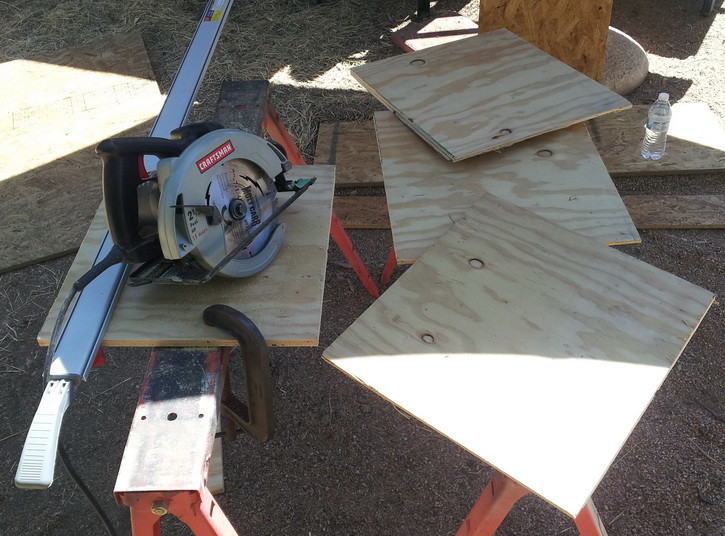
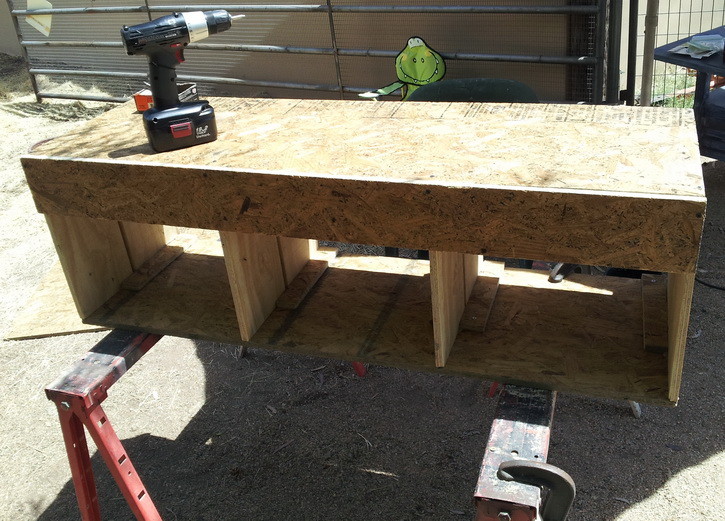
We have cut the bottom and top pieces and here we show the 4 pieces for the sides and the dividers.
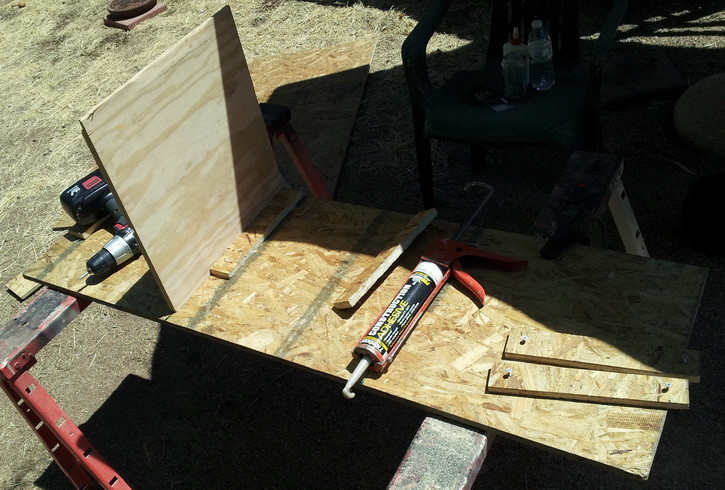
Here we are using wood screws (1″ screws) and applying
a construction adhesive to hold the pieces in place.
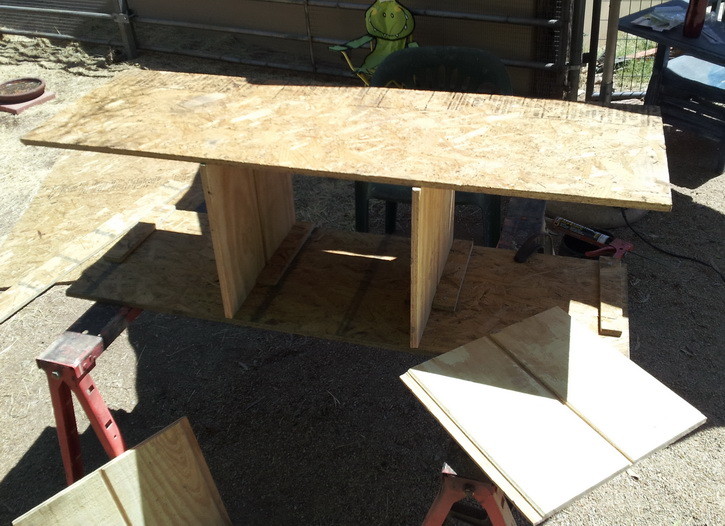
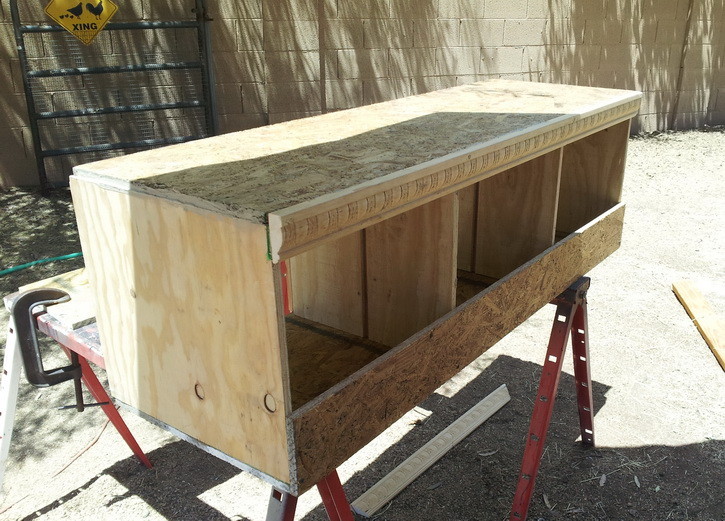
Here we have the bottom and top of our nesting box
in place and held together with screws and a general purpose adhesive.
You can see the “divider wood slats” we are using to securely hold the nesting box dividers in place.
In this photo we have the front “lip” in place and a piece of top molding for a better appearance.
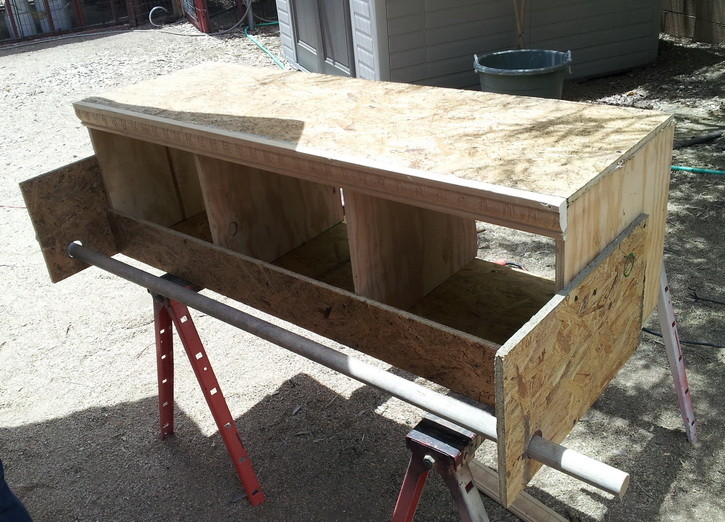
Here is the front “roost bar” attached using our side pieces
we made with holes cut into them with a hole saw.
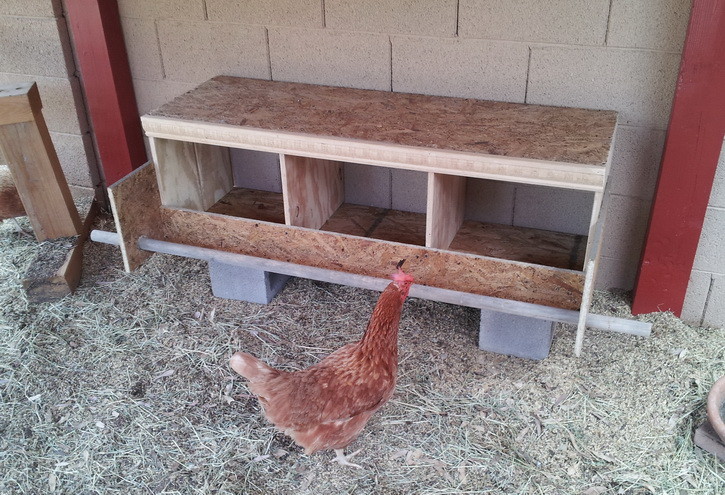
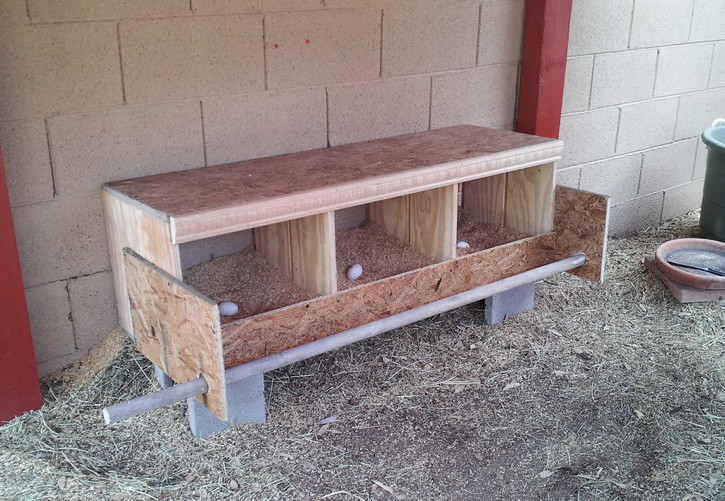
Here is the completed nesting box installed in our coop
and notice it has been raised by using 2 simple bricks to raise it up off the ground.
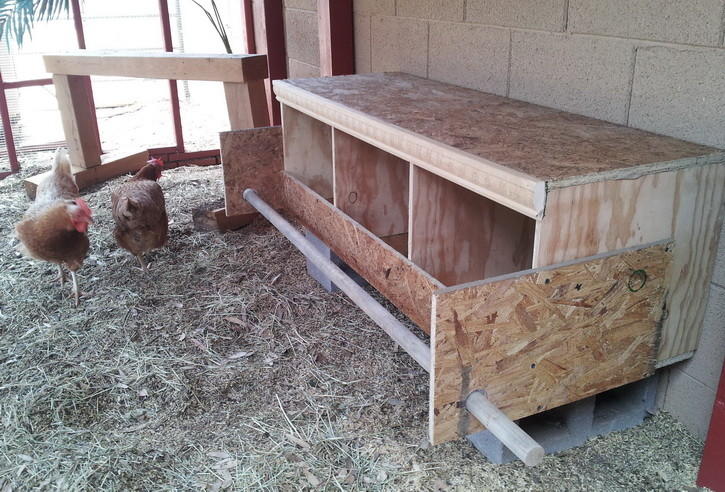
A side view of our nesting box with the chickens checking it out for the first time.
We placed “fake” plastic eggs in our nesting box to
encourage the chickens to lay eggs in the new area.
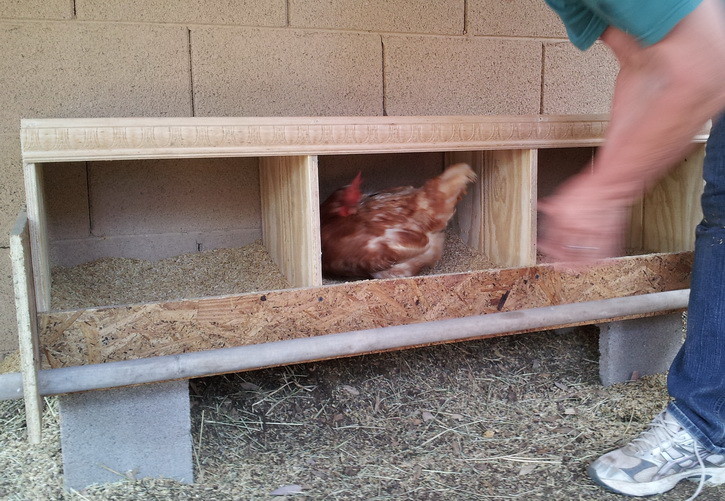
One of our chickens entering the nesting box for the first time.
The roost bar is needed to help them get into the box.
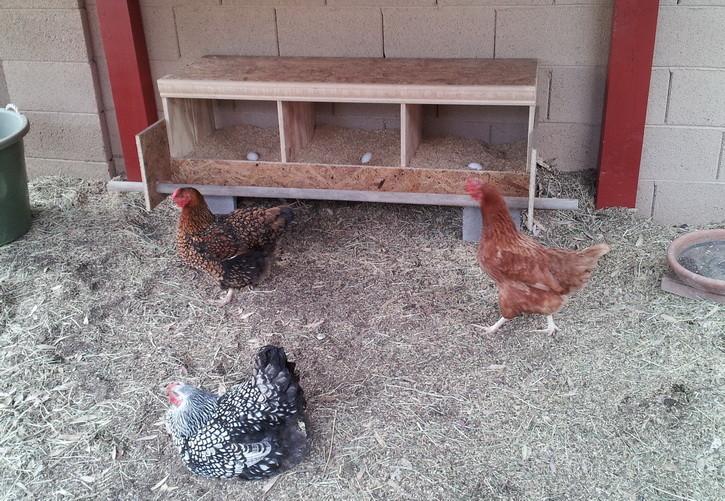
Another view of our Chicken Nesting Box with the chickens
hanging out and getting used to the new area.



I’m in Uganda, I want to start small Village Chicken Keeping due to poverty and dropped out from school. But I lack skills and experience of management Also lacks materials and equipments.
I would like you to help me as much as you can.
Great detailed instruction. My mom and dad would love to check on this. They are planning to build a chicken house that will give the chickens a comfortable place to stay all year round.
Alicia,
Since using any type of chemical sealer or paint is not a good idea for obvious reasons… A corrugated metal or plastic sheeting roof could be added to the top of your coop. You could then have an overhang all the way around the coop that keeps the rain out and provides some shade. For the sake of ease and accessibility, you could use a fan in the summer and blankets placed in certain areas for winter.
-RR
The coop was built with chicken wire, 2x4s, and ply wood. The coop dimensions I stated earlier were typed incorrectly it’s 15′ x 7′. The nesting area I will use plywood and 2x4s. I want to make it so it’s warm in winter and cool in summer. Also easy access to eggs and also to clean out.
Hi Alicia,
What type of material or type of wood are you building your chicken coop with?
-RR
Thank you for the step by step instructions with pix! Very helpful. My husband and I are first time chicken owners. We have built the coop for them approx 15′ x 7′.
The next step we need to build is the nesting box. I want to build pretty much exactly what you have shown but my question is what about weather proofing. How can I adjust the (from the example you provided) nesting area to be warm in winter cooler in summer and keep rain from getting on them? Any other suggestions and advice will be welcomed ;)
Thank you
Nice job. Just a couple of suggestions. First, yes make a sloped roof. This keeps the chickens from roosting up there and messing all over the place. You don’t want to have to scrape 3″ layers of mess off of the top of your nesting box.
Second, A round roost bar is good, but you must fasten it down. If you let it rotate like you have it installed not, it will rotate and the chickens will fall off. I know, I did the same thing.
Overall, good project and proud to see you do it.
I tried to make a feeder and a nest box and did a horrible job. I scrapped it all and just went online to find some who could make me one and one that would work well.
I searched out many but what was great I found a place that was actually within 35 miles from my home. I live in Norman, OK and “The Carpenter Shop” is located in OKC, OK
I went to pick them up and the “rat proof” chicken feeder has a treadle that swings open the door when the chickens step on it, when they are finished eating they leave and the door swings closed so there is no access for the rats, therefore making it a rat free area. Since I was there they also had “nest boxes” that were 2, 4 and 6 hole. I just got the 2 hole nest since I only have 4 hens. All is working just great and they are easy to clean since they are made from galvanized metal. Great find.