When your car sits in the sun your headlights become pitted, oxidized and cloudy. There are shops around town that will repair, restore and fix this for you but why pay them when you can do this yourself? With a few hours time and the proper equipment you can do this yourself for a fraction of the cost. A vehicle headlamp restoration is a simple project everyone can do themselves. This DIY headlight project not only gets your lights looking new, but you will actually be able to see better when driving at night. This not only helps for safety reasons, but it makes your older car appear well taken care of and will give it a better resale value if you are going to be selling your vehicle. Here we will show you everything needed to repair your headlights in step-by-step photos and tell you where to purchase the supplies needed to DIY.
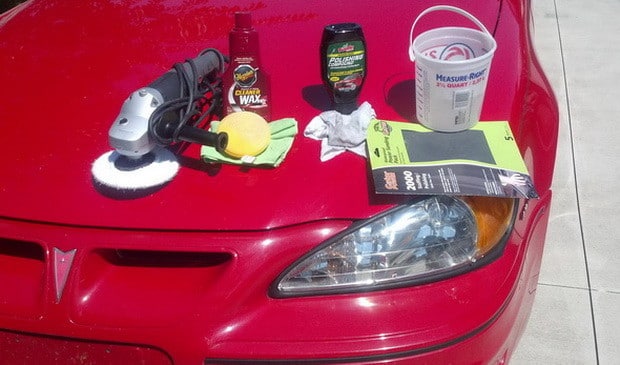
Supplies needed to Repair Cloudy Car Headlights Yourself:
1 – Package of 2000 grit sandpaper = $4.00
1 – Small bucket of water = $2.00
1 – Bottle of buffing (polishing) compound = $5.00
1 – Bottle of wax (cleaner) = $5.00
1 – Terry cloth buffer pad (for attaching to cordless drill) = $5.00
1 – Soft polishing cloth = $2.00
or….. the super easy all in one Complete Headlight Restoration Kit is available here for $20.00
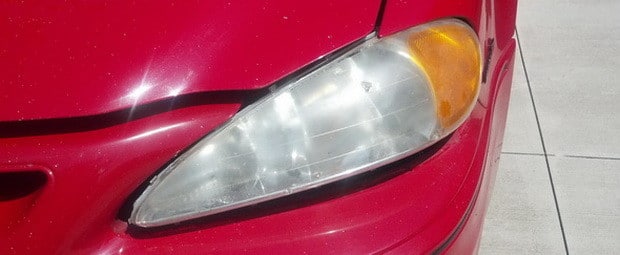 Here is a picture of our cars cloudy and heavily oxidized headlights.
The BEST way to properly do this is to fully remove the headlight from the car so you don’t scratch the paint.
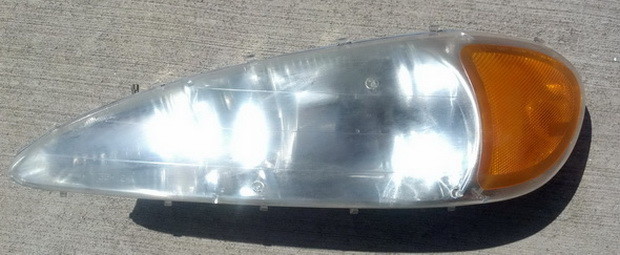 With the headlight fully removed, place it on a cardboard or protective surface so it does not get damaged.
The FIRST step is to wet sand the headlight using 2000 grit sandpaper.
Get a small bucket filled with water, get the sandpaper wet and evenly sand the headlight lightly until smooth.
This may take 10 minutes to get the headlight smooth and remove the surface pitting.
NOTE: If the headlight lens is not smooth before applying the polish wax, it will not look clear.
Find out how to remove your cars headlights by doing a search for your specific car online.
If you know how to do this sort of thing without instruction then simply look behind the headlight for the attach bolts.
This should be fairly simple for anyone as usually there are 3 bolts or screws holding the headlight in place.
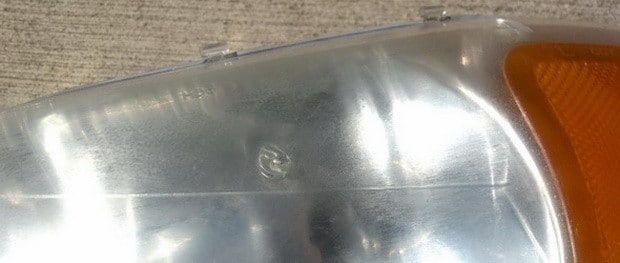 Here is a closeup of our headlight after we finished wet sanding for about 10 minutes.
You will know when you are done wet sanding as the surface will be smooth and the pitting is gone.
FACT: Most headlights turn a yellow color because of the sun and the tiny particles you hit when you drive.
This is common with all cars and most people do nothing about it or simply don’t know how.
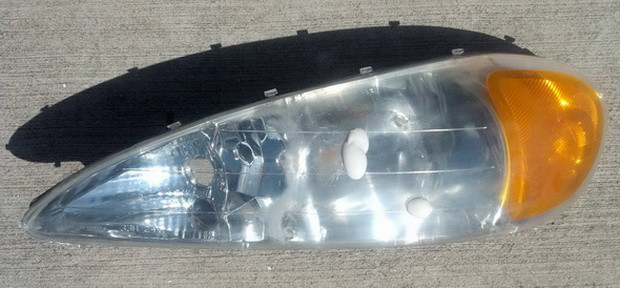 Next, add a few drops of the buffing compound onto the lens of the headlight.
Follow the directions printed on the bottle and use the polisher wheel to apply the compound as directed.
Use a low setting on your buffer when applying the buffing compound.
Then let the buffing compound fully air dry for 10 minutes.
Then apply the waxing compound to the lens and wax it as many times as needed.
NOTE: The wax is what will protect your headlights from the UV sun rays so apply it heavily.
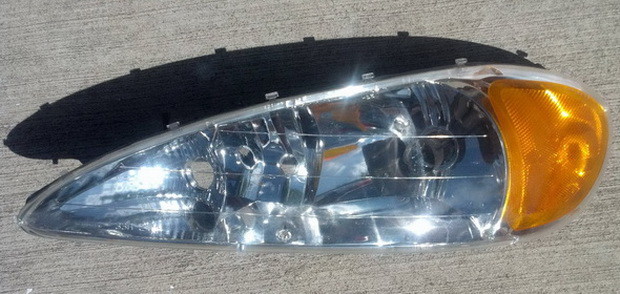 After waxing the headlight as directed, our headlights looked like BRAND NEW!
We waxed the lens surface for about 10 minutes and applied an even pressure so we did not burn the lens.
DO NOT apply heavy pressure or you will burn the plastic and destroy the lens.
Always apply even and balanced pressure when applying polishing compounds to the lens.
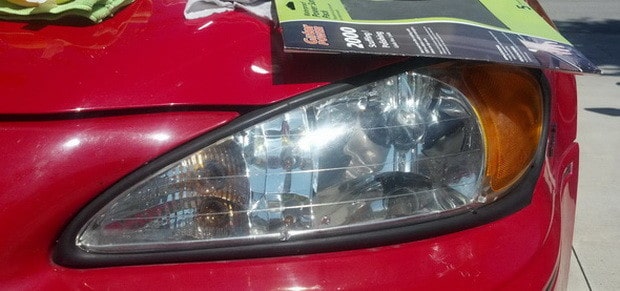 We then put our headlights back into our vehicle and secured it with the 3 attach bolts.
NOTE: Make sure the headlight is properly back in place before shutting the cars hood or damage will occur.
 Here is our freshly polished headlight looking brand new and super clear.
This DIY Car Headlight project only took us a couple hours and was very easy.
We would recommend doing this yourself as you will save money and see better driving at night.
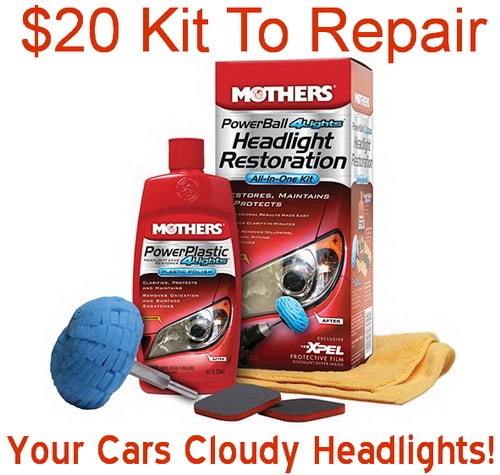 Here is the best kit on the market to repair your cars headlights yourself.


Leave a Reply