A fun and creative DIY project that can be done with for around $50 dollars is the penny top coffee table. This is a fairly simple project and can be completed with any type of flat topped coffee table no matter how large. We purchased a used coffee table in fair condition for $10 dollars at a yard sale. Once we had our coffee table we then needed pennies, LOTS AND LOTS OF PENNIES! We went to the bank and asked the teller for 2000 pennies = $20 dollars worth. The teller was not very happy! Next we went to Home Depot and purchased our Super Glaze (Ultra Gloss Epoxy) for around $25 dollars. This type of epoxy is self leveling as any type of liquid would be. When we were done with this project we were set back around $50 dollars total (Not bad for a customized coffee table with a coin penny top!) and this project took around 3 days total but only because we had to let the epoxy dry for that long. Super gluing 2000 pennies onto the top of the table took us about a day which was the most tedious part of the complete project. We also painted the bottom portion of our table too but we used leftover paint from another project so it did not factor into the cost of this project. Ready to create one of these yourself? Then see below for our cool photo step-by-step method for doing this yourself…
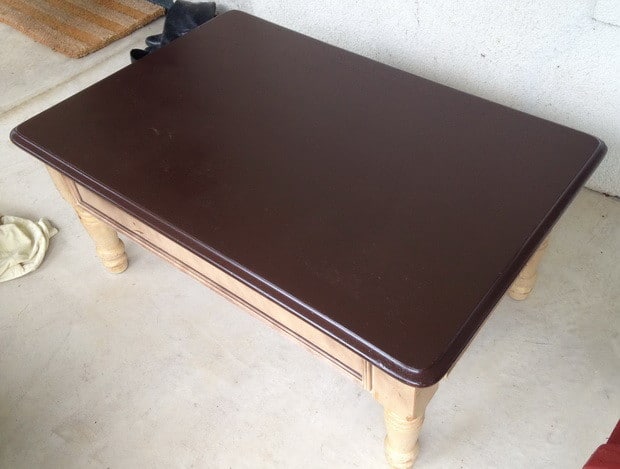 Here is our $10 dollar yard sale coffee table. The top was nice and smooth so we left it as is.
We measured it out and figured how many pennies we would need = 2000 pennies!
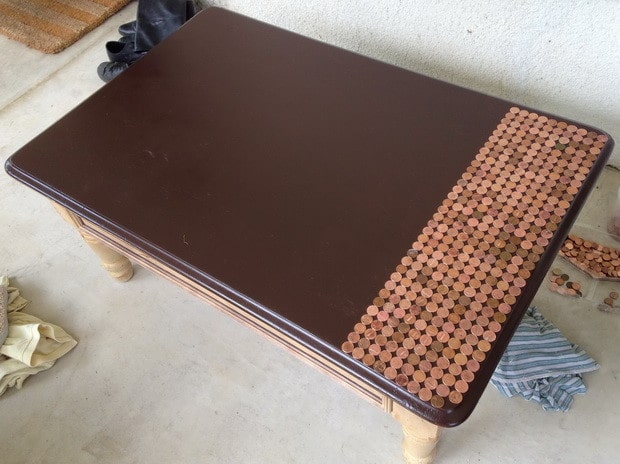 Next we started laying out the pennies and securing them to the table with common super glue.
This took us a full day as the pennies had to be aligned perfectly and be touching one another.
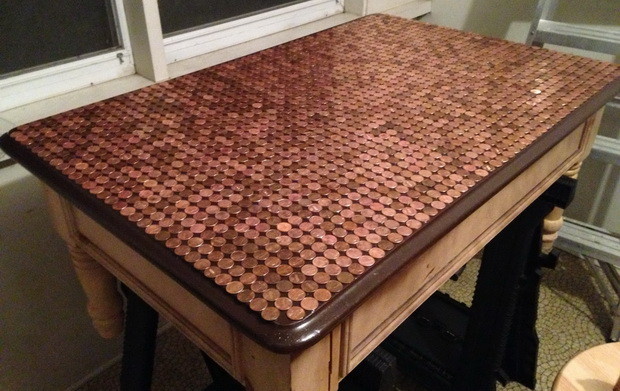 Here is our coffee table with all 2000 pennies super glued onto the top and perfectly arranged.
Note: When doing this, measure it out first to make sure your pennies are perfectly aligned!
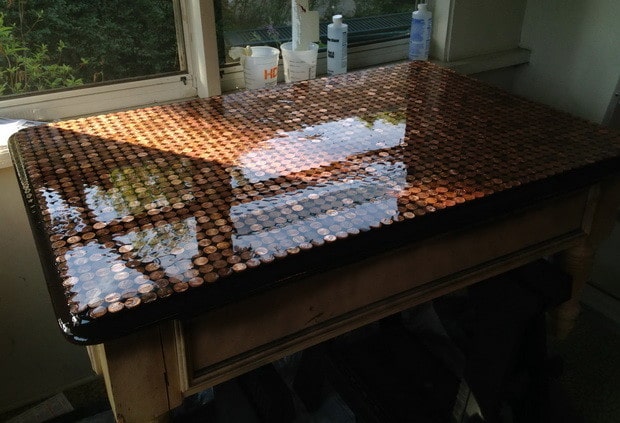 The next step was to mix up and pour our “Super Glaze” on top of our pennies for a nice hard top surface.
Note: When pouring the epoxy mixture, make sure your table is level or you will have problems!
The best way to do this is to get a level and lay it on the surface of the table, add shims under the legs if necessary.
We added wood “pour borders’ to the sides of our table top so the epoxy would not drip. (not shown in photo.)
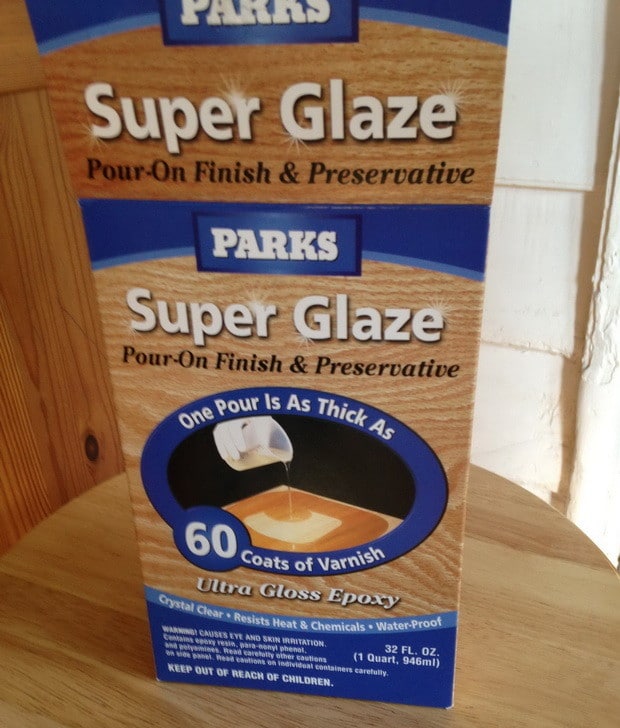 Here is the super glaze epoxy we used for the top of our DIY penny table.
This package was the perfect amount to cover our table entirely and efficiently.
Note: If your table will contain more that 2000 pennies then you will need another box of the epoxy.
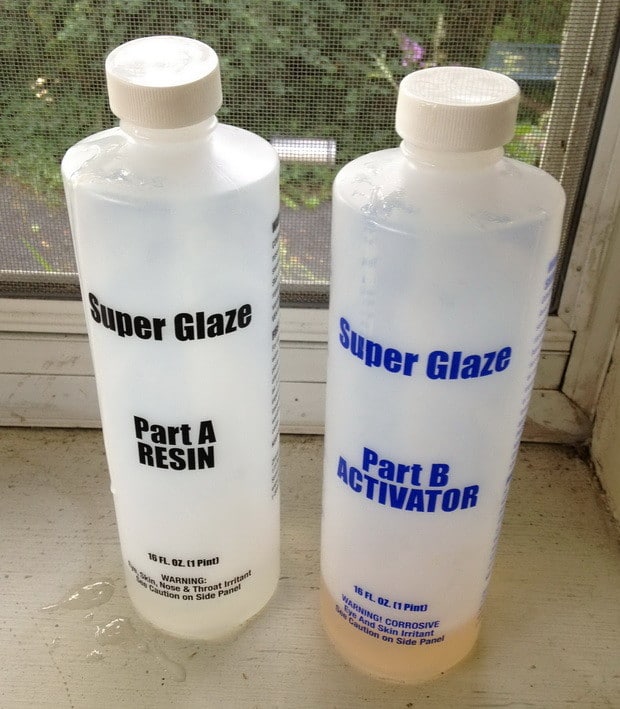 The kit contains one resin and one activator. They are mixed together and begin to harden.
This is just like using a small tube of 5 minute epoxy but on a larger scale.
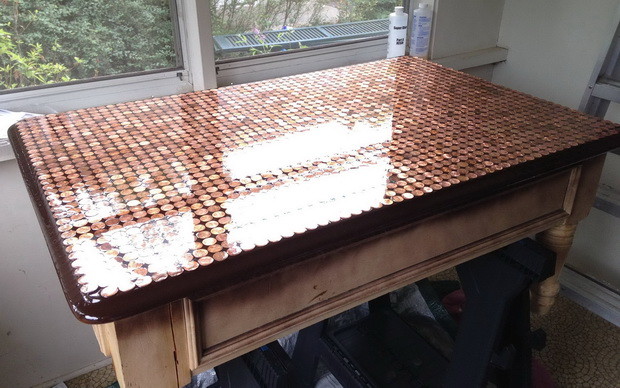 Once you pour the epoxy onto the table, have a blow torch handy.
There will be “epoxy bubbles” here and there after pouring and the only way to remove them is with a blow torch.
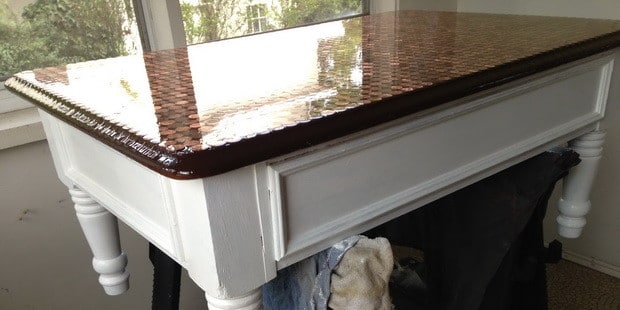 Once the epoxy dried, after 3 full days, we painted the bottom of the table white to match our living room.
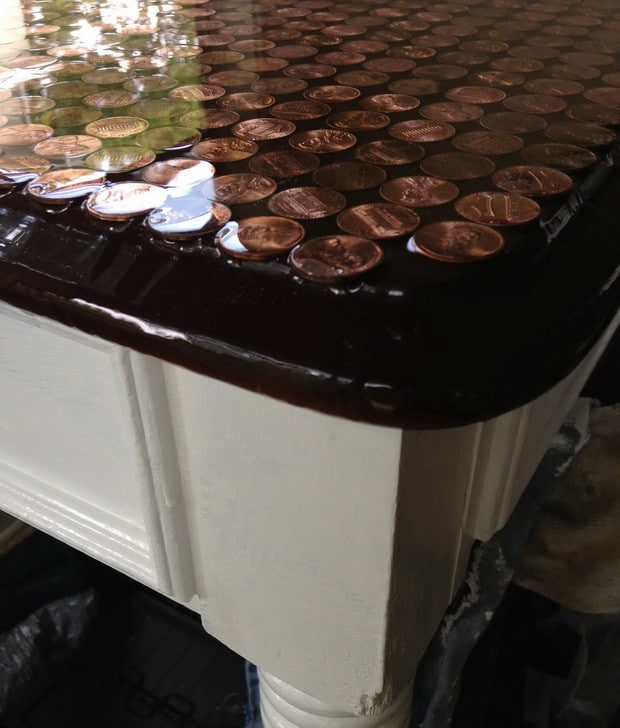 Here is a closeup of the edge of our coffee table that shows what the epoxy looks like on the edges.
As you can see there are a few areas that were not covered perfectly so don’t feel bad if this happens to you.
Once the coffee table is in the living room and things are placed on it no one will notice! :)
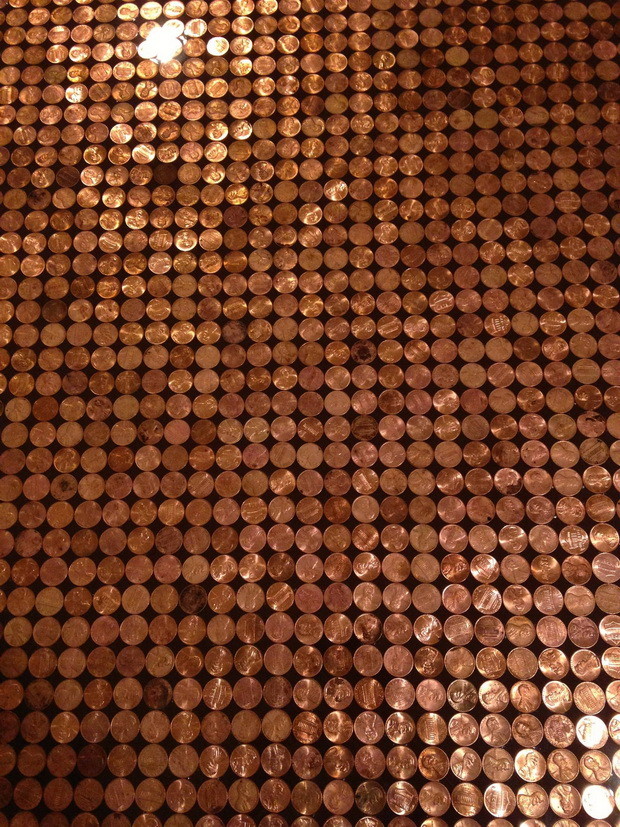 Here is a nice closeup of the center of the table showing all of our pennies nicely aligned.
If you want to be very creative, you can arrange the darker pennies to create a mosaic pattern.
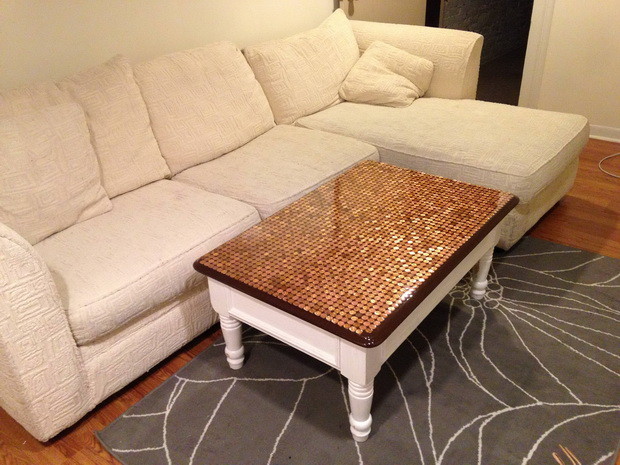 Here is our very unique DIY Coffee Table with a 2000 penny top COMPLETED and in our living room.
It looks great and all of our guests cannot believe we did this for under $50 dollars!!!


Leila,
From almost any Home Improvement store.
SUPER GLAZE
-RR
From where i can buy this Super Glaze??