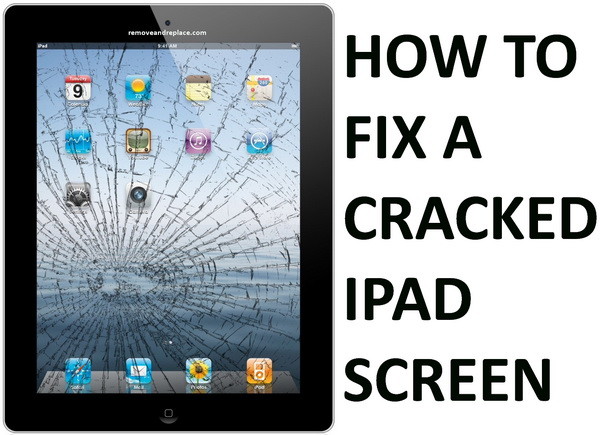
Why pay hundreds of dollars to have someone fix your cracked iPad screen when you can easily do it yourself? No matter how careful you are, a broken or cracked screen or front panel can happen. Most cracked iPad screens happen when it is left on the couch or a chair and someone sits on it. No matter how your expensive iPad screen got cracked, our guide below will help you to get the parts online and do it yourself. This mini guide will show how to fix the screen for the Apple iPad 1st gen, 2nd gen, 3rd gen, 4th gen, and the iPad mini 1st gen. The cost to replace an iPad screen yourself will vary but most replacement screens will cost from $50 to $150 dollars when purchasing online. You will need to determine if the LCD screen is cracked or just the front panel. The guide below will show how the front panel is replaced and the LCD screen replacement also.
- Get the necessary replacement parts and tools.
IPAD REPLACEMENT PARTS: Apple iPad 1st gen parts, Apple iPad 2nd gen parts, Apple iPad 3rd gen parts, Apple iPad 4th gen parts, and the Apple iPad mini 1st gen parts.
IPAD TOOLS: Apple iPad Tool Kit for Repair, iPad Complete Opening Tool Kit, Pry Tool Kit for Apple iPad.

- Back up all data on your iPad using iCloud or iTunes.
- Use a hairdryer or heat gun and heat up the sides of the iPad. Heating the sides of your iPad will loosen the adhesive that holds the panel to the case.
- Insert a thin pry tool into the top corner of the iPad and begin to slowly pry it up. If the front panel does not easily pull apart, keep adding heat with the heat gun to soften the adhesive further. (Do not slide the pry tool to far into the iPad as you may damage internal parts.)
- Once a corner of the iPad has come apart, keep the pry tool under the panel and using another pry tool, slide it downward to unstick the rest of the panel for removal. (Be careful when removing the panel to the right of the home button as the WiFi antenna is located here. Also at the bottom left corner is the cameras digitizer cable and can be damaged when you are removing the front panel. So use caution!)
- Once the front panel is off of the case, you will need to disconnect it from the main circuit board. Do this by removing the LCD displays 4 screws and lift it away from the iPad case. Once the LCD panel has the 4 screws removed, disconnect the LCD plug that is located under where the LCD screen was. Once fully disconnected, set the LCD panel off to the side.
- The front panel is now ready to be removed. Flip up the 2 locking levers that hold the front panel to the case body. Also remove the cameras digitizer cable located at the bottom left by peeling it away from the main boards metal shielding.
- Now that the cracked front panel is completely removed, you will need to remove the home button with a phillips screwdriver by taking out 2 screws. Then heat up the bracket holding the home button to the case and pry it off using a small pry tool. Then, remove the metal camera plate at the top. Remove any and all adhesive that is still on the iPad body by heating it up and scraping it off.
- Once everything is removed and ready for replacement, attach the home button and metal camera plate to the new front panel. (Your replacement kit should include pre-cut adhesive strips.)
- Reconnect the digitizer cable and flip the 2 locking levers down to secure the front panel to the iPad case.
- Reconnect the LCD screen by screwing down the 4 screws you took out earlier.
- Then gently fold the front panel over and onto the iPad to make sure it fits and aligns correctly. Also, turn the iPad on and make sure it boots up and works properly. Make sure you can see the screen clearly and the iPad LCD and front panel look like as it should before it got cracked. If the screen looks good then turn off the iPad.
- Once everything is aligned, clean, and looking good, apply the adhesive strips to the iPad body. Once the strips are down and aligned, clean the LCD screen and front panel glass to make sure there is no lint or dust that will get trapped between when you flip the front panel on.
- Slowly flip the front panel onto the iPad case by making sure the panel aligns and sticks to the adhesive strips to hold it down securely. Once the front panel is secure to the case, turn the iPad on and inspect the screen. Congratulations! You have successfully replaced an iPad screen yourself.
Fix Cracked iPad screen (front panel)
“How to” Step by step replacement video


Leave a Reply