Question: My 2 handle bathroom faucet is leaking. The faucet is a Delta Bathroom Faucet and it has two knobs or handles. When I turn on the cold water handle, water leaks from under the handle. If the cold water handle is not turned on it does not leak. The hot water side does not leak. If the cold water handle or knob on my bathroom faucet leaks when turned on, what is the easiest way to fix it? I want to fix it without spending much money or buying a new bathroom faucet? Can you tell me how to take it apart and what parts I may need to fix or replace?
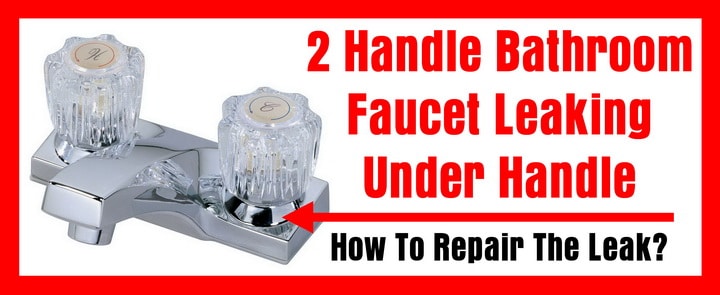 2 Handle Bathroom Faucet Leaking Under Handle
How To Repair A Leaky Two Handled Faucet?
Answer: The most common reason for a faucet to leak under the handle or knob is because of a worn rubber o-ring or seat washer. Replacing the rubber o-ring or seat washer will fix the leak. Here are 2 methods for how to take a 2 handled faucet apart and how to replace the worn out o-ring and or seat washer…
Faucet Leaking Under Handle Repair Method 1:
Step 1 – Turn the water off using the water valve under the sink.
Step 2 – Take off the handle by using the proper size allen wrench. (Remove decorative cap on top of handle if applicable)
Step 3 – Pull the handle up and off. (You may need to wiggle the handle while pulling to remove it easier)
Step 4 – The packing nut that the stem goes through will now be visible.
Step 5 – Use a wrench or pliers to remove it.
Step 6 – Do not scratch the nut, use a paper towel over the tool when removing it.
Step 7 – On the stem you will see a small rubber o-ring.
Step 8 – Replace the worn o-ring with a new o-ring. (Be sure to use the same size o-ring or it may cause leaks)
Step 9 – If there is an o-ring inside the packing nut, replace that o-ring also.
Step 10 – Check the threads and if corroded clean with a wire brush.
Step 11 – Use thread compound or silicone grease to lubricate the threads.
Step 12 – Put the faucet back together.
Step 13 – Turn the water back on under the sink to the faucet.
Step 14 – Test the faucet for leaks and good to go…
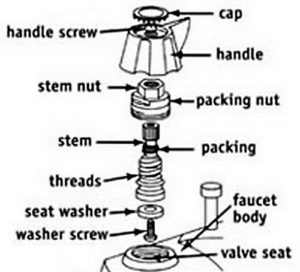 2 Handle Faucet Parts Names and Identification
Faucet Leaking Under Handle Repair Method 2:
Step 1 – Turn off the water to the faucet under the sink.
Step 2 – Use a flat screwdriver and use a prying motion to remove the decorative cap on top of the handle.
Step 3 – A handle screw will now be visible, remove the handle screw with a screwdriver.
Step 4 – Pull off the complete handle.
Step 5 – Use the proper wrench size and unscrew the packing nut.
Step 6 – Unscrew the stem.
Step 7 – Remove the seat washer and replace it with a new one. (The seat washer is held in place by a brass screw)
Step 8 – Take the stem out of the packing nut.
Step 9 – Replace the worn o-ring with a new o-ring.
Step 10 – Use thread compound or silicone grease to lubricate.
Step 11 – Put the faucet back together and tighten the packing nut.
Step 12 – Turn the water back on under the sink to the faucet.
Step 13 – Test the faucet for leaks and good to go…
NOTE: There are both 2 handled STEM FAUCETS and COMPRESSION FAUCETS, the info on this page will work with small variations to fix both.
The above water faucet leak repair instructions are for both sink faucets in bathrooms and in kitchens with 2 knobs or handles.
There are water faucet repair kits that are available to fix your bathroom faucet leak. These kits have everything included to fix a faucet leak under the handle. Most kits include Seats, Springs, Cams, O-Rings, and the ball assembly. Leak repair kits are available to fit kitchen, bathroom, lav, and bath faucets. See below for some repair kits for your leaking faucet.
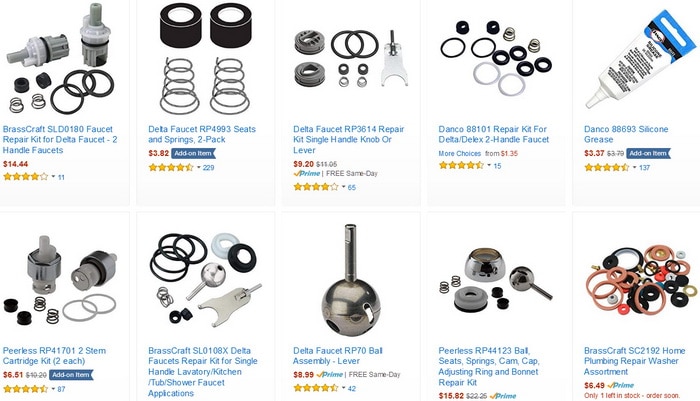 Faucet Repair Kits
O-rings, Stem Cartridges, Springs, Seat Washers, Silicone Grease, Rubber Washers
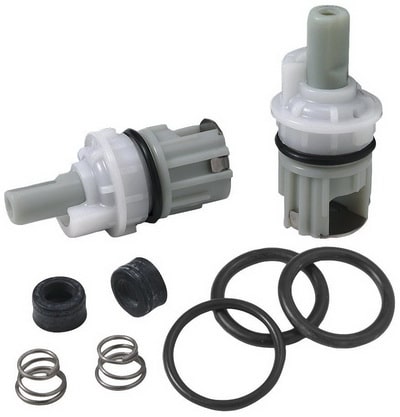 Faucet Repair Kit for Delta Faucet – 2 Handle Faucets
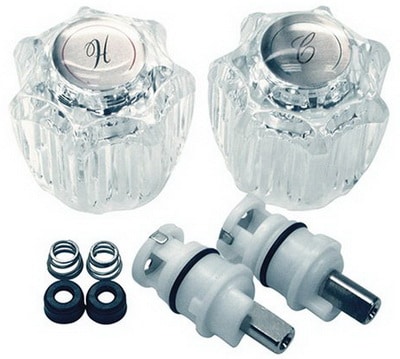 Lavatory Trim Kit for Delta Faucets
Questions? Leave your question below and we will assist you with your faucet leaking problem.


Can the cold water leak into the hot water line thru the double handle faucet?
I have a bath tube with a two handle Delta faucet. I can not keep the hot water from leaking from the spout. I change the seat and spring and it stays fixed for about 4 or 5 days of use. Then it starts leaking again. When I check the rubber seat that I removed it is warped. I’ve repaired several times. Same problem after 4 or 5 days. I have also replaced the valve as well. Any ideas?