If you are looking for a fun beginners do it yourself project in woodworking, then check out the DIY Hat Rack made out of Poplar wood. For under $35 dollars this simple rack can be made in about 5 hours or less including glue and wood stain drying times. This is a perfect project to get yourself started doing woodworking and other carpentry work. Or f you are just starting out in the DIY world this is a good “starter” project before tackling more complex ones. This simple woodworking project will get you familiar with using basic hand tools and common procedures associated with all types of carpentry work. See below for full instructions and material needed.
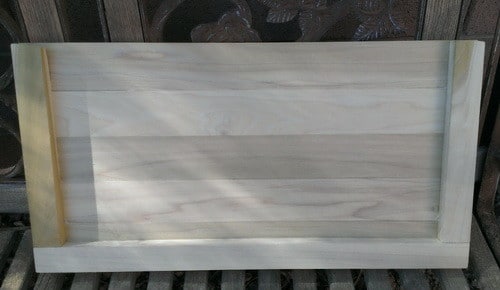
DIY HAT RACK – EASY BEGINNERS PROJECT
Materials and Wood Sizes Needed to make this DIY Hat Rack:
– All boards are 3/4″ inches thick and 24″ inches in long.
– The 5 center boards are 2 1/2″ inches wide.
– The shelf on top is 3 1/2″ inches wide.
– The thin framing boards are 1 1/2″ inches wide and the vertical boards cut to 11″ inches.
– Box of wood screws.
– Can of wood stain.
– Brush to apply wood stain.
– Bottle of wood glue.
– 2 Wood clamps.
– 3 Metal hooks.
– 4 Wall anchors.
Instructions (also see pictures below):
Step 1 – Get the wood at Lowe’s or Home Depot as they both have a section with pre-cut wood pieces. (If your local Home Improvement store does not have a pre-cut wood section then go to the section where they cut lumber and find some suitable scrap pieces, or buy the wood and cut it yourself, or you can have them cut the wood for you for FREE.)
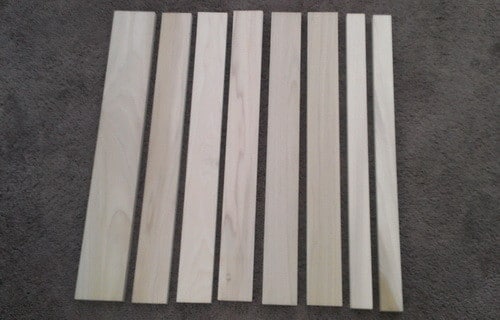
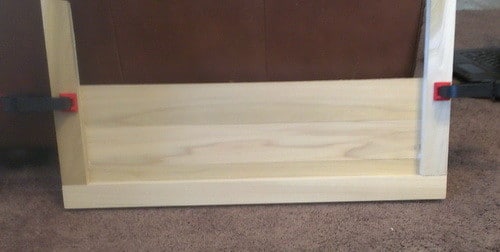
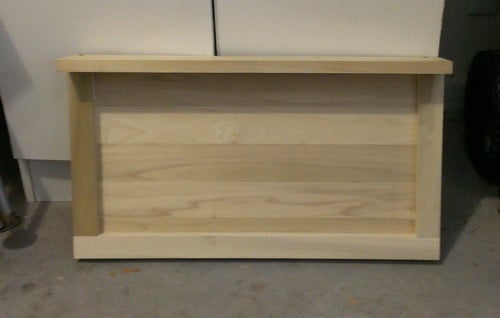
Step 2 – Once you have the wood needed, use wood glue and wood clamps and glue everything together. Let the glue dry fully for about 2 hours before proceeding.
Step 3 – Once the glue is dry, attach the wood shelf on top of the hat rack with wood screws and wood glue.
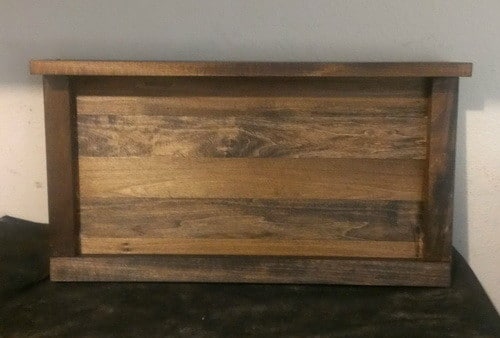
Step 4 – Next, stain the wood with the wood stain and apply 3 coats allowing time to dry between applications. After staining let sit for about an hour to fully dry.
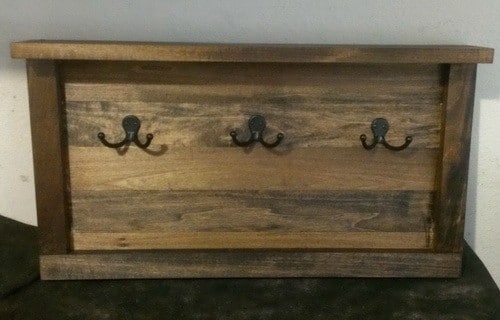
Step 5 – Then using the screws the metal hooks came with, attach the hooks spacing them evenly on the hat rack. (You should be able to find the metal hooks for around $2 dollars per hook.)
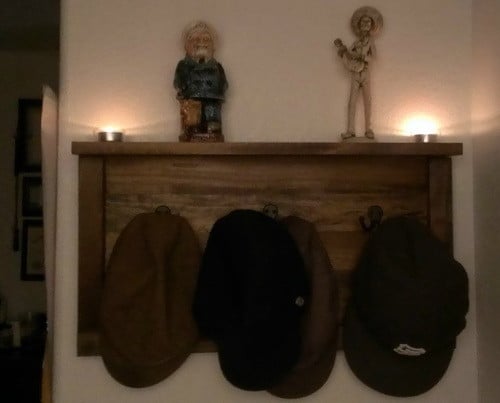
Step 6 – Once everything is together you will need to mount the hat rack on the wall where you desire.
Step 7 – To attach the hat rack use 1 1/2″ inch drywall or cement wall anchors. Use 4 of the wall anchors so the unit is fully secured to the wall. You are now finished. Hang some hats!
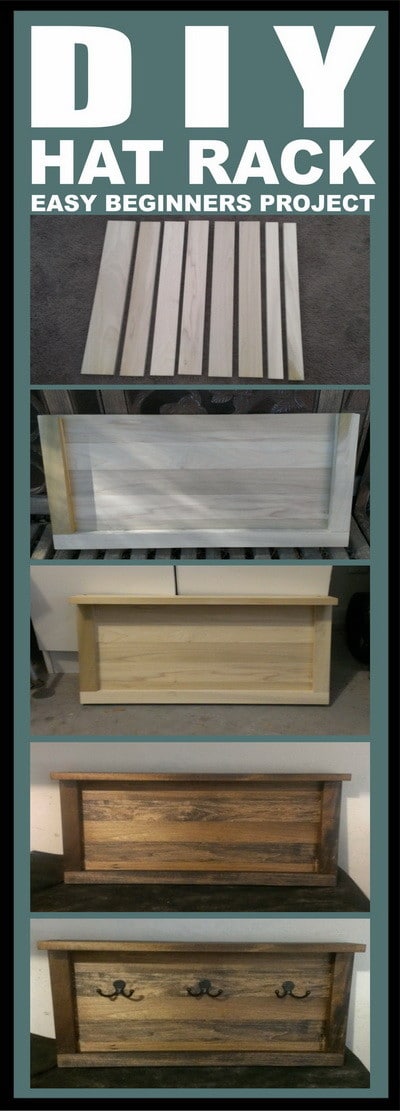
Here is all the wood we purchased for our DIY hat rack.
The hat rack is being glued together and held in place with the wood clamps.
Most of the wood is glued into place…. and on to the next step.
The top shelf is screwed and glued into the top of the hat rack.
Once all the wood was together we stained it with our favorite wood stain.
Hooks are attached and the hat rack is now fully together.
We picked a spot on the wall and secured it into place using wall anchors. Finished with HATS!!
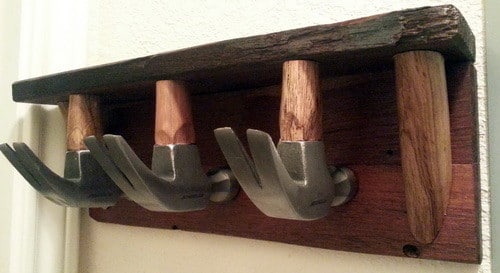
Bonus! Another project we did using hammers as the hooks!



Leave a Reply