If your front entrance is stuck with a cracked, oddly-patterned brick walkway from the previous owners, you don’t need to hire it out. Ripping out old pavers and laying a wider, better-looking path is one of the more doable weekend projects out there. That’s exactly what we did here. I’m walking you through the whole project with real photos, from demo to the finished planting beds.
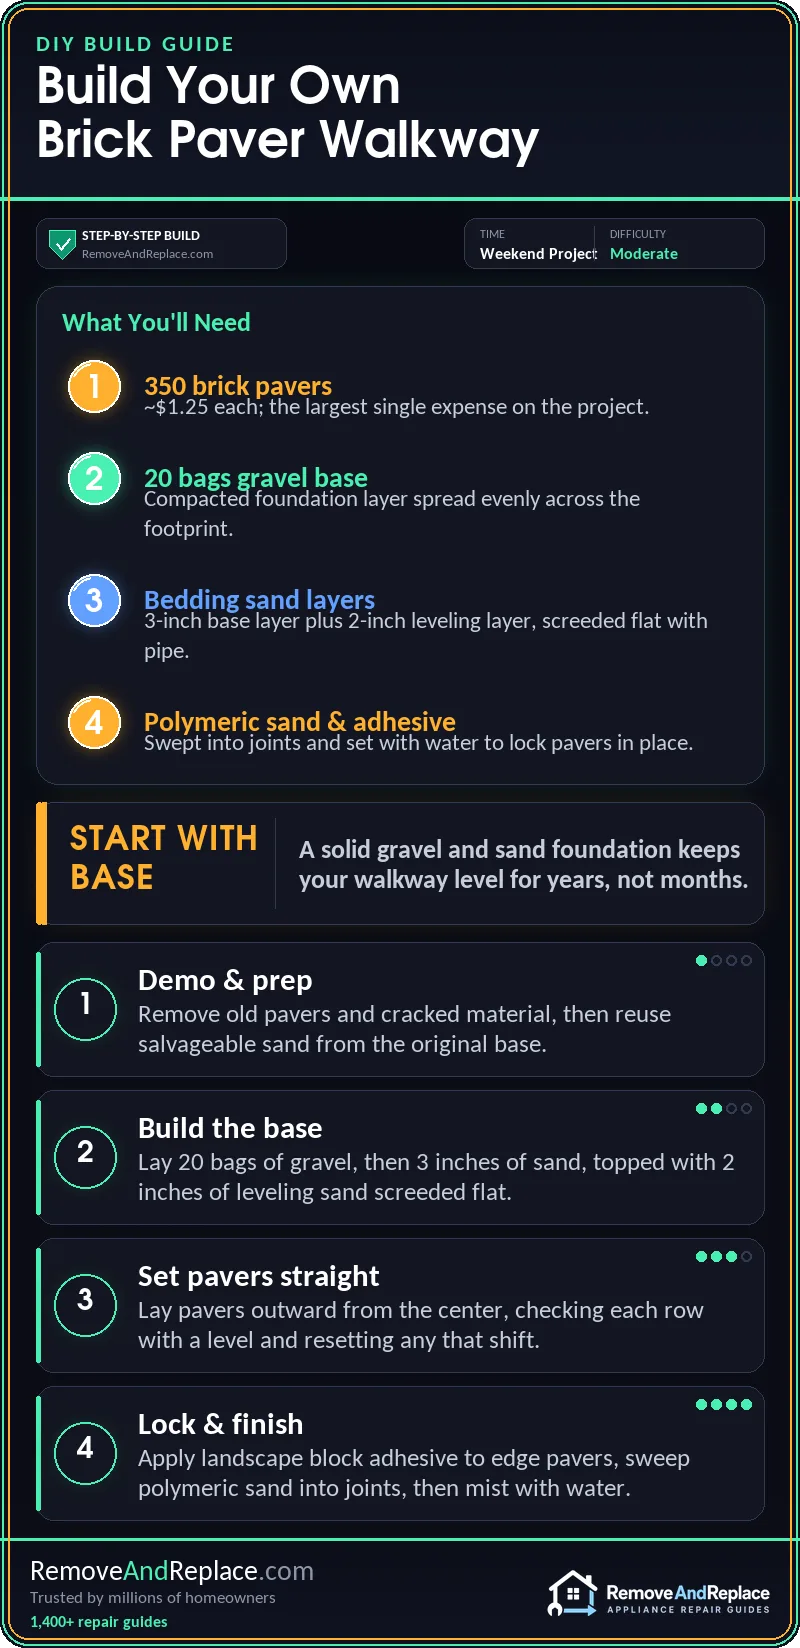
I’ve spent 28 years doing hands-on repair work, and laying pavers is honestly one of the more forgiving outdoor jobs you can take on. There’s no wiring and no gas line to worry about. If a section isn’t quite level, you can pull it up and reset it without much trouble. Our old pathway used vintage red brick pavers laid in an odd pattern, and it had cracked badly over the years. Our goal was simple: tear it out, widen it, and put down something that would actually last.
What You’ll Need
Here’s everything I used on this project, with real quantities. I always price out the pavers first, since they’re usually the biggest single expense on a job like this:
- 350 brick pavers — we bought ours from Home Depot at about $1.25 each
- 20 bags of gravel for the base layer
- Bedding sand — a 3-inch layer, then a 2-inch leveling layer on top (we reused as much of the old sand as we could to save money)
- Landscape block adhesive, to lock the edge pavers together so they don’t creep apart over time
- Polymeric sand, swept into the joints once the pavers were down
- Landscape fabric, laid under the new mulch beds along the walkway
- Cedar mulch, plus boxwoods, barberries, lavender, and a few assorted ornamental grasses for the border planting
All together — pavers, gravel, sand, adhesive, plants, and mulch — the project cost about $500.
Tools for the Job
- Shovel and rake, for demo and spreading the base
- A length of pipe (we used metal pipe) to screed the sand flat and even
- Hand tamper, to compact the gravel base before sanding
- Push broom, for working the polymeric sand into the joints
- Garden hose with a fine mist nozzle, to set the polymeric sand once it’s swept in
What’s the Right Base for Brick Pavers?
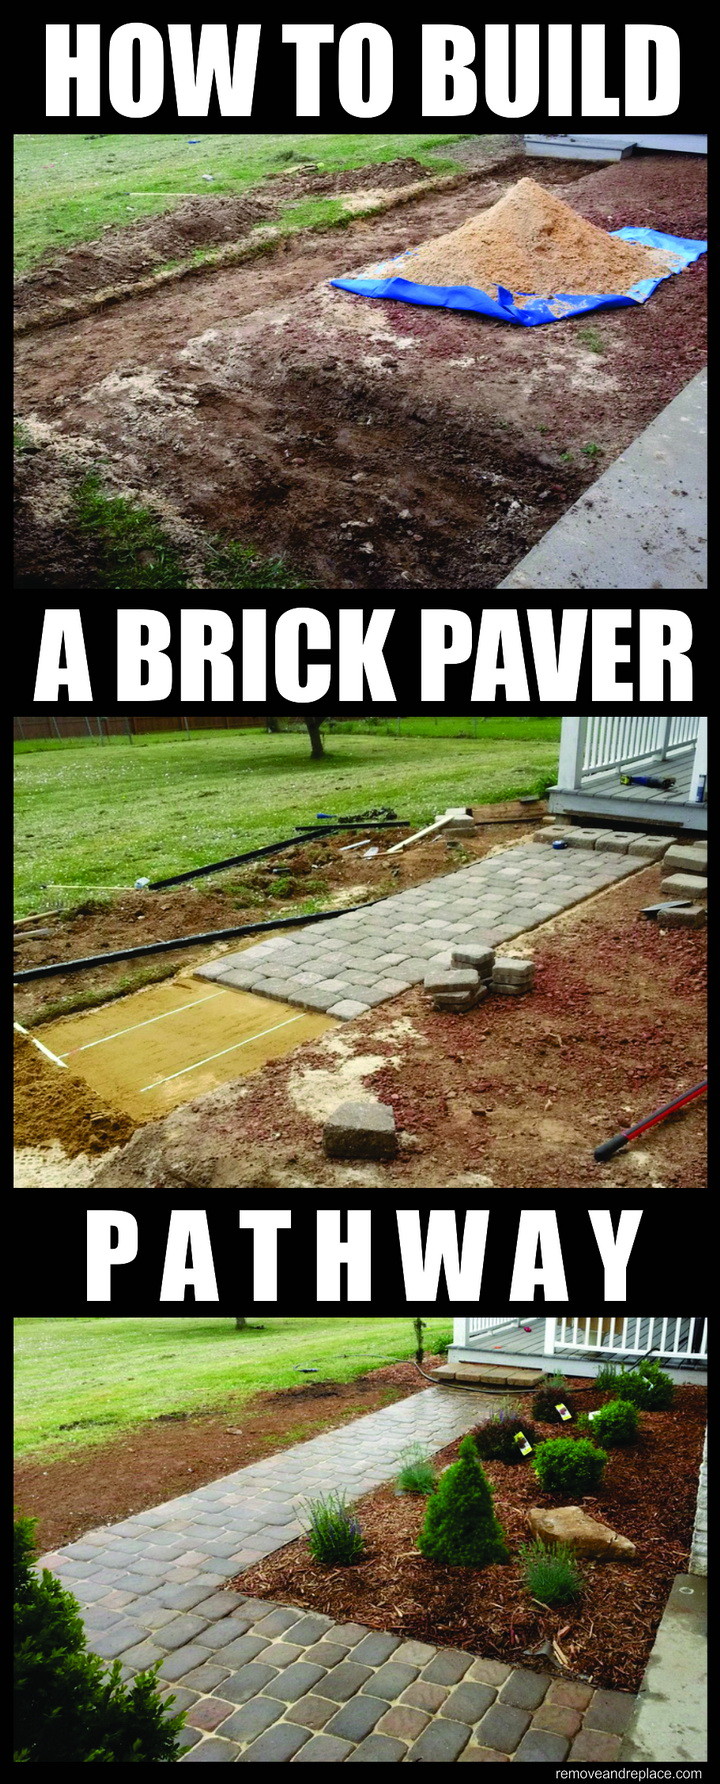
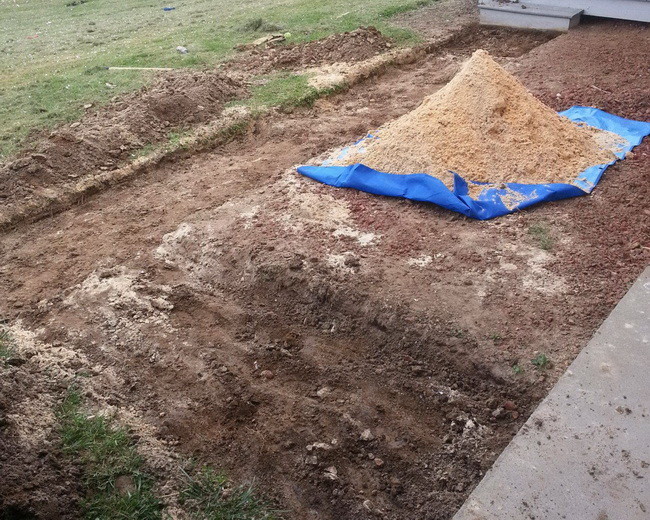
This step is easy to skip, but skipping it is a mistake. Good base work is what keeps your walkway flat for years instead of shifting after the first hard freeze. I always check the base before anything else. We pulled out the old cracked pavers and the rotting wooden steps next to them. Then we reused what sand we could from the original installation and added fresh material on top of it.
From there, we built the base in layers. Gravel went down first — 20 bags across the whole footprint. Then came 3 inches of sand, topped with a final 2-inch leveling layer. We ran a length of pipe across the sand as a screed guide, dragging a straight board over it to knock down high spots and fill in low ones. I’ve found that working in layers like this, rather than dumping everything at once, is what separates a walkway that stays flat from one that dips in a few spots after a year. If you want a more detailed breakdown of base depth and compaction for different soil types, This Old House has a solid walkthrough on laying a brick paver walkway that lines up with how we approached ours.
Laying the Pavers and Setting the Pattern
With the sand base screeded flat, we set the large blocks first and worked outward from there, keeping the pattern consistent as we went. This is where taking your time really pays off. Every paver set slightly off will throw off every paver next to it. I check each row with a level as I go instead of waiting until the end, and I’d rather pull one up and reset it than fight a crooked line for the next ten feet.
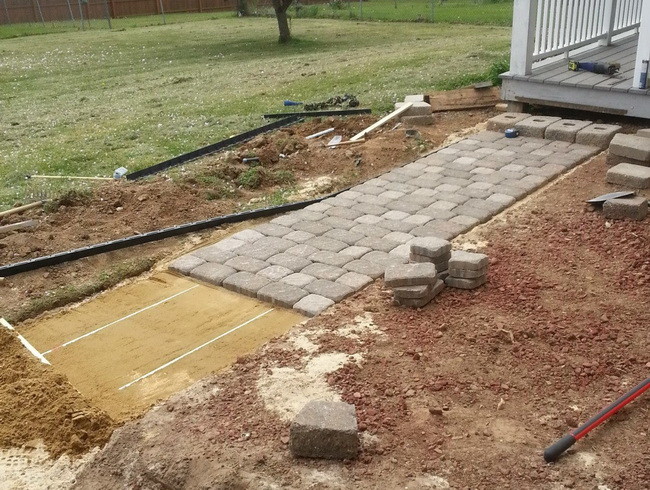
Once all the field pavers were set, we used landscape block adhesive along the border pavers to lock the edges together. This keeps the outer row from spreading or sliding as the ground shifts with the weather. After that, we swept polymeric sand into every joint, then misted the whole walkway with a fine water spray to activate it and let it dry fully before walking on it again. I’d add: don’t rush this drying step, or you’ll leave footprints in the joints. If you want another set of steps to cross-reference, Angi’s guide to laying pavers for a walkway covers the leveling and edging process in a similar order to what worked for us.
How Much Does It Cost to Build a Brick Paver Walkway Yourself?
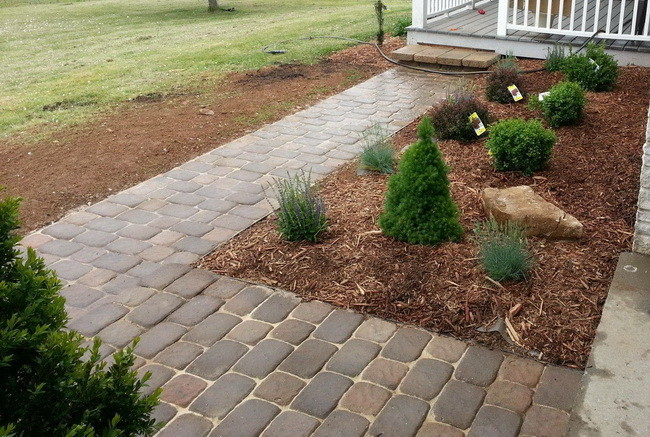
For us, the pavers were the biggest expense — 350 of them at roughly $1.25 each, which put the paver cost alone at around $437. Add in the gravel, sand, adhesive, polymeric sand, landscape fabric, mulch, and plants, and our total project cost came out to about $500. That’s well below what most contractor-installed paver walkways this size would run. I’d budget a little extra for adhesive and polymeric sand too, since those are the two materials I’ve found people tend to run short on. In my experience, the labor here is mostly just time and a strong back, not any specialized skill. If you’re pricing out design options or want to see how sizing and layout affects material cost before you commit, Lowe’s guide to designing and building a paver walkway is a good place to check your own numbers.
Finishing With Landscaping
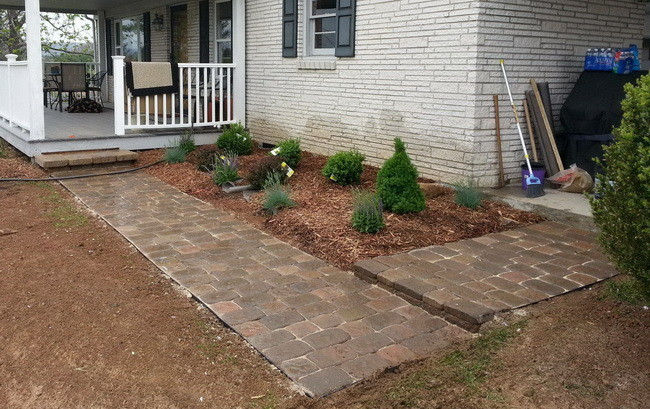
Once the walkway was done, we laid landscape fabric along both borders to keep weeds from working up through the new mulch beds. We planted boxwoods, barberries, lavender, and a few ornamental grasses along the edges. Then we finished it off with cedar mulch — partly for the look, and honestly, I like how fresh cedar mulch smells for the first few weeks after you lay it.
A quick safety note if you’re taking this on yourself: gravel and paver bags are heavy. I always lift with my legs, not my back, and I break up the gravel bags into smaller trips instead of hauling several at once. Wear gloves when cutting or setting edge pavers too, since broken or freshly cut brick edges can be sharp.
If you’d rather watch the process than read through it, the video above walks through the same kind of paver installation step by step. I’d still recommend reading through the steps here first, so you know what to expect before you start digging.
Please Share The Love


Written by Keith Schneerer
Certified Appliance Tech · Founder, RemoveAndReplace.com
Keith has spent 28 years repairing machines, starting as a military mechanic and later maintaining food processing equipment before moving into appliance repair. He founded RemoveAndReplace.com to share field-tested repair advice.
More about Keith →


Leave a Reply