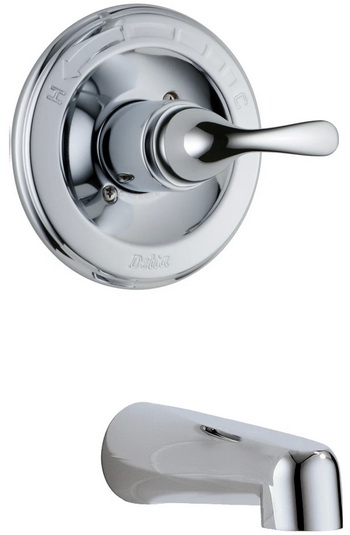
Do you have a bathtub faucet constantly dripping? A dripping bathtub faucet is not only something that needs to be fixed, but can also lead to higher water bills and potential damage to your bathroom. Fixing a dripping faucet is a relatively simple project. Here is how to identify the problem and fix the issue.

Table of Contents
- Identify the Type of Faucet
- Gather the Necessary Tools and Materials
- Turn Off the Water Supply
- Disassemble the Faucet
- Identify the Problem
- Replace the Damaged Parts
- Reassemble the Faucet
- Test the Faucet
1. Identify the Type of Faucet
There are four main types of bathtub faucets: compression, cartridge, ceramic disk, and ball. Each type has a slightly different mechanism, so it’s essential to identify your faucet type before attempting to fix it.
- Compression Faucet: This type of faucet has separate handles for hot and cold water. When you turn the handle, it opens or closes a valve stem that controls the water flow.
- Cartridge Faucet: A cartridge faucet typically has one or two handles that control both the water temperature and flow. The handles turn a cartridge, which regulates the water flow.
- Ceramic Disk Faucet: This faucet has a broad, single handle that controls both water temperature and flow. The handle moves a ceramic disk, which opens and closes the water flow.
- Ball Faucet: A ball faucet has a single handle that moves around a ball-shaped cap to control water temperature and flow.
2. Gather the Necessary Tools and Materials
Before you begin, gather the following tools and materials:
- Adjustable wrench
- Screwdriver (flathead and Phillips)
- Plunger
- Plumber’s tape
- Replacement parts (determined by faucet type and problem)
- Bowl or container to catch water
- Rag or towel
3. Turn Off the Water Supply
Before working on your faucet, it’s crucial to turn off the water supply to prevent flooding. Locate the water shutoff valves for your bathtub, usually found near the faucet or behind an access panel. Turn the valves clockwise to shut off the water supply.
4. Disassemble the Faucet
To fix the dripping faucet, you’ll need to disassemble it. The disassembly process will vary slightly depending on the faucet type, but generally involves the following steps…
- Remove the handle(s) by loosening the screw(s) that hold them in place. You may need to pry off a decorative cap to access the screw.
- Remove any retaining nuts or clips using an adjustable wrench.
- Carefully remove the faucet’s internal components, such as the stem, cartridge, or ball assembly. Be sure to keep track of the order and orientation of these parts for reassembly.
5. Identify the Problem
Once the faucet is disassembled, inspect the internal components for damage or wear. Common issues include…
- Worn-out rubber washers or O-rings in compression faucets.
- Damaged or worn cartridges in cartridge faucets.
- Cracked or chipped ceramic disks in ceramic disk faucets.
- Worn ball or seals in ball faucets.
6. Replace the Damaged Parts
After identifying the problem, replace the damaged parts with new ones. You can find replacement parts at your local hardware store or online. Be sure to choose parts that are compatible with your faucet type and model.
7. Reassemble the Faucet
Reassemble the faucet by reversing the disassembly process. Be sure to replace any worn or damaged parts and apply plumber’s tape to any threaded connections to prevent leaks.
- Reinstall the faucet’s internal components, ensuring they are correctly oriented and seated.
- Replace any retaining nuts or clips and tighten them with an adjustable wrench.
- Reattach the handle(s) and secure them with the screw(s). Replace any decorative caps if necessary.
8. Test the Faucet
Turn the water supply back on by turning the shutoff valves counterclockwise. Test your faucet by turning on the water and checking for any leaks or drips. If the faucet is still dripping or if new leaks have developed, you may need to disassemble the faucet again and recheck the components.
How to Fix a Leaky Bathtub Faucet Quick and Easy
By following these steps, you should be able to fix your dripping bathtub faucet and enjoy a leak-free bathroom. Remember, if you’re unsure about any part of the process or feel uncomfortable tackling the project yourself, don’t hesitate to call a professional plumber for assistance or leave a comment below and let us know if you need help.


Leave a Reply