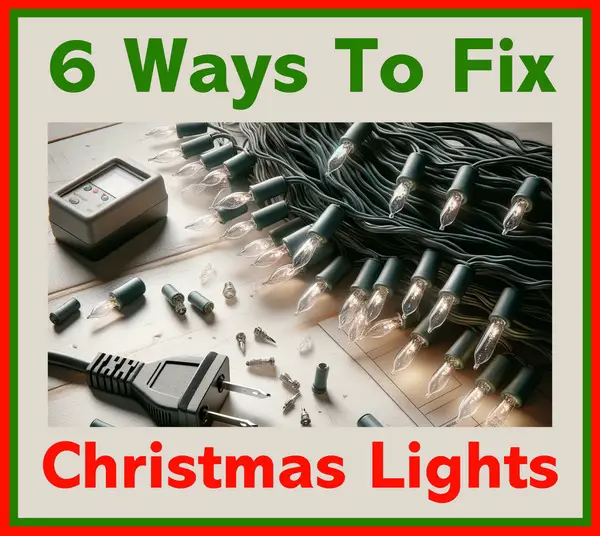
Fixing Christmas lights is easy with the right tools and know how. Troubleshooting the lights involves checking power, inspecting the fuse, and looking at the strand. Replacing burnt out bulbs is a common fix, while using a multimeter can help diagnose breaks in the circuit. These 6 simple steps can restore your Christmas lights.
 How to fix Christmas lights – 6 methods
| Christmas Light Problem | How To Fix It |
|---|---|
| Testing Electrical Supply | Confirm power source is active, check circuit breaker, and use circuit tester. |
| Fuse Inspection and Replacement | Replace blown fuses with identical new ones after checking for breaks or discoloration. |
| Strand Inspection | Check the entire strand for damage, discard unsafe strands with exposed wires. |
| Replacing Burnt-Out Bulbs | Identify and replace bulbs with broken filaments or darkened glass. |
| Individual Bulb Continuity Test | Use a multimeter to test each bulb for electrical continuity. |
Essential Tools for Repair
- Bulb Tester: For quickly identifying faulty bulbs.
- Multimeter: For conducting continuity tests and pinpointing electrical faults in the light string.
- Replacement Light Bulbs: Always handy to have a stock of bulbs that match the specifications of your Christmas lights.
- Light String Fuses: Crucial for replacing blown fuses in the light string
How to fix bad Christmas lights
Fix Common Christmas Light Issues
1. Testing the Circuit
The first step in repairing Christmas lights is being sure you are getting power. Check the circuit breaker to make sure it is on and hasn’t tripped. Using a circuit tester or another working strand of lights, test the outlet to confirm it’s delivering power. If the outlet is faulty, switch to a different one.
2. Inspect and Replace Fuses
Examine the fuses in the plug of your Christmas lights. These small components are important for the functioning of the lights. A blown fuse can be identified by a break in the filament or discoloration. Carefully replace any blown fuses with identical new ones. If you’re unsure which fuse is causing the problem, replace each fuse until the lights function correctly. The correct fuse replacement is important for the functionality of your lights.
3. Check the Light Strand
Carefully unravel the entire string of lights and inspect for any visible damage, such as broken wires or sockets. If you find strands with exposed wires, it’s safer to discard these as they can pose a safety hazard. Keep the working bulbs as they can be used as replacements for other strands.
4. Find and Replace Burnt Out Bulbs
One of the most common issues with Christmas lights is burnt-out bulbs. Check that each bulb is properly seated in its socket. A bulb with a darkened glass or a visibly broken filament indicates it is burnt out and needs replacement. It’s important to replace the faulty bulb with one of the same size and voltage rating to ensure the entire string functions properly.
5. Test Bulbs with Multimeter
A multimeter is a good tool to have when repairing Christmas lights. Use it to perform a continuity test, as this helps identify if there is an electrical circuit through the lights. A break in the circuit, often caused by a faulty bulb or wire, will show as high or infinite resistance on the multimeter. Start by testing the resistance from one end of the string to the other. If the return leg of the circuit shows high resistance, it indicates damaged wires, and the string should likely be thrown away.
6. Bulb Testing
If no lights illuminate on the string, meaning you can’t find out which bulbs are faulty, test each bulb individually for continuity using the multimeter. This process involves removing each bulb, testing it with the multimeter, and then either replacing or reinstalling it. The multimeter reading will help you determine whether each bulb is good or bad. A zero reading indicates a good bulb, while a high resistance reading signifies a bulb that is burnt and is no good.
Special Christmas Light Tools
For enhancing your Christmas light repair experience, consider these specialized tools, each designed to simplify the troubleshooting process:
- Lightkeeper Pro® Miniature Light Repairing Tool: This tool is perfect for repairing holiday light sets. It’s easy to use with a trigger squeeze mechanism and comes with extra bulbs and a battery tester. Find the Lightkeeper Pro® here.
- LED Keeper® Kit Plus 4 Bonus Replacement PODs: Tailored for LED light sets, this kit is inclusive of a bulb and fuse tester, making LED light repairs straightforward. Purchase the LED Keeper® Kit here.
- Christmas Light Bulb Tester Tool with Sound & Light Alarm: This innovative tool helps you locate broken line points in your Christmas light wiring with auditory and visual alarms. Get the Christmas Light Bulb Tester Tool here.
- Allsun Christmas Light String Tester: It offers both sound and light indications for fault detection and comes equipped with a bulb remover. Find the Allsun Christmas Light String Tester here.
- Digital Multimeter: An indispensable tool for conducting continuity tests on light strings, helping to identify any electrical issues. Purchase a Digital Multimeter here.
These tools will greatly aid in diagnosing and fixing problems with your Christmas lights, ensuring your festive decorations remain bright and cheerful.
How do I identify a blown fuse in Christmas lights? Look for signs like a broken filament or discoloration in the fuse within the plug.
Can one faulty bulb affect an entire string of lights? Yes, particularly in older strings. Replacing faulty bulbs promptly can prevent further outages.
Is self-repair of Christmas lights safe? Yes, if safety precautions like unplugging the lights are followed. For complex issues, professional advice is recommended.
If you need additional help or have specific queries, particularly about your lights’ brand or model, feel free to leave a comment below for more personalized advice.


Leave a Reply