

You can build a window-mounted bird house from a single 1″ x 8″ x 6′ Cypress board, a 5″ x 7″ piece of scrap Plexiglass for the back, and 3 suction cups — total cost under $20. The clear back and suction-cup mount let you watch birds build a nest, lay eggs, and raise chicks right through your glass.
I’ve built a lot of things out of scrap wood over 39 years — furniture, shop jigs, a couple of dog houses. But this little window bird house is still one of my favorite weekend projects, because you actually get to watch what happens inside afterward. Cypress board, a scrap of Plexiglass, three suction cups, and under twenty bucks. That’s the whole bill of materials.
Between my Air Force years working aircraft structures and nine years fixing commercial kitchen equipment, I’ve learned that the simplest builds are the ones people mess up — usually by overthinking the wood choice or the entry hole. So I’m gonna walk you through exactly what we did, step by step, with photos of every cut.
What You Need And Why Cypress Is Worth It
Here’s the thing most bird house tutorials skip: the wood choice matters more than the build quality. A window bird house lives outside, glued to glass, soaking up rain and sun and humidity for years. We used Cypress for one reason — it’s naturally rot resistant, and it’ll outlast a pine box by a decade without any sealant or paint. You can grab a 1″ x 8″ x 6′ Cypress board at any home improvement store, and we built the entire house from that single board. The Plexiglass back was a scrap piece from Hobby Lobby, and the suction cups came from the hardware aisle. About 90% of the durability in this project comes down to that Cypress. Skip it for pine and you’re rebuilding in a few seasons.
Full materials list:
- 1 — 1″ x 8″ x 6′ Cypress Board (or any wood type of your choice)
- 1 — 5″ x 7″ Plexiglass (for the back window)
- 3 — Suction Cups with screws
- Titebond wood glue and a few staples
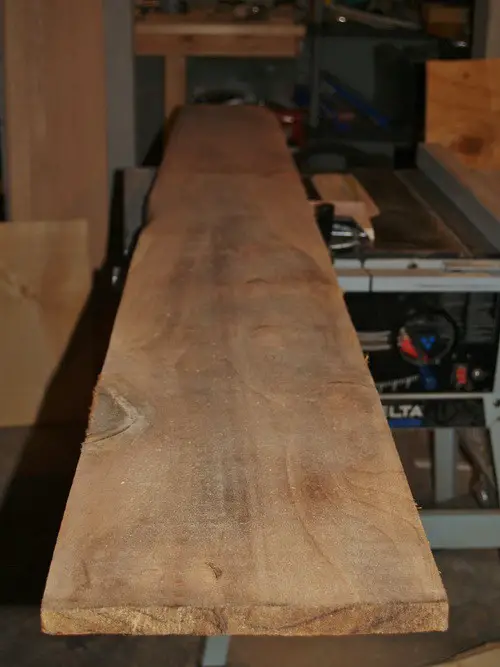
Making Your First Cuts
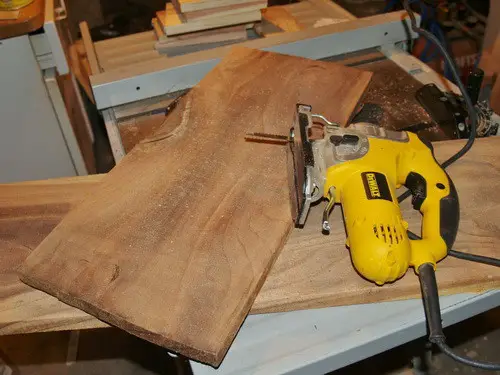
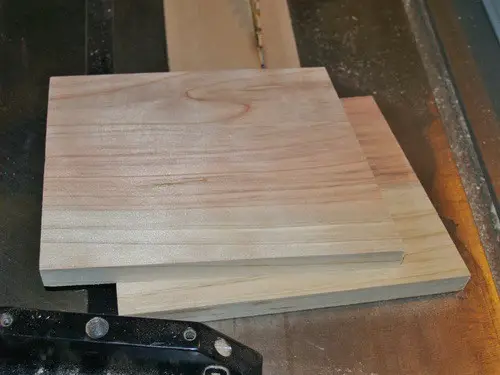
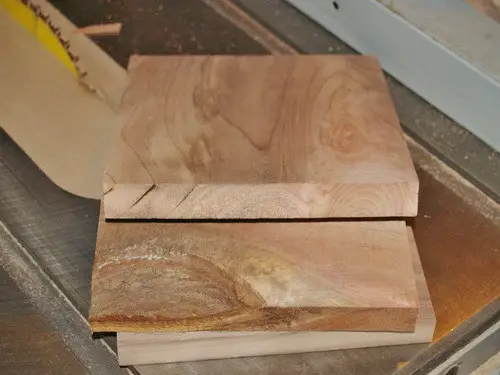
Don’t try to fight a full 6-foot board on a small saw. My first instinct on projects like this used to be to make all my finish cuts straight from the long board — I did that for years, and I’d end up wrestling six feet of lumber across the saw table and getting sloppy angles. Then I learned to just rough-cut it down first. Chop the board into a manageable length before you cut your actual pieces. Cleaner cuts, safer hands, better fit.
What Size Should The Entry Hole Be?
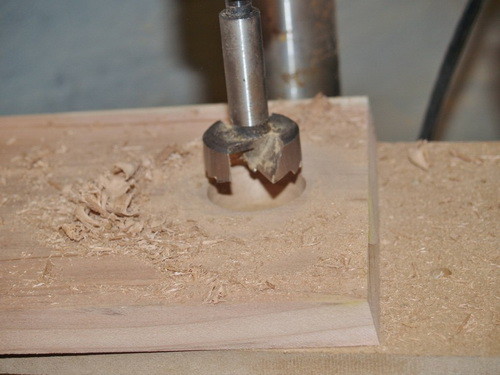
This is the one number that makes or breaks who moves in. We drilled a 1.5″ entry hole, and that’s deliberate — a 1.5-inch hole keeps the larger, more aggressive birds out and gives smaller songbirds a safe place to nest. Go bigger and you’ll invite starlings and squirrels that’ll bully out the little guys or raid the nest. Go too small and nobody fits. Roughly 1.5″ is the sweet spot for chickadees, wrens, and similar backyard nesters, so drill it right and you’ve already solved the biggest problem people run into after the house is hung.
Glue And Staple It Together
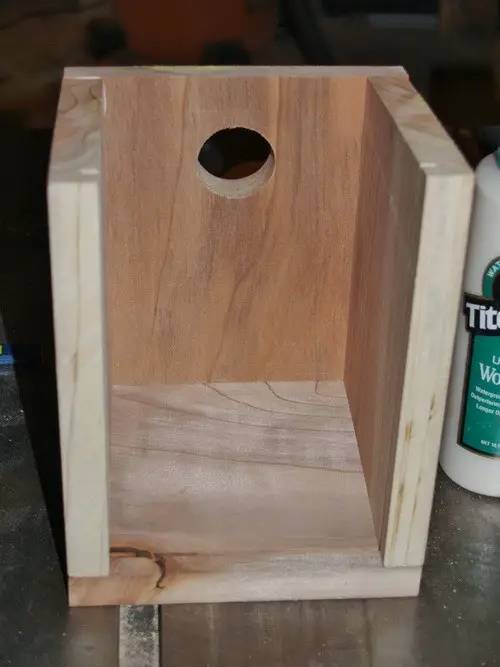
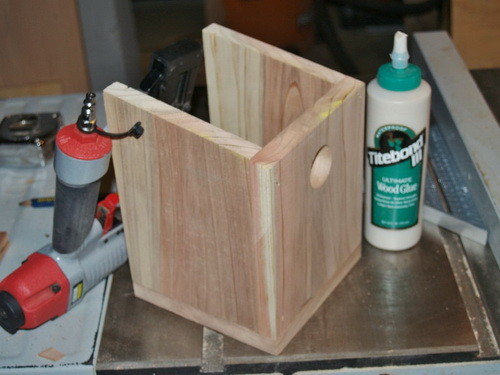
Nothing fancy here. We used some Titebond wood glue and a few staples to hold the house together — that’s it. The glue does the real structural work; the staples just hold everything in place while it cures so nothing shifts on you. If you clamp instead of stapling, even better, but a staple gun is faster and plenty strong for a box this small. (I’ve glued up more joints than I can count, and on a small box like this the staples are really just there to keep your hands free.)
Fitting The Plexiglass Back
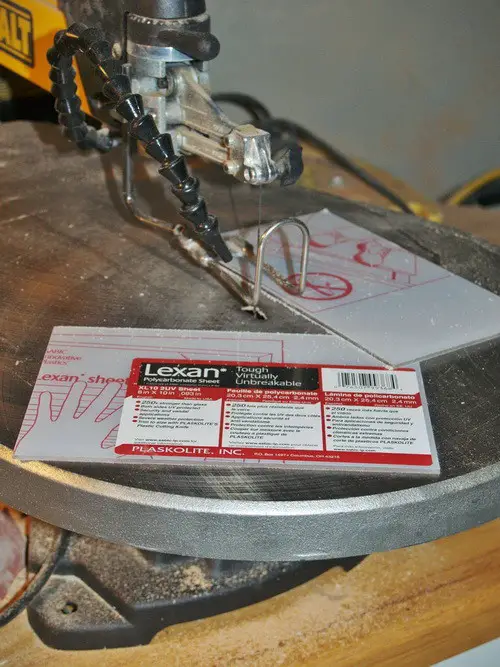
The clear back is the whole point of this build — it’s what turns a plain nest box into a little window into the birds’ world. Our back was a scrap piece of Plexiglass from Hobby Lobby, and we had to trim it to fit. Cut it slightly oversized first, then shave it down; Plexiglass is a lot easier to trim smaller than it is to un-cut. Here’s a field trick that took me a while to appreciate: you can lay a mirror acrylic over the Plexiglass so the birds see their own reflection instead of you. It keeps them from getting scared off when you walk up to watch, which is a common mistake people miss until the birds abandon the nest.
Adding The Roof (And Why The Lip Matters)
Here’s what a lot of plans won’t tell you: the roof isn’t just a lid, it’s rain protection for the entry hole. We built the roof with an extra lip on the front, and that overhang keeps rain from running straight down into the entry hole and soaking the nest. The sides are also angled about 10 degrees at the top so the roof sheds water instead of pooling it. Little details, but they’re the difference between a dry nest and a moldy one after the first hard storm.
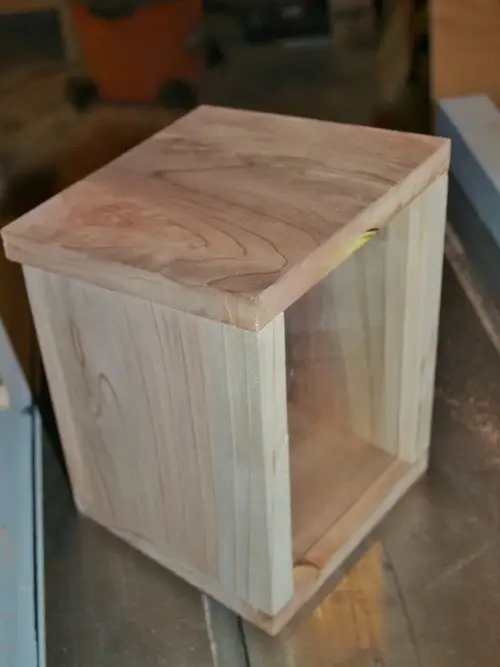
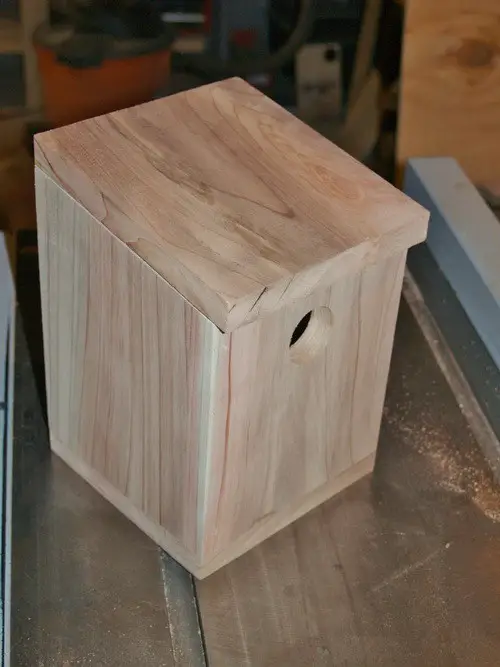
If you enjoy easy outdoor builds like this, you might also like our creative dog house design ideas with 31 pictures — same scrap-wood-and-a-weekend spirit, bigger box.
Mounting It To The Window
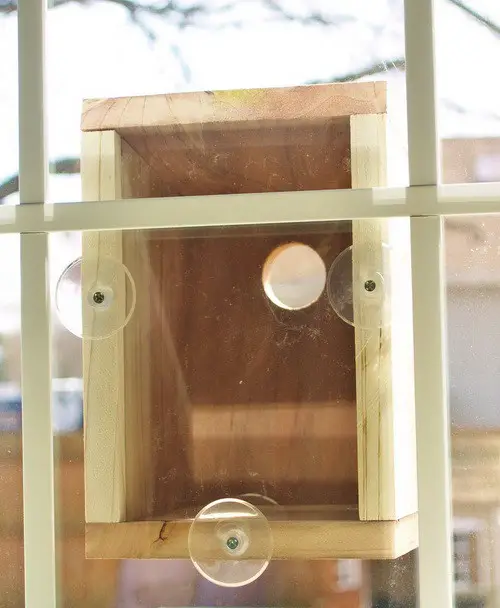
We hung the bird house using 3 suction cups screwed to the back. Three is the right number — one at the top and two at the bottom gives you a stable triangle so a gusty day doesn’t peel it off the glass. Before you stick it up, wipe both the window and the cups clean; any dust or oil and they’ll slowly creep down the glass over a week. Press each cup firmly and give it a tug test before you trust it with a nest full of eggs.
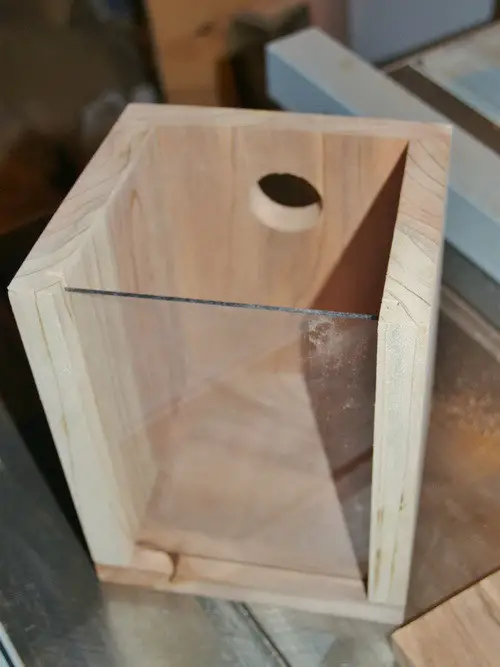
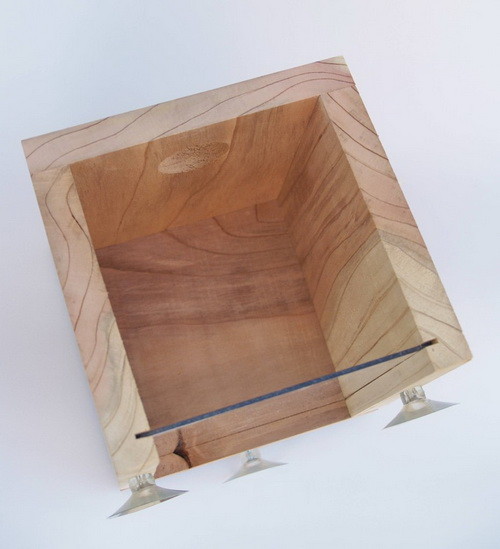
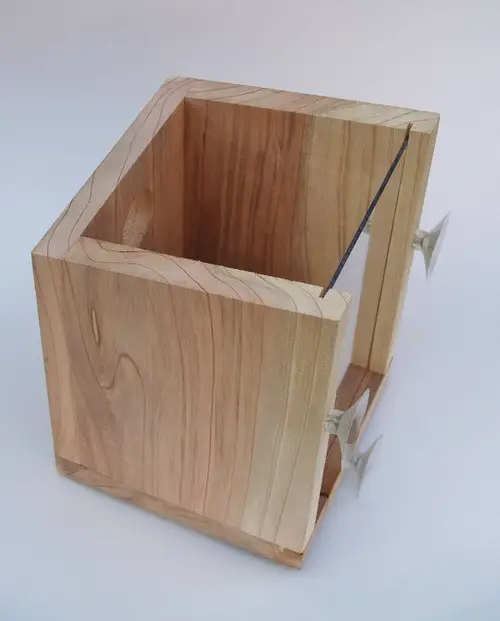

Budget maybe two hours your first time. It’s an easy build, but trimming the Plexiglass and getting the roof lip right always takes people a little longer than they expect.
The Finished Window Bird House
And here it is — done and hanging on the window. Total spend, under $20. Once a nest is active, keep your movements slow near the glass and you’ll get to watch the whole thing unfold: nest building, eggs, and eventually chicks. It’s genuinely educational, especially for kids, watching how a bird behaves inside its nest through the clear back.
Want to see the process in motion before you cut into your board? This short build video walks through a similar window bird house assembly and is worth a watch first.
Keeping It Working Season After Season
A window bird house needs a little upkeep to keep drawing tenants. Once a nesting season ends and the birds have fledged, take the house down and clean out the old nesting material — old nests hold mites and parasites that’ll scare off next year’s birds. A quick scrub and a rinse, let it dry fully, and re-hang it. Check your suction cups each spring too; they lose grip as the rubber ages, and you don’t want a house full of eggs sliding down the glass. That Cypress will hold up for years, but the cups are the weak link, so I swap mine when they start feeling loose.
More Bird House Designs
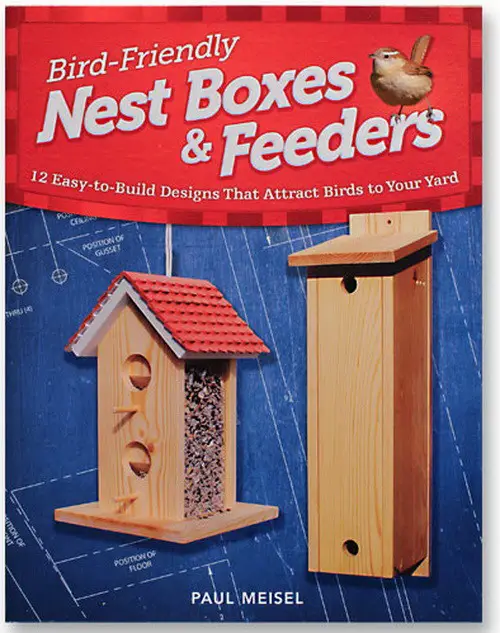
If you’re looking for more styles of bird houses you can build yourself, there’s a great book with many different designs called Bird-Friendly Nest Boxes and Feeders: 12 Easy-To-Build Designs that Attract Birds to Your Yard. It covers proper birdhouse dimensions, cavity size, hole size, and mounting techniques — the kind of technical detail most birdhouse books skip.
Frequently Asked Questions
How much does it cost to build a window bird house?
Under $20. We built ours from a single 1″ x 8″ x 6′ Cypress board, a scrap 5″ x 7″ piece of Plexiglass from Hobby Lobby, and 3 suction cups. That’s the entire bill of materials.
What wood is best for a window bird house?
I’d use Cypress every time. It’s naturally rot resistant, so it survives being glued to a window through rain and sun for years without sealant. Cedar works too. Skip untreated pine — it’ll break down on you in a few seasons.
What size should the bird house entry hole be?
We drilled ours at 1.5″. That size keeps larger, more aggressive birds out and gives smaller songbirds like chickadees and wrens a safe spot. Go bigger and you’ll invite starlings and squirrels you don’t want.
Will birds actually use a see-through window bird house?
They will, but there’s a trick to it. I’ve found that laying a mirror acrylic over the Plexiglass back keeps the birds from spooking when you walk up to watch — they see their reflection instead of you. Without it, some birds get nervous and abandon the nest.
How do I keep the bird house stuck to the window?
Three suction cups, screwed to the back, arranged in a triangle. Clean both the glass and the cups first, press firmly, and tug-test before you trust it. Check the cups every spring — the rubber ages and loses grip, and that’s the one part I’ve had fail on me.

John,
You can search on Amazon or make them yourself. It is easy to do.
-RR
Where did you find the suction cups with the screws? I can’t find them anywhere!