Replacing a kitchen faucet is a simple DIY job you can do within a few hours. Installing a kitchen faucet will require simple plumbing tools and you don’t have to be an expert to do the job right. Whether you need to replace your existing kitchen faucet because it is outdated, corroded and leaking, or maybe the one you want to install has a newer power spray head. Whatever the reason for replacement is, we will show you the easiest procedure to remove and replace a kitchen faucet all by yourself.
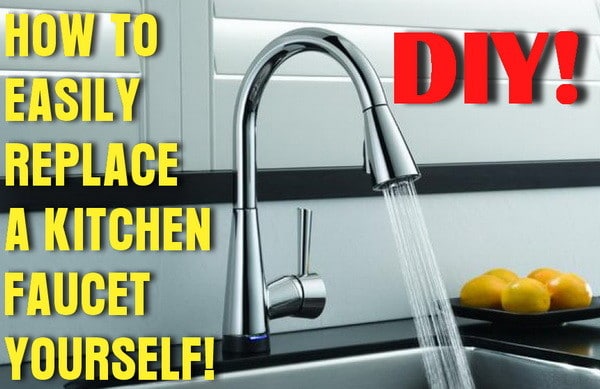
Tools needed to remove and replace a kitchen faucet:
Screwdriver(s)
Basin Wrench (optional)
Adjustable Wrench (Adjustable Spanner “Crescent Wrench”)
Adjustable Pliers
Plumbers Putty
Plumbers Tape (Thread Seal Tape)
The most difficult part of replacing a kitchen faucet is removing the old one previously installed. Use good lighting (a light that attaches on top of your head is best) and clear goggles to protect your eyes. If you are going to be replacing the kitchen sink also, then the absolute easiest way is to attach the new kitchen faucet to the sink before you install the sink! This makes things much easier! Also to explain what a couple things that are used for plumbing is as follows…
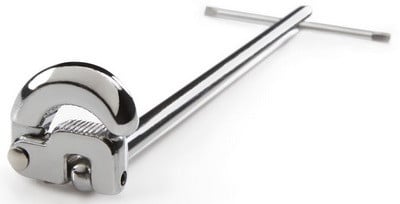 Basin Wrench is also called a sink wrench and is used to get
at the hard to reach nuts that hold your faucet to the sink.
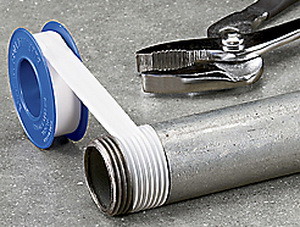 Plumbers tape goes on the threads of ALL areas where water goes through the lines.
Plumbers tape is a Teflon tape that adds an extra “no leak” protection to the threads so the water will not leak out.
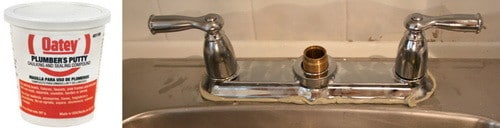 Plumbers putty is just a simple putty that is like clay.
It goes on certain areas to create a water barrier.
It is used under the deck plate of a 1 hole kitchen faucet so water does not leak down into the cabinet area.
So after you have decided you need to replace your kitchen faucet for whatever reason, you will need to purchase a kitchen faucet, possibly some basic tools, safety and lighting equipment etc. Your kitchen sink will usually be a 3 hole sink. Some are 4 hole which means you have an extra hole in the sink for a separate water sprayer or a soap dispenser. If you have a 3 hole sink then just about any kitchen faucet will work as a replacement as it will come with a hole cover plate (deck plate) to cover the 2 holes next to your 1 hole faucet. If you have a 4 hole sink, then you can purchase a 1 or 3 piece kitchen faucet WITH a separate water sprayer OR soap dispenser to fill in the 4th hole. If you do not need these then a sink hole cover (blank plug) can be installed.
Once you have everything you need to remove and replace your kitchen faucet including
the tools, safety goggles, materials, and faucet, see our step by step below…
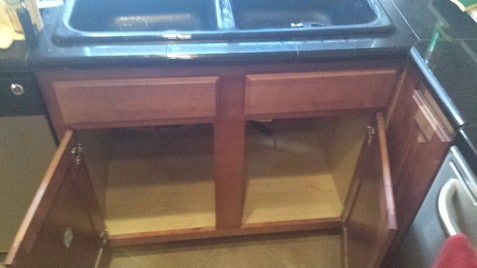 Step 1 – Remove everything from under your sink including cleaning
supplies and unplug the dishwasher and garbage disposal.
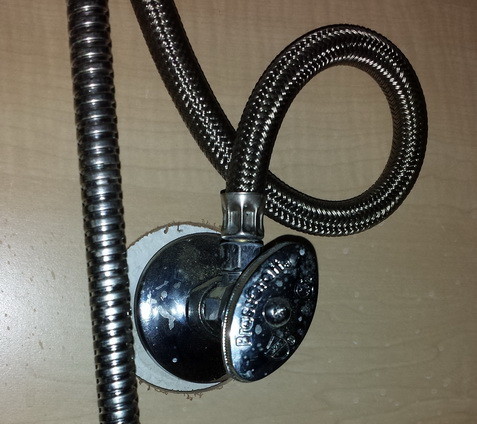 Step 2 – Turn off BOTH water valves below sink.
Make sure to turn off both hot and cold water valves.
NOTE: If they won’t turn or snap off, you need to turn off the water to your home and replace the water valves too!
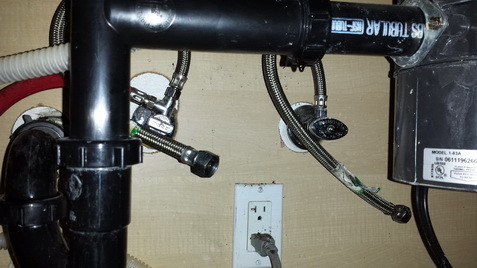 Step 3 – Remove the faucet water lines from the valves with your adjustable wrench.
NOTE: You are removing all water lines from the old faucet.
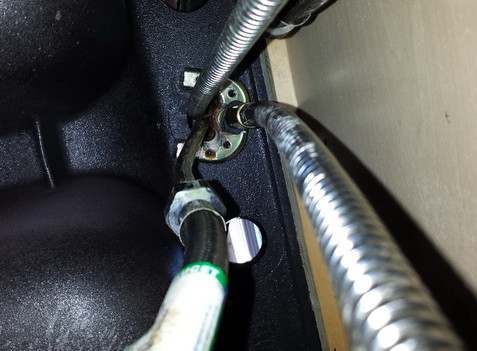 Step 4 – Next climb into the cabinet with a flashlight and screwdriver or wrench and
loosen and remove the adapter ring or whatever is holding the faucet to the sink.
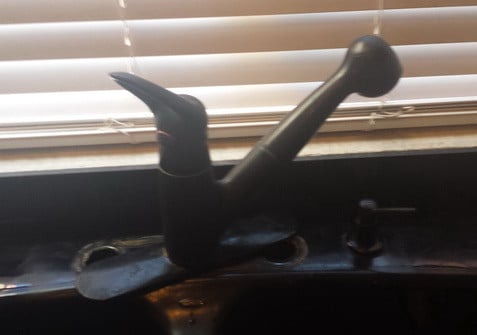 Step 5 – Once all plumbing and hardware is removed, carefully slide the old
kitchen faucet up and out of the sink holes. The old kitchen faucet is now removed!
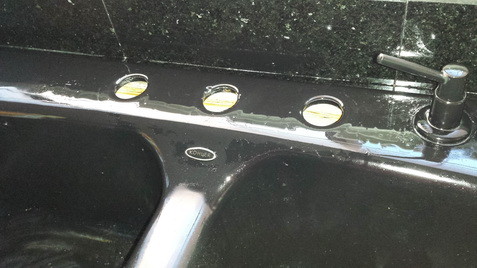 Step 6 – Clean where the old faucet was on the sink using a comet type cleaner and a green scrubber.
This area needs to be super clean as the new faucet will be installed here and hard water marks may be visible.
After it is super clean, spray some Orange Glo or oil based polish and wipe clean.
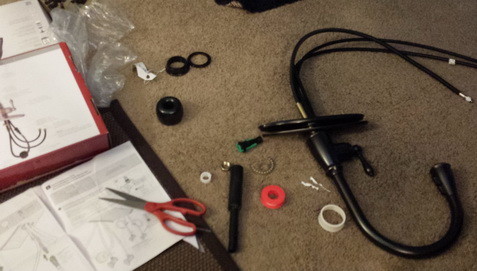 Step 7 – Open the box containing your new faucet and read ALL instructions FIRST!
Some faucets need to be partially disassembled before installation for various reasons.
Also, a special tool may be included to make your life easier when installing so inspect everything in the box.
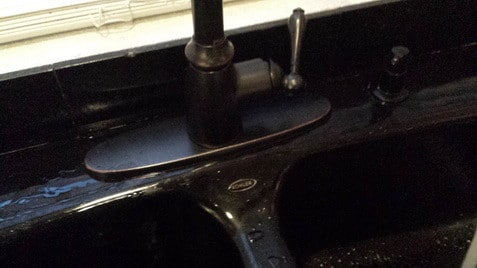 Step 8 – Once the sink installation area is clean and the new faucet is together, set it carefully into the holes.
You may or may not need to use the included deck plate so install it as your installation requires.
Use plumbers putty on the bottom of the deck plate to prevent water from seeping into the below cabinet.
Step 9 – Climb back under the sink and tighten the nut or the secure plate that holds the faucet to the sink.
Make sure you get this tight as this is what will be holding the faucet securely to the sink.
Make sure you have the faucet aligned on the sink correctly before you fully tighten it into place.
Also, you may need to use the Basin Wrench at this point or the special tool that was included with your faucet.
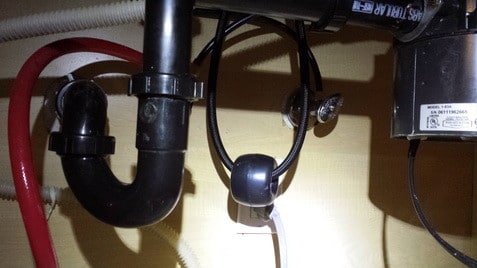 Step 10 – Once the faucet is fully installed on the sink, connect the faucet water lines to the hot and cold valves.
Use plumbers tape on the threads of the water lines to prevent water leakage.
Attach the water sprayer line also and install the weight included to hold the sprayer in place.
Step 11 – Once EVERYTHING is in place and secure, turn on both the cold and hot water valves.
Check for leaks on ALL water lines.
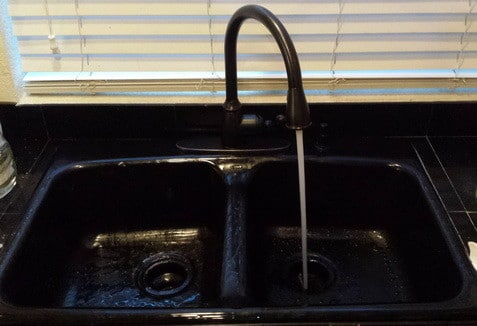 Step 12 – Turn on the new kitchen faucet and continually run the water.
Using a flashlight, check under the sink for leaks.
Check the 2 water valves coming from the wall and the actual faucet itself.
Use the sprayer on the faucet to get water running through that line too.
Make sure everything works and is not leaking.
It is best to NOT put all of you cleaning supplies back under the sink yet.
Over the next day, periodically check under the sink for water that may be leaking out.
You can plug the garbage disposal and dishwasher back in at this time.
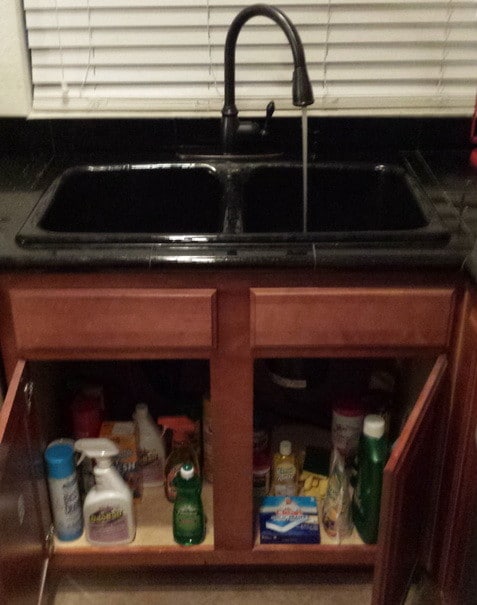 Step 13 – Once you are confident there are NO leaks put all of the cleaning supplies back under sink.
Clean up all junk that may be left over from the install and check everything one more time.
CONGRATS!! You have successfully installed your new kitchen faucet yourself!

Written by Keith Schneerer
Certified Appliance Tech · Founder, RemoveAndReplace.com
Keith has spent 30+ years repairing machines, starting as a military mechanic and later maintaining food processing equipment before moving into appliance repair. He founded RemoveAndReplace.com to share field-tested repair advice.
More about Keith →

Really your kitchen faucet post is really very good and I appreciate it. It’s hard to sort the good from the bad sometimes. You definitely put a new spin on a topic that’s been written about for years