We will show you how to install and tile a kitchen backsplash the easiest and most painless way. This is a great project for those of you on a budget as the cost is low. Adding a backsplash to your kitchen is much easier than you probably think. It can get a little messy, but just about anyone can do it. Why is tiling the wall in the kitchen a good idea? Installing a backsplash will not only dramatically improve the look of your kitchen, but the tiles will protect the wall from such things as water damage and it is easy to wipe off and clean. Ready to tile your kitchen yourself? See below for a quick step-by-step kitchen backsplash installation tutorial.
Here Is Everything Needed To Tile A Kitchen Backsplash Yourself:
- Ceramic Tile Adhesive (To adhere the tile to the wall)
- Non Sanded Grout (Seal in between tiles)
- Rubber Grout Float (To smooth and wipe off excess grout)
- V Notched Trowel (To apply the tile adhesive to the wall)
- Tile Cutters (To trim and cut the tiles)
- 2 Foot Level (To lay atop the tile while working to make sure it is even)
- Tape Measure (To measure area and cut the tiles to exact size)
- Bucket of Water (To dip and clean sponge)
- Sponge (To wipe off excess grout and clean surface)
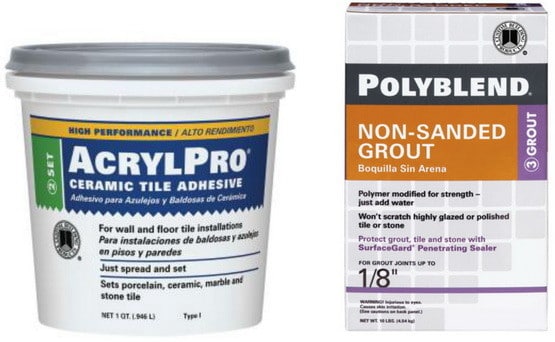
hand tools to cut, trim, adhere, and grout the tile.
When purchasing your tile, make sure you have the absolute correct measurements to avoid any problems.
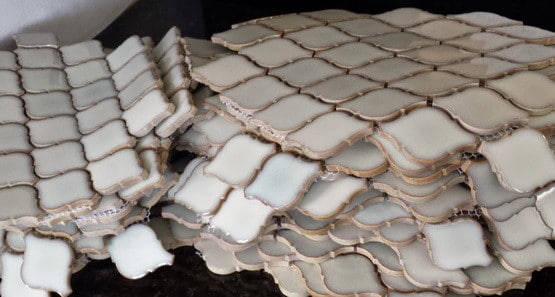
make sure to purchase enough to cover the specific area.
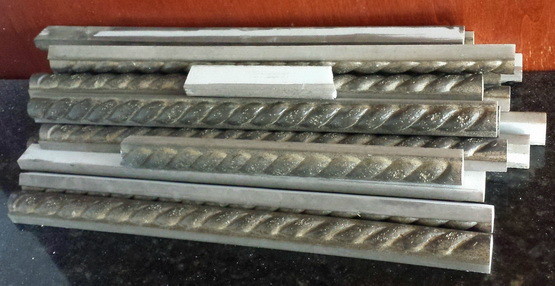
making sure to buy enough to cover the complete area.
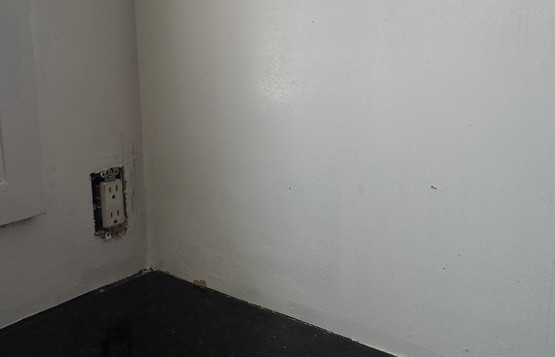
NOTE: Turn off power to the outlets before removing them and before applying the tile to avoid injury!
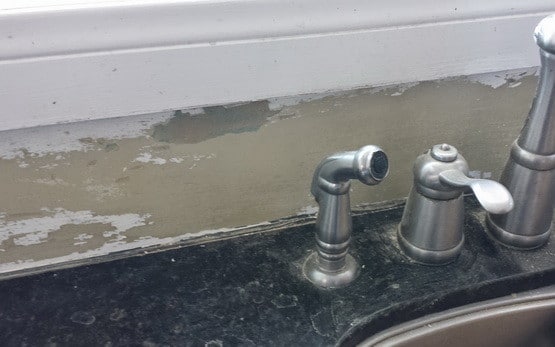
clean as food and water damage may have created a bumpy surface.
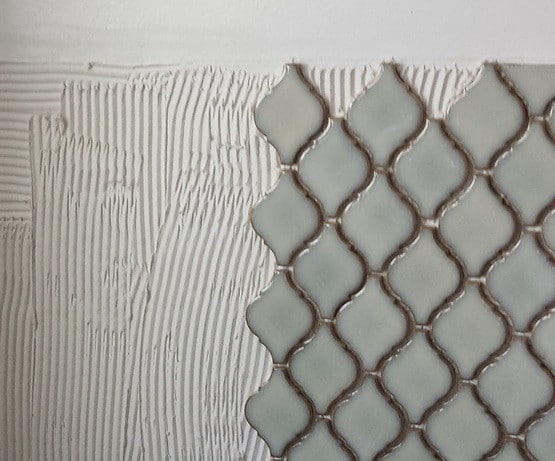
EXACT size, begin applying the adhesive to the wall.
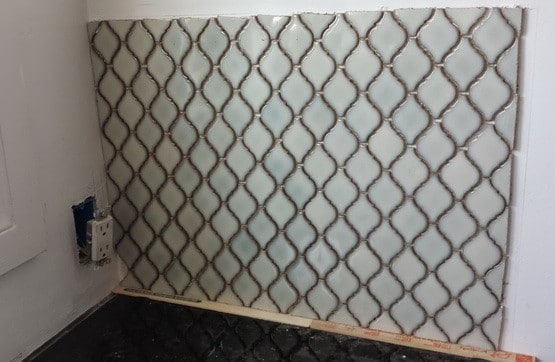
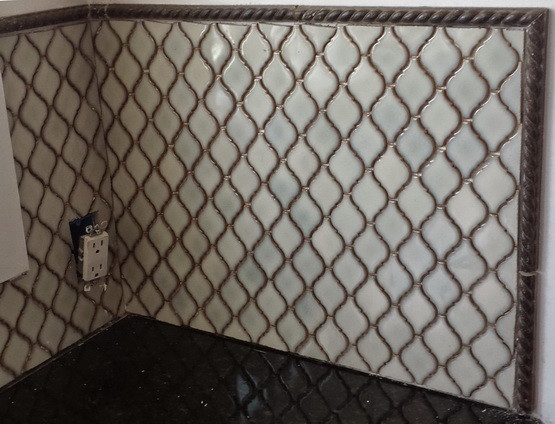
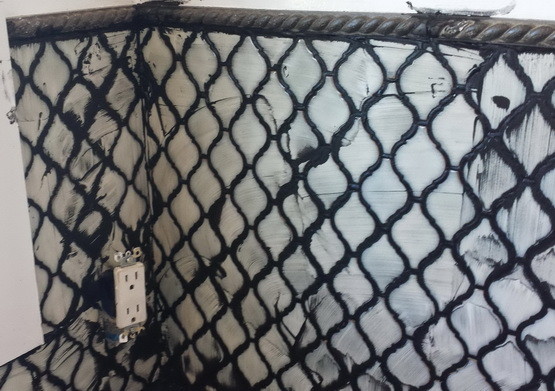
and wipe off excess grout with a rubber float or sponge.
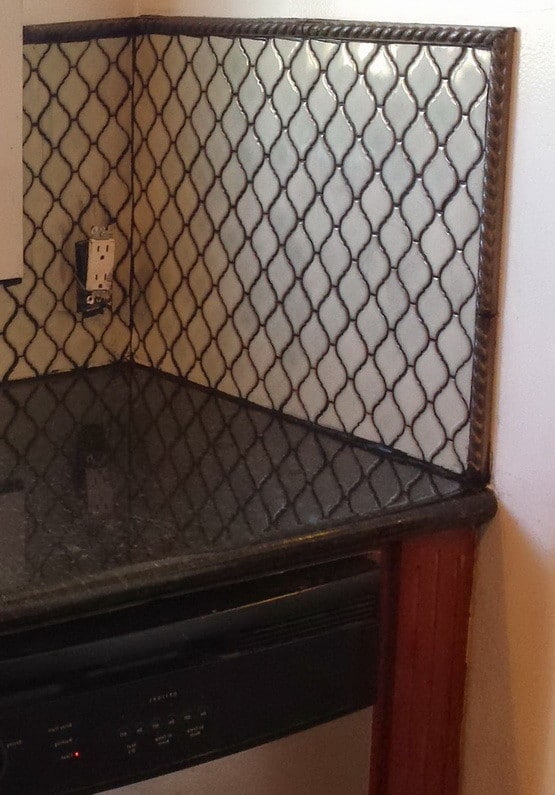
CONGRATULATIONS, YOU JUST INSTALLED A KITCHEN BACKSPLASH YOURSELF!


Aguieb,
Backer board is good to use for a flat smooth surface. You can add tiles right to sheetrock depending on the smoothness. It will depend on your walls condition. We would recommend using a backer board just for the sake of having a smooth and flat surface to adhere to.
-RR
Hi. Do I need to install a backerboard for the tiles to be glued on? Or is the existing sheetrock sufficient? Please advise. thnx.