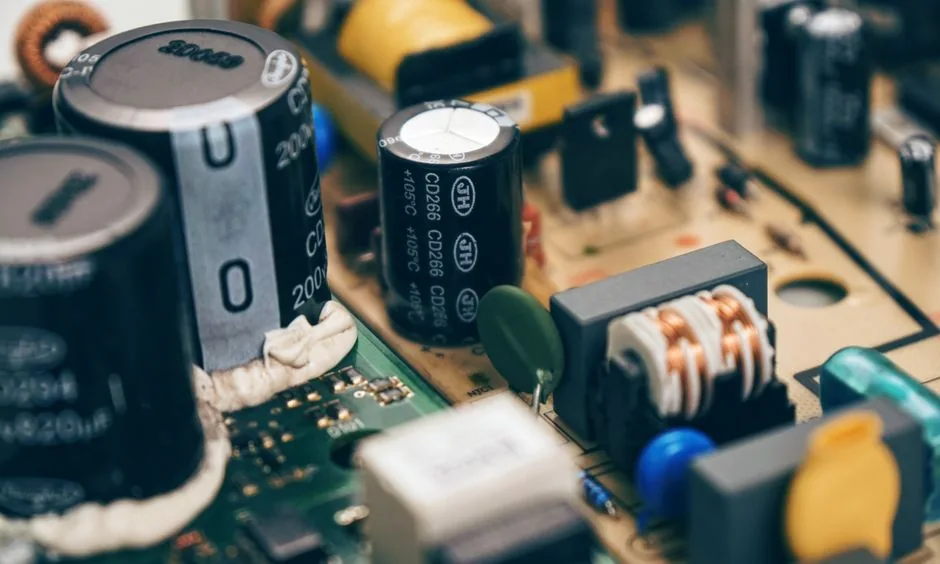
A capacitor can hold a lethal electrical charge long after an appliance is unplugged — sometimes for days. The safest method I recommend is to use an insulated screwdriver or a resistor lead to bridge the two terminals, discharging the stored voltage before touching, testing, or removing the part. Capacitor safety starts with treating every capacitor as charged until proven otherwise.
Why You Can’t Skip Discharging a Capacitor
Most people assume that unplugging an appliance makes it safe to touch. It doesn’t — not when a capacitor is involved. A capacitor is built to store an electrical charge and release it in a burst, and that stored charge doesn’t just disappear when the power source is removed. Depending on the size and type, a capacitor can hold anywhere from 200 volts to over 4,000 volts for minutes, hours, or in some microwave capacitors, several days after the appliance was last used. I’ve personally measured residual voltage on run capacitors that sat unplugged for over a week. About 90% of the shock incidents I’ve heard about in this trade come down to one thing: someone assumed the capacitor was already dead because the appliance was off. The fix is simple — I always discharge it myself, every time, no exceptions, before I touch a terminal.
That’s the whole reason this guide exists — not to scare you, but to make discharging a capacitor as automatic as unplugging the appliance in the first place. I’d rather over-explain this once than have someone learn it the hard way like my old coworker did.
- A capacitor can hold a dangerous charge for days after an appliance is unplugged — never assume it’s dead just because the power’s off.
- About 50% of the shock stories I hear from other techs trace back to microwave high-voltage capacitors specifically.
- AC and HVAC run capacitors (usually 370V-440V) are the type I handle most often, and honestly the easiest one to practice capacitor safety on.
- I always verify a capacitor is discharged with a multimeter before my bare skin touches a terminal.
- If you’re not 100% sure what you’re looking at inside a microwave, call a pro — this is the one repair where I say that without hesitation.
The Microwave High-Voltage Capacitor Is the One That Actually Kills People
If the appliance is a microwave, stop and treat this differently than every other capacitor in your house. The high-voltage capacitor tucked behind the outer shell can store 2,000 to 4,000 volts and deliver a current strong enough to stop your heart — this single component is responsible for nearly every serious injury I’ve heard about in this trade, and it’s why I tell people to skip DIY microwave capacitor work entirely unless they’re trained on high-voltage systems. About 50% of the “capacitor scare stories” I hear from other techs trace back to this exact part. Even a microwave that’s been unplugged for a month can still hold a dangerous charge if it wasn’t bled off when it was last serviced.
My first instinct, years ago, was to treat a microwave capacitor the same way I treated a washer start capacitor — quick touch with an insulated screwdriver and move on. I did that for maybe the first year I was touching microwaves in the commercial kitchen world. Then a coworker got popped hard enough to leave a mark on his palm, even through an insulated handle, and I learned to always bleed a microwave capacitor through a resistor first, never a direct metal-to-metal short. Direct shorting a big capacitor dumps the entire stored charge in one instant, and that instant is when people get hurt. I’ve never gone back to the old way since.
You’ll usually hear a sharp snap or pop the moment the charge releases, sometimes with a small spark you can see if the room’s dim. Occasionally there’s a faint ozone smell, kind of like the air right after a lightning strike. If you smell that and you didn’t expect it, don’t touch anything else until you’ve re-verified with a meter. For more detail specific to this exact part, this microwave capacitor safety and replacement guide is worth a read before you open one up, and I’d also point you toward iFixit’s step-by-step discharge guide if you want a second visual reference before attempting anything.
How Long Does a Capacitor Hold a Charge After You Unplug It?
This is probably the question I get asked most often, and I never give a single number because the honest answer is “it depends.” A small run capacitor might bleed itself down to a safe level within a few minutes thanks to an internal bleed resistor. A microwave high-voltage capacitor with no bleed resistor, or a bleed resistor that’s failed, can hold a charge for days or even weeks. I’ve personally tested capacitors that sat untouched in a drawer for over a year and still registered a measurable voltage. Because of that unpredictability, I treat the question of “how long” as irrelevant — I discharge every capacitor manually and verify with a meter, regardless of how long it’s been sitting.
AC and HVAC Run Capacitors Show Up in Almost Every Service Call
Every central air conditioner and heat pump has at least one run capacitor sitting inside the outdoor condenser unit, and it’s the capacitor I’ve discharged most often across my own career — call it 30% of every capacitor I’ve ever touched. These run at a lower voltage than a microwave’s high-voltage cap, usually 370V to 440V, but that’s still more than enough to knock you back if you grab both terminals bare-handed. The good news: these are also the easiest and safest type to practice on, which is why most DIY capacitor tutorials use an AC run capacitor as the example.
Dual run capacitors — the round ones with three or four terminals, rated something like 35/5 MFD — are the most common style I run into on residential systems. If your AC is short-cycling or the outdoor fan hums but won’t spin, a weak or failing run capacitor is often the culprit, and this guide on AC units that turn on and then off walks through the diagnostic side of that same part. I used to try explaining the physics of why some capacitors bleed down faster than others — something about internal bleed resistor design and dielectric type — actually, never mind. Just discharge every single one, every single time, and you’ll never need to know the physics. I also recommend checking this explainer on why discharging matters if you want the manufacturer-side perspective on the same process.
Washer and Dryer Start Capacitors Are Less Common But Not Rare
Start capacitors show up on single-phase motors that need an extra kick to get spinning — older top-load washers and some dryer motors, mostly. These typically run in the 110V to 330V range, lower than an AC run capacitor but still enough to give you a jolt you won’t forget. I’ve pulled a fair number of these off Whirlpool direct-drive washers over the decades, and honestly, that platform is about as reliable as washer design gets — but the start capacitor still needs to be treated with the same respect as anything else on this list. If you’re chasing a washer that won’t fill or won’t agitate, this Whirlpool washer troubleshooting guide covers the related electrical checks I run through myself on service calls.
While you’re working around any appliance’s electrical panel, it’s also worth a quick gut-check on your home’s other safety systems. I always tell homeowners that if a smoke detector is chirping every 20 seconds, it’s usually unrelated to capacitor work, but it’s the kind of thing I notice while I’m already elbow-deep in a panel, so I mention it.
Furnace Blowers, Pool Pumps, and the Other 5%
The remaining 5% of capacitors I run into show up in furnace blower motors, pool pump motors, and the occasional garage door opener. Same rule applies no matter what the appliance is — bleed it before you touch it. I don’t have a special trick for these; they’re just less common, not less dangerous. I’ve also run into similar high-voltage caution around water heater elements, and if you’re testing one, this guide on testing a water heater heating element covers the electrical safety steps I follow on that job too.
Tools You Need Before You Touch Anything
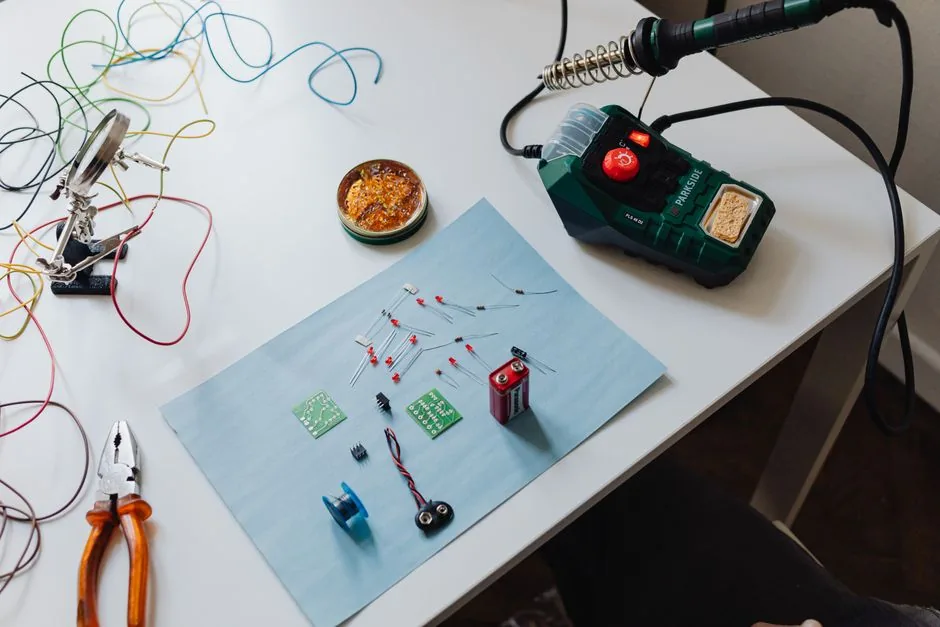
You don’t need a full electronics bench for this. You gotta have the right handful of tools, though, and skipping the multimeter is where people get overconfident.
| Tool | Typical Cost | Why You Need It |
|---|---|---|
| Insulated-handle screwdriver | $12-18 | Bridges terminals without your hand near the metal |
| 20k-ohm 2-watt resistor | $1-3 (pack) | Bleeds charge gradually instead of a hard short |
| Digital multimeter | $25-40 | Verifies the capacitor is actually at zero volts |
| Insulated gloves | $15-25 | Extra layer of protection on high-voltage jobs |
Budget 15-20 minutes your first time gathering tools and locating the capacitor inside the appliance. Once you’ve done it a few times, the actual discharge itself takes under a minute — I can usually do it in about 30 seconds now. If you’re building out a basic home repair kit anyway, these easy appliance repairs you can do yourself use a lot of the same tools I keep in my own kit.
How to Safely Discharge a Capacitor, Step by Step
Unplug the appliance completely — don’t just switch it off at the wall or the breaker. For microwaves, gas ranges, or anything with a high-voltage capacitor, wait at least 5 minutes after unplugging before you open the cabinet.
- Unplug the appliance and wait. I never rush this step, even on jobs I’ve done a hundred times. Five minutes costs you nothing.
- Remove the access panel or cabinet. Use the correct screwdriver and set screws aside where you won’t lose them — I keep a small magnetic tray on my bench for exactly this.
- Locate the capacitor. It’ll be a cylindrical or box-shaped component with two or more terminals. On a microwave, it’s usually near the transformer; on an AC unit, it’s mounted in the outdoor condenser housing.
- Attach the resistor leads across both terminals. I hold the resistor with insulated pliers, not my fingers, and let it sit across the terminals for a full 10-15 seconds.
- Verify with a multimeter. Set it to DC voltage and touch both probes to the terminals. If you’re reading anything above 0-1V, repeat the discharge step. I never skip this check, no matter how confident I feel.
- Only then proceed with testing or replacement. Once the meter confirms zero, you’re clear to handle the part directly.
I’ve walked dozens of people through this exact sequence over the phone, and the ones who skip step five are always the ones who call me back nervous. Don’t be that person — the multimeter check takes fifteen seconds and it’s the difference between a normal repair and an ER visit.
Watch: How to Safely Discharge a Capacitor
If you’d rather see this process in action before trying it yourself, I’d recommend watching the video below. It walks through the same discharge sequence I just described, and seeing it done once made the whole process click for me faster than reading about it ever did.
Frequently Asked Questions
Can a capacitor shock you even if the appliance has been unplugged for weeks?
Yes, and I’ve seen it happen. If a capacitor’s internal bleed resistor has failed or was never present, it can hold a charge far longer than most people expect. I never assume “unplugged for a while” means “safe.”
Do I need a resistor, or can I just short the terminals with a screwdriver?
You can bridge smaller run capacitors directly with an insulated screwdriver, but I personally prefer a resistor lead for anything above 200V, and I always use one on microwave high-voltage capacitors without exception. A resistor bleeds the charge gradually instead of dumping it all at once.
How do I know for sure a capacitor is fully discharged?
A multimeter is the only method I trust. Set it to DC voltage, touch both probes to the terminals, and confirm you’re reading close to zero. I’ve been burned by “close enough” readings before, so I always double-check.
Is it safe to discharge a capacitor myself, or should I call a technician?
For AC run capacitors and washer start capacitors, I think most careful DIYers can handle it with the right tools. For microwave high-voltage capacitors, I genuinely recommend calling a pro unless you’ve been trained on high-voltage systems — this is the one spot where I don’t take chances myself.
My Final Word on Capacitor Safety
After two decades of doing this, the advice I give never changes: treat every capacitor like it’s charged, every single time, no matter what the appliance is or how long it’s been sitting unplugged. I’ve seen enough close calls to know that shortcuts are never worth it. If you take one thing from everything I’ve written here, let it be this — grab the multimeter, verify zero volts, and only then put your hands near the terminals. I’d rather you spend an extra minute being careful than end up as the next story I tell to make someone else respect this stuff.

Written by Keith Schneerer
Certified Appliance Tech · Founder, RemoveAndReplace.com
Keith has spent 30+ years repairing machines, starting as a military mechanic and later maintaining food processing equipment before moving into appliance repair. He founded RemoveAndReplace.com to share field-tested repair advice.
More about Keith →